Hi Friends!
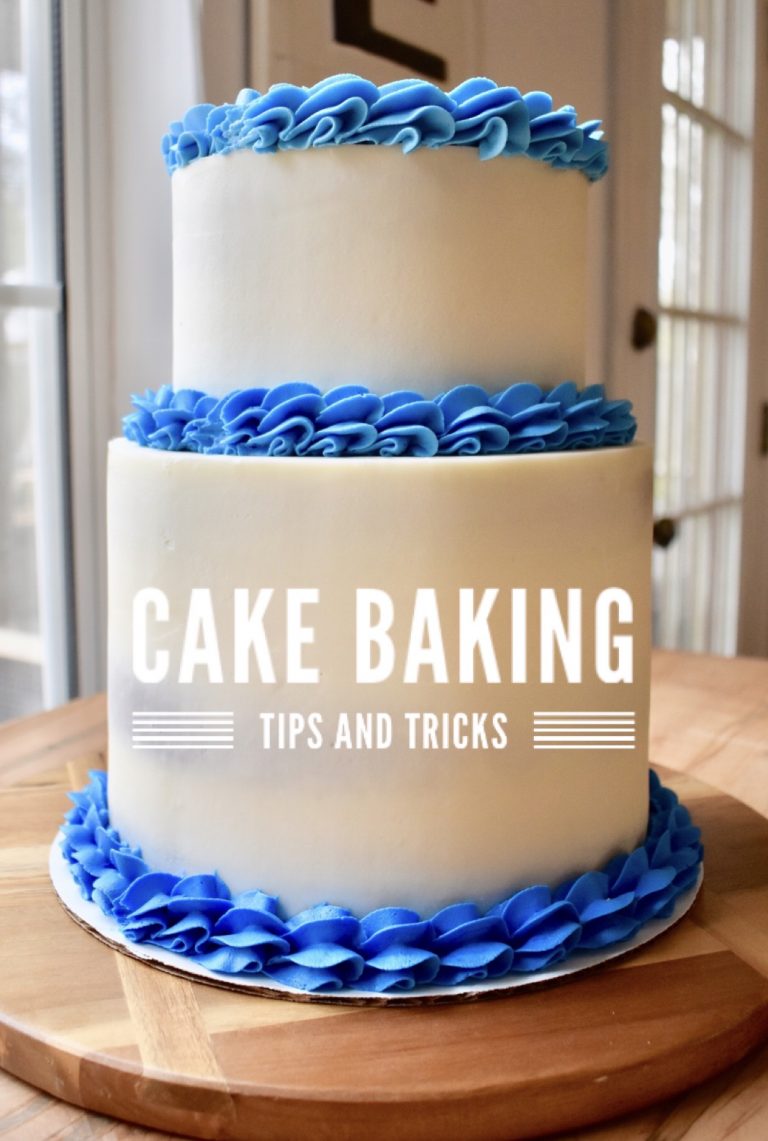
This month I thought I would walk you through some tips and tricks I have found to be helpful while baking cakes. We will go over everything from preparing your pans & prepping ingredients to knowing when your cakes are properly baked. Then, be sure to come back next month for the how-to on stacking and decorating your cakes!
There are so many amazing sources out there for baking, and I am certain that I still have much to learn myself. I classify myself as a self-taught baker, and my love for it definitely began in the kitchen with mom when I was little. I began baking regularly after I had my own kitchen. Then I really dove in with my self imposed baking challenge where I baked my way through a cookbook in one year! (You can read all about that on my blog!) I’ve learned a bit along the way, and that’s what I will be sharing with you today. I’ve had my fair share of both successes and failures, but I’ve always made sure to give it another go (sometimes after a good cry) if things didn’t go quite as I hoped!
Each cake recipe that you try will have little nuances that are unique to it, but it’s my hope that the tips I share with you here will be broad and applicable to most situations. So, without further ado, let’s get started!
Prepping the Pans
Properly preparing your pans can make such a difference in your cake. Have you ever experienced that dreaded moment when you try and turn the cake out of the pan and nothing happens? The cake is stuck. Then, it finally comes out after being pulled and prodded and breaks apart or ends up with a giant hole in the top. Oh, it’s no fun. (Definitely speaking from experience here.)
It takes a minute on the front end, but I have learned that it is worth the effort to always prepare my pans in this way: grease the pan, line with parchment, grease the pan again, and then lightly coat with flour.
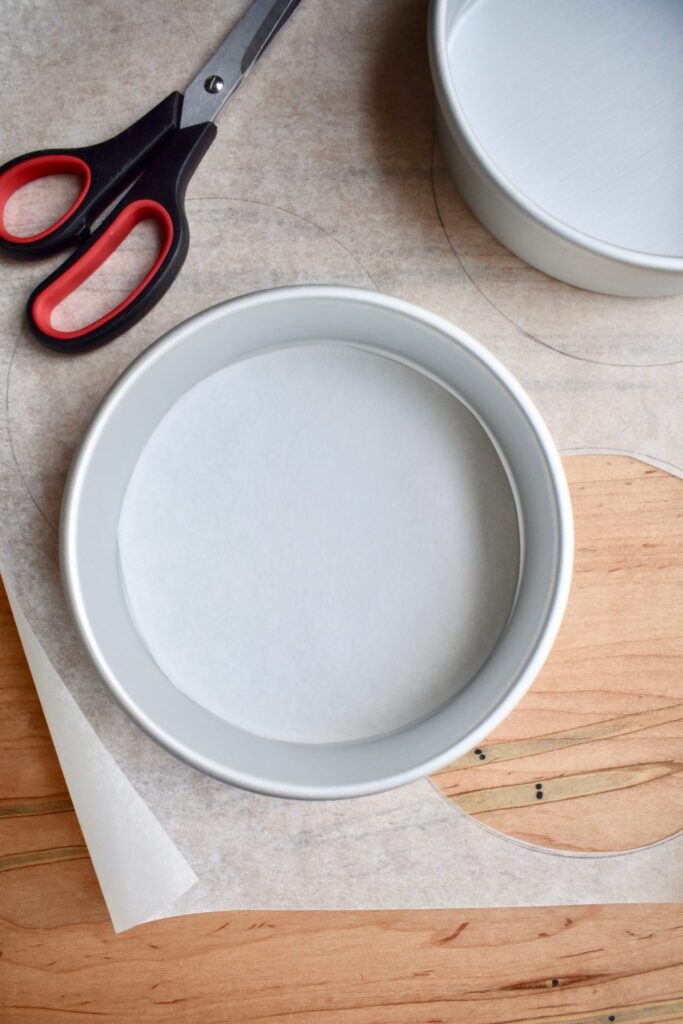
You can buy parchment circles to line your pans, but I have always found it easy to cut them out myself. To do this, set your pan on parchment paper. Use one hand to hold the pan in place, and trace around the outside edge with a pen. Using scissors, cut out the circle just inside the line you drew. Remember, the parchment circle needs to fit inside the pan and we just traced around the outside, so you need to trim off a little excess. We also want to make sure to trim off any edges with ink on them before baking. Test fit the circle and trim the edges if necessary so that it fits flush in the bottom of the pan.
Now that the parchment is ready, here is the breakdown on how I prepare the pans:
- Spray the pan with cooking spray, like PAM.
- Using your finger or a very small piece of paper towel, brush over the entirety of the bottom and sides of the pan, smoothing out the spray. This will ensure an even coat instead of some areas being more densely or sparingly covered.
- Line the bottom of the pan with the parchment. You may notice that the circle rolls up in one direction. Place it in the pan with the convex side up and gently press down so the cooking spray holds it in place.
- Repeat steps 1 & 2 to create a new base for the flour to adhere to.
- Working over the sink, pour a spoonful of flour in the bottom of the pan. Hold and tilt the pan with one hand and use the other hand to tap the bottom of the pan, moving the flour around until the entire surface is coated. Add more flour if needed, and rotate and tap the pan until the sides of the pan are coated in flour as well.
- Still working over the sink, turn the pan over and tap the bottom to release any excess flour.
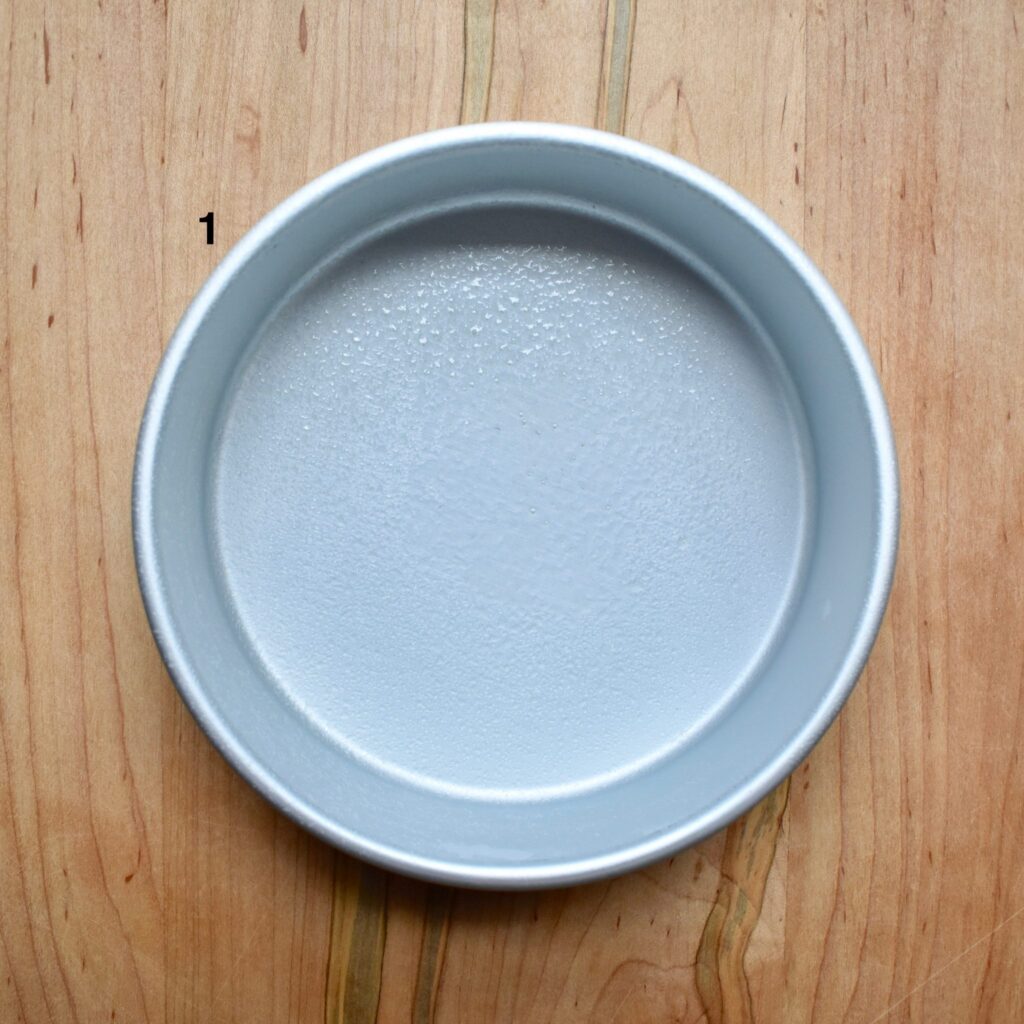
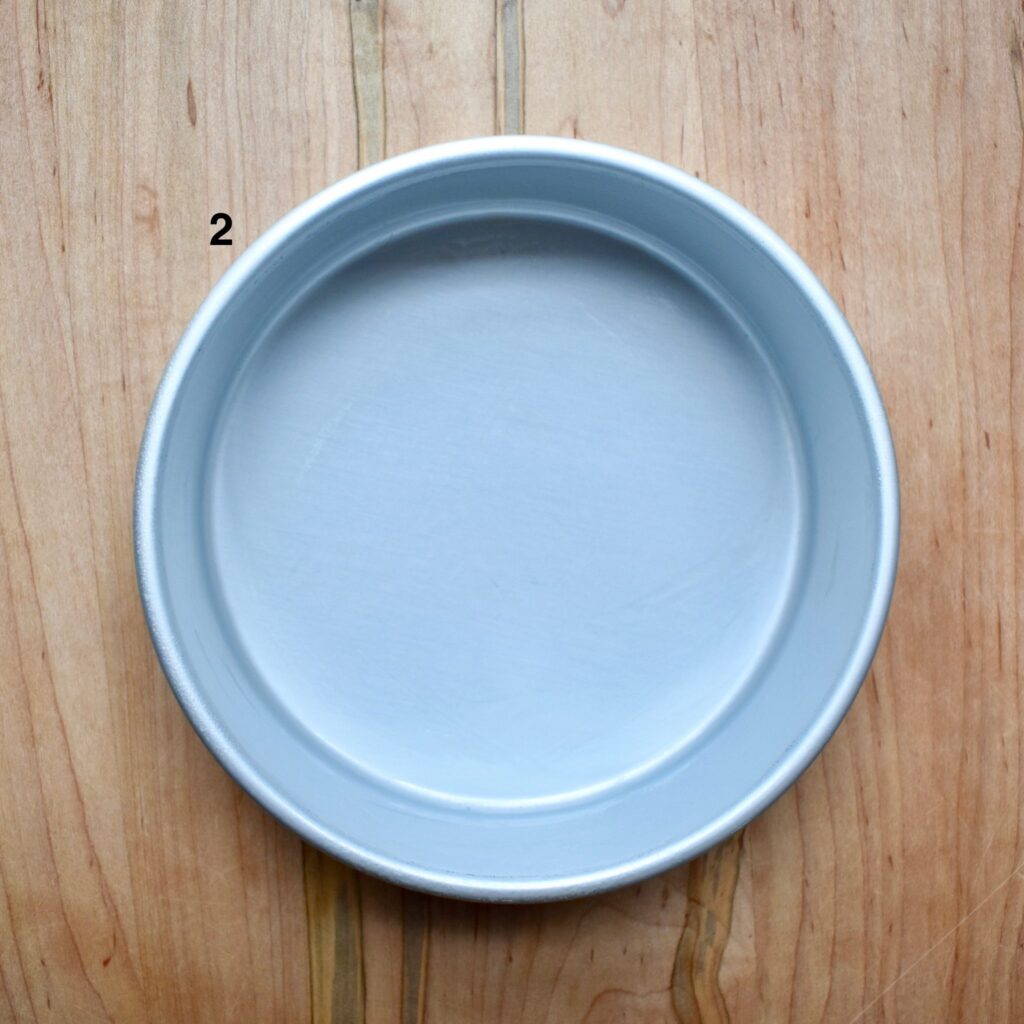
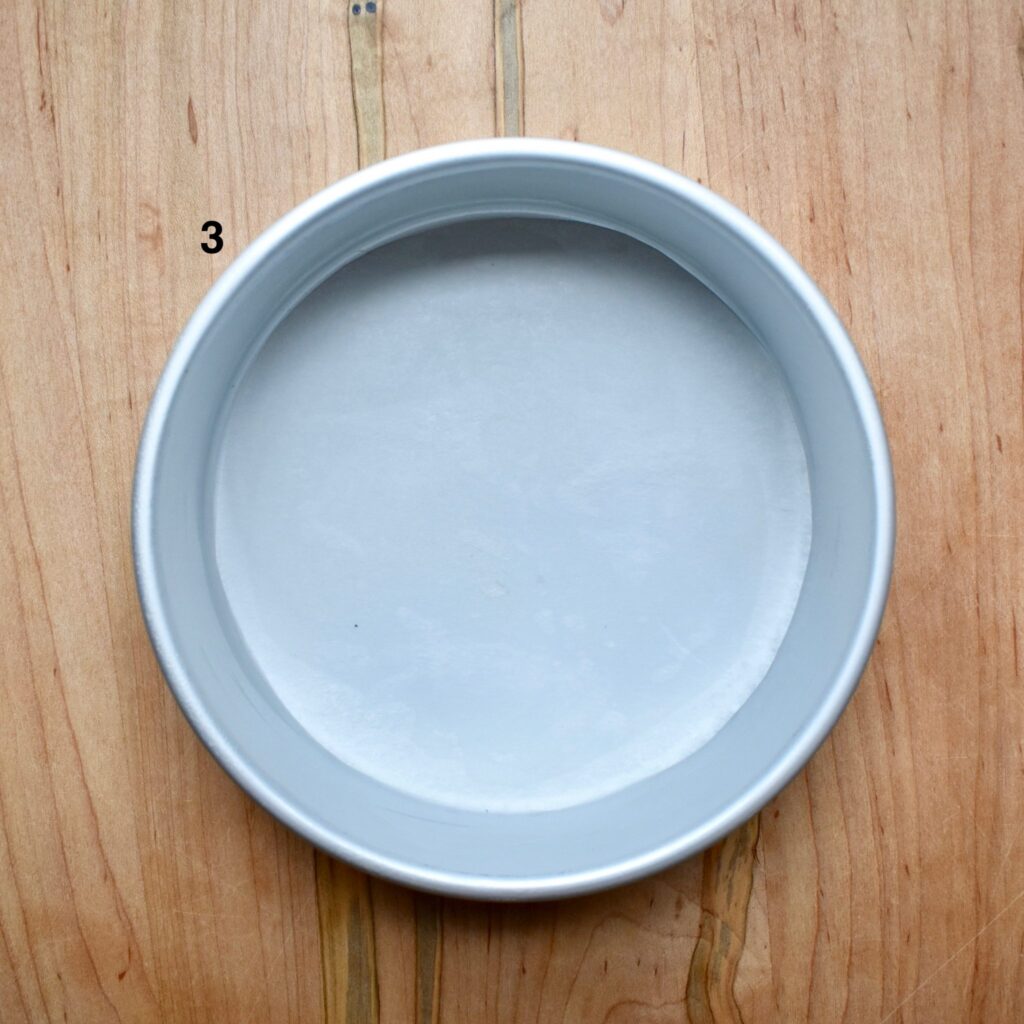
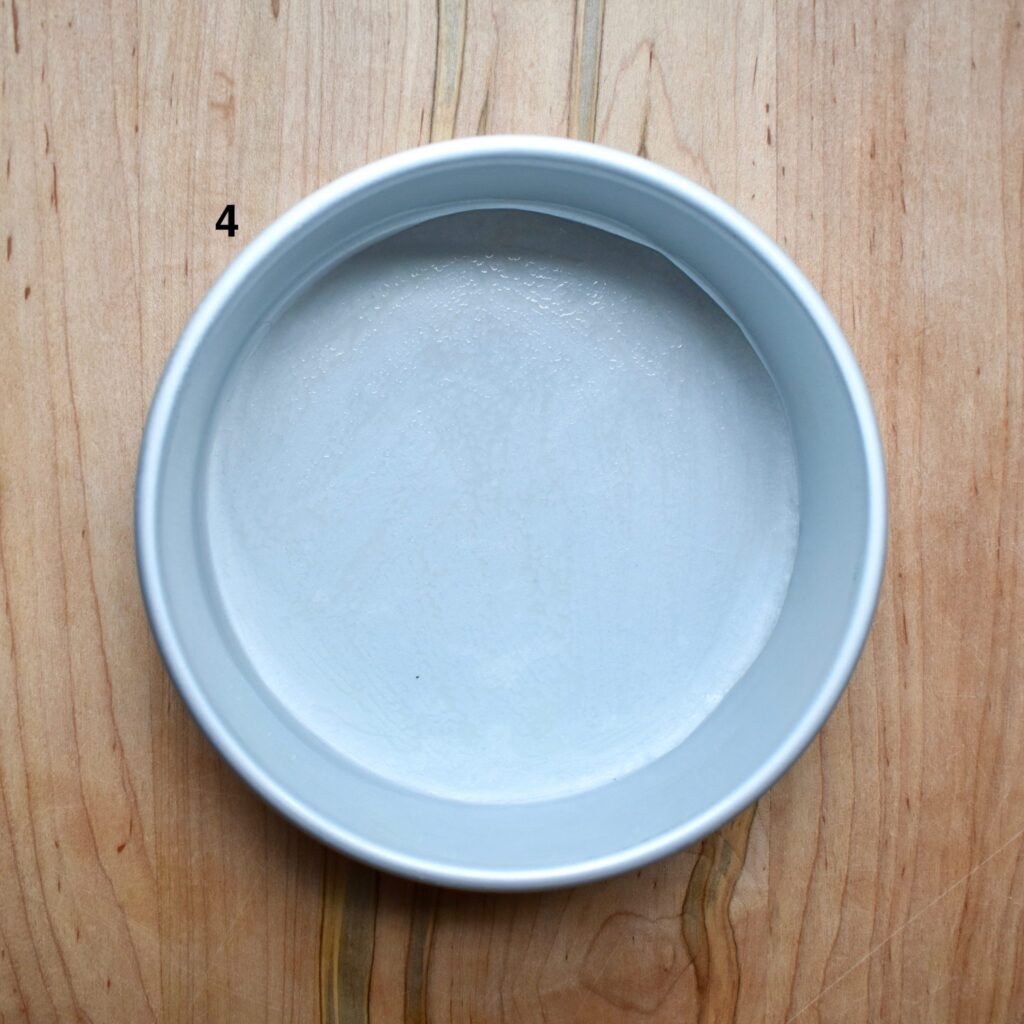
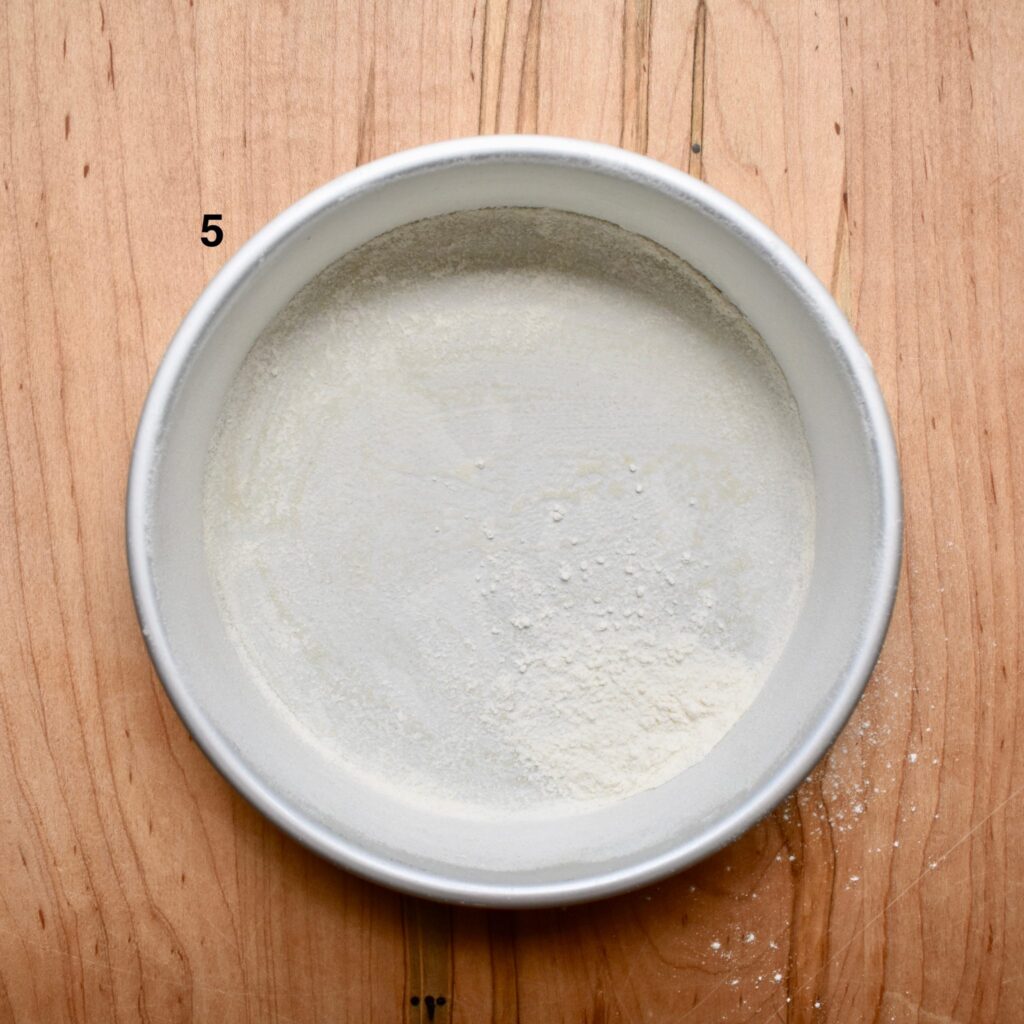
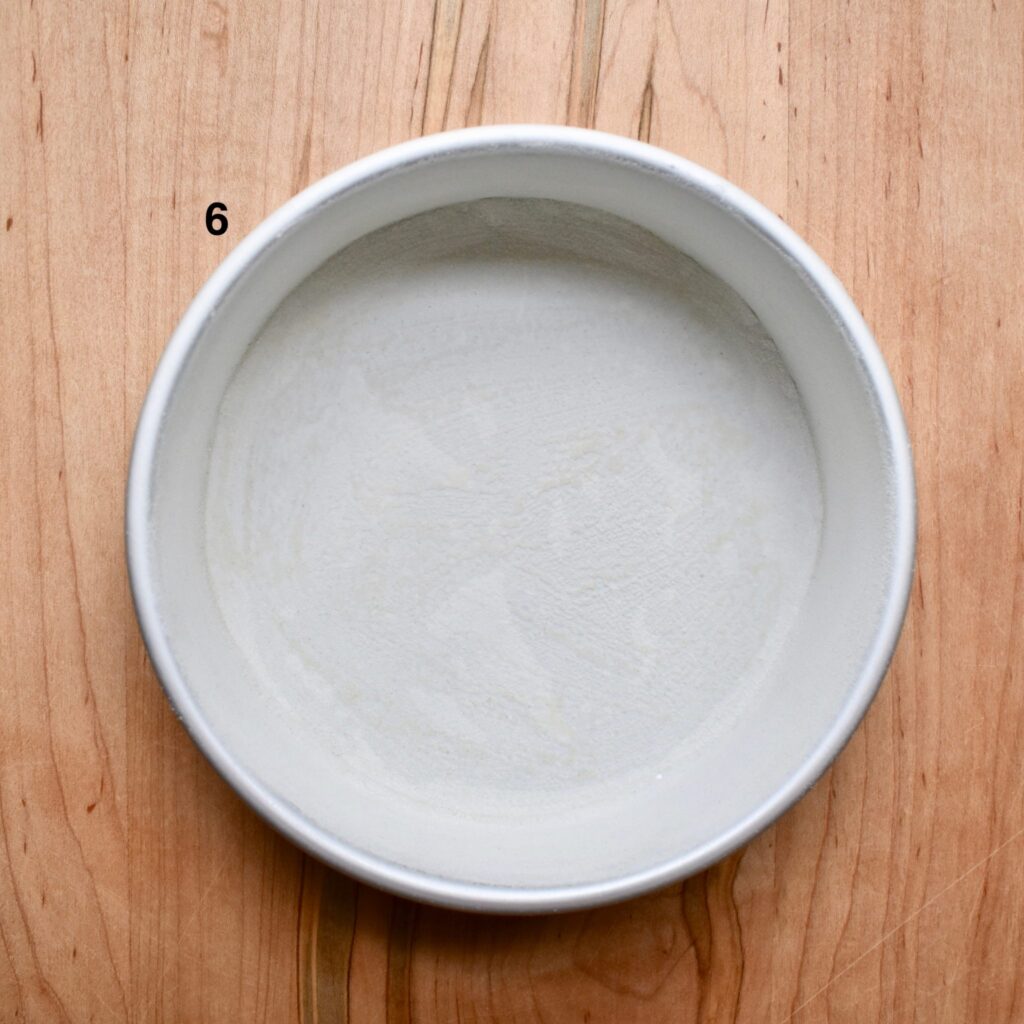
There you have it! It is a detailed process, but I promise it will ensure cakes that are easy to release from the pan!
Prepping & Measuring the Ingredients
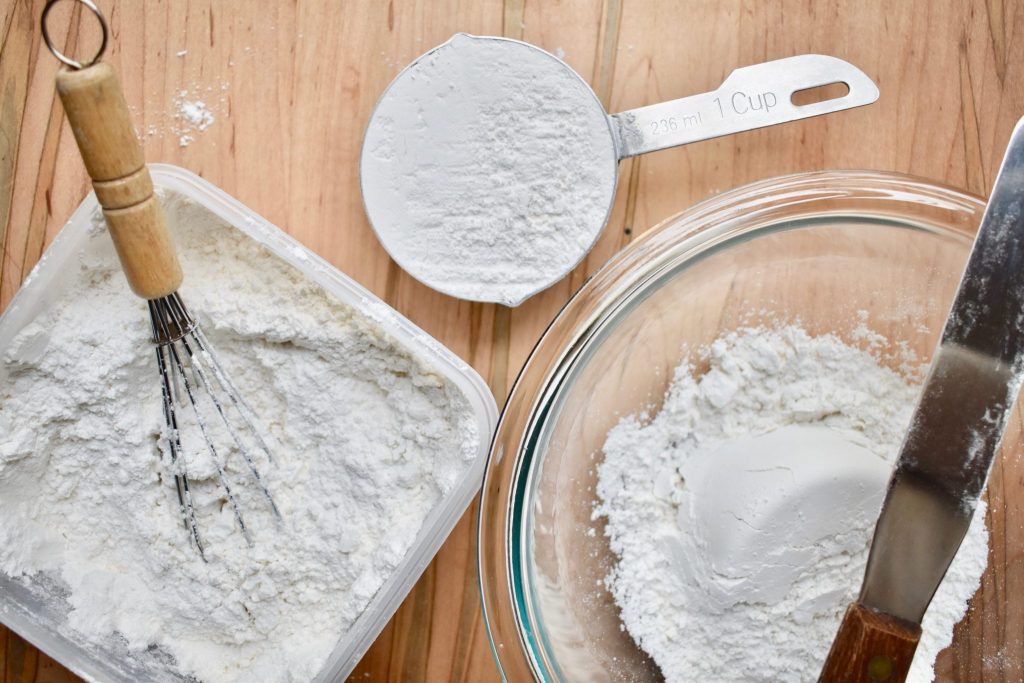
There is a lot of science behind baking. Ingredients that are the correct temperature and precisely measured can make a big difference. Always pay attention to and follow specific instructions in your recipe, but unless otherwise stated I usually follow these points:
- BUTTER – Set out butter at least 30 minutes before baking so it softens to room temperature. The butter is ready when you can make an imprint with your thumb by gently pressing down. However, you don’t want your butter too warm – if it squishes under your thumb or looks melty, you may need to stick it back in the fridge for a bit. If you are short on time, try cutting up the cold butter into small pieces and letting it come to room temperature on a plate.
- EGGS – Set out eggs at least 30 minutes before baking.
- FLOUR – Whisk the flour well to loosen and fluff it up (while still in the container), scoop the fluffed flour with a measuring cup, and use an icing spatula to level the top. [see photo above] Whisking before measuring helps to ensure that the flour isn’t too densely packed resulting in too much flour in your cake. If you want to take it a step further, the most accurate way to measure flour is by weight!
- POWDERED SUGAR – Similar to flour, I always whisk the powdered sugar before measuring. In this case, it is more so to remove any lumps than for the density. If you are making buttercream that you want to be extra smooth, sift your powdered sugar!
- BROWN SUGAR – Contrary to some dry ingredients, brown sugar needs to be densely packed. Pack it into the measuring cup well and then level the top of the measuring cup.
- OTHER DRY INGREDIENTS – For other dry ingredients like sugar, baking powder, and baking soda, just make sure to level the top of your measuring cup for an accurate measurement.
- WET INGREDIENTS – For wet ingredients like milk, water, vanilla, etc., it is usually best to be room temperature unless otherwise stated. Be sure to measure wet ingredients in a liquid measuring cup.
Mixing the Batter
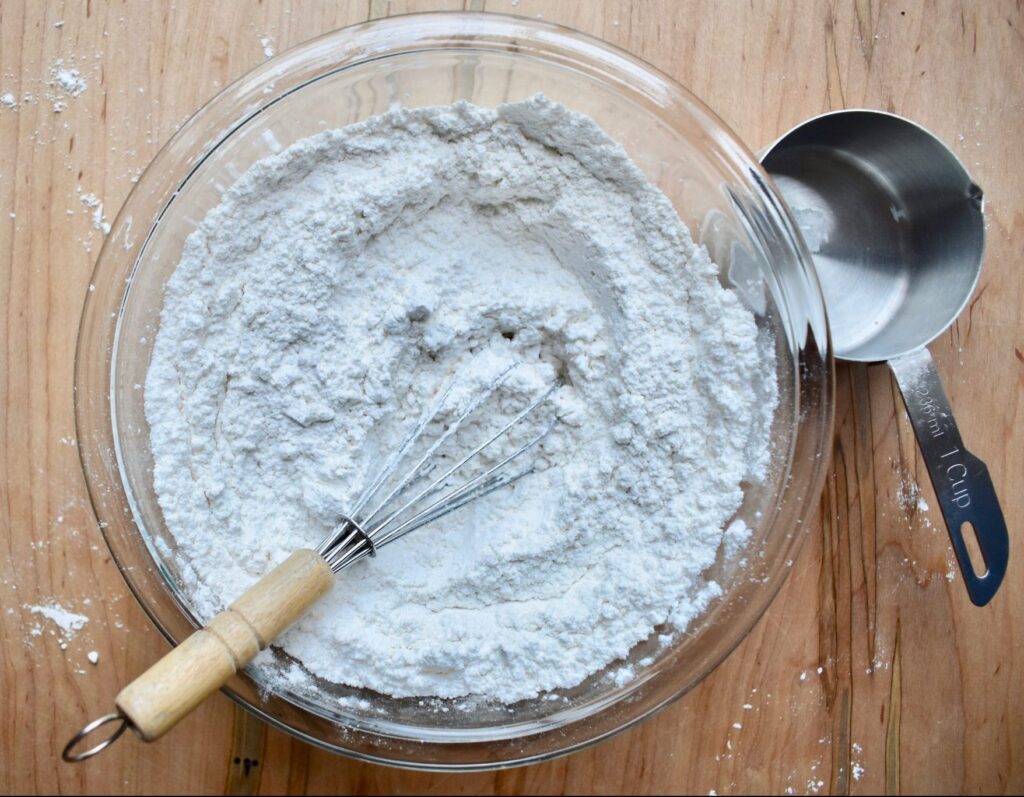
Recipes usually have pretty clear directions on how to mix the ingredients together to create the cake batter. If you ever have a question though, I usually fall back on these basic tips:
- If the recipe has a base of butter (as opposed to oil) or if you are making buttercream, I always like to cream my butter in the mixer by itself before adding in any other ingredients. I feel like this helps the batter to come together more smoothly and evenly.
- To cream butter and sugar, mix the two together with a mixer until the mixture is light yellow and is light and fluffy. After a minute of mixing, scrape the sides and bottom of the bowl with a spatula and then continue mixing.
- Add eggs to the batter one at a time and mix well. This is important! If you add more than one egg or don’t fully incorporate the eggs, the batter will be more difficult to incorporate and could result in a dense or rubbery cake.
- It is helpful to combine the dry ingredients (usually everything other than sugar) in a separate bowl and whisk together before adding them to the batter. [see photo above]
- When adding wet and dry ingredients to the batter, alternate mixing in one and then the other until all ingredients are used.
- Take several breaks from mixing to scrape down the sides and bottom of the bowl with a spatula to better incorporate all ingredients.
Filling the Pans
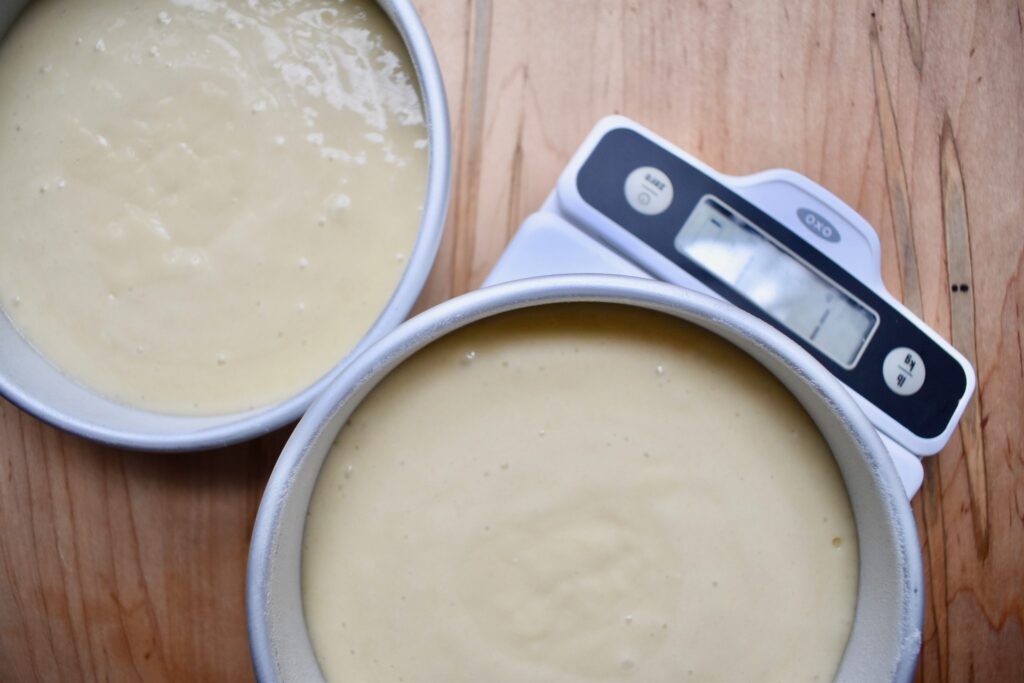
Most recipes indicate a pan size and/or number of pans to use. The most important thing here is to get an equal amount of batter in each pan. I like to use a kitchen scale to measure my batter as I pour it into the pan. All of my pans are the same type and weight, but keep in mind that if you use two different brand pans, they may have a differing weights. In that case, subtract the weight of the pan to get the weight of the batter. Total weight – pan weight = batter weight. The batter weight is what you want to be the same for each pan. If you don’t have a scale, simply use a measuring cup to fill up the pans one cup at a time. Pour the same number of scoops into each pan and you are good to go!
Baking & Testing the Cake
Bake the cake for the temperature and time directed in the recipe. Preheating the oven for about 20-30 minutes before putting the cake in ensures proper oven heating and makes for a more even bake.
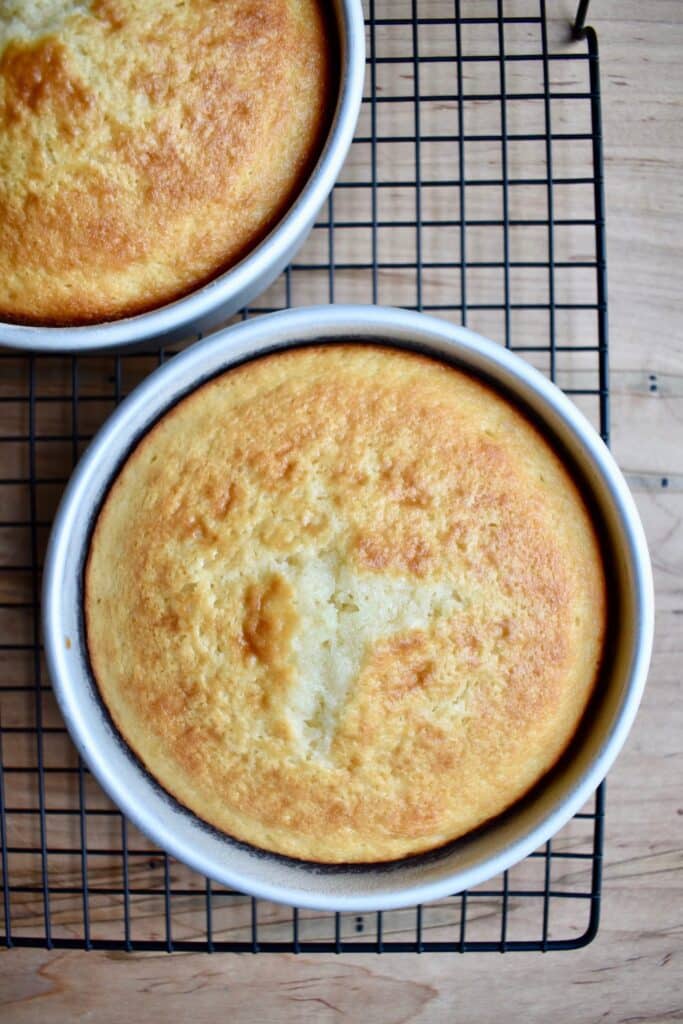
Here are a few things to look for to know when the cake is ready:
- Slightly golden color
- Cake starting to pull away from the edges
- Center of the cake is set – no jiggling when the pan is moved
- Few to no crumbs on a toothpick when tested in the middle
If the timer goes off and the cake doesn’t seem baked, keep it in for 2 more minutes and then try again. Do this until it’s ready. Be cautious of over-baking, though the cake will continue to cook for a bit as it slowly cools down in the pan.
Removing the Cake from the Pans
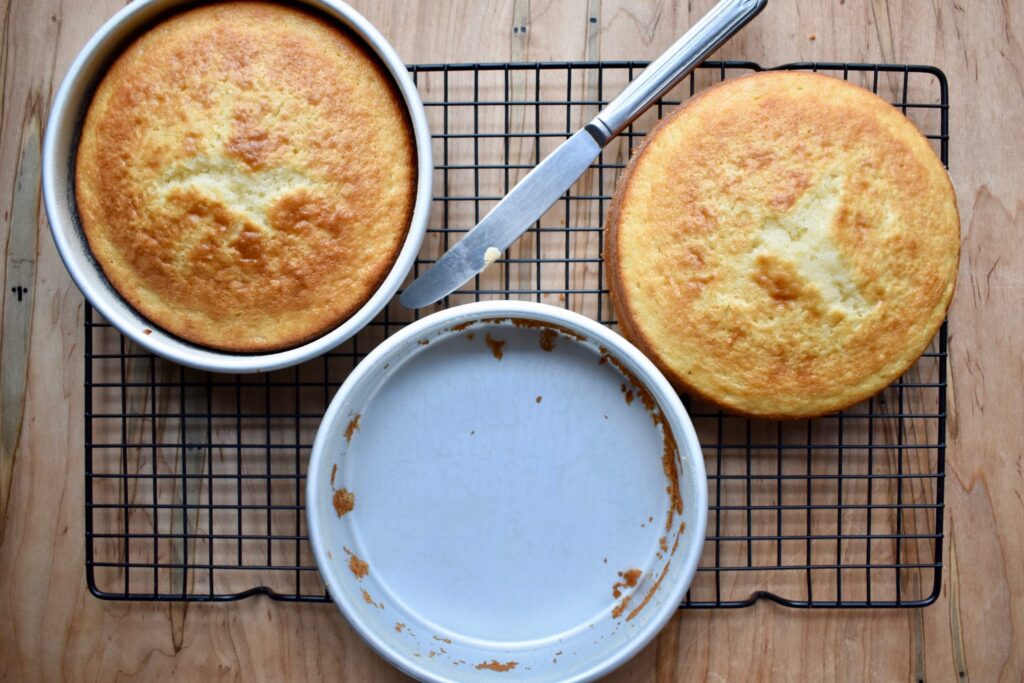
Let the cakes cool for at least 10 minutes on a wire rack before trying to take them out of the pan. Use a butter knife to slowly move around the edge of the pan, gently separating the cake from the edge. Put a small wire rack or plate on top of the pan and (while holding the pan snuggly to the rack) slowly invert the two so that the cake falls out onto the rack. Invert the cake layer again so that it is sitting upright on the cooling rack. The parchment that we lined the pan with earlier should be stuck to the bottom of the cake; I leave that on until it’s time to stack the cake. Hooray! You did it!
Leveling & Storing the Cake
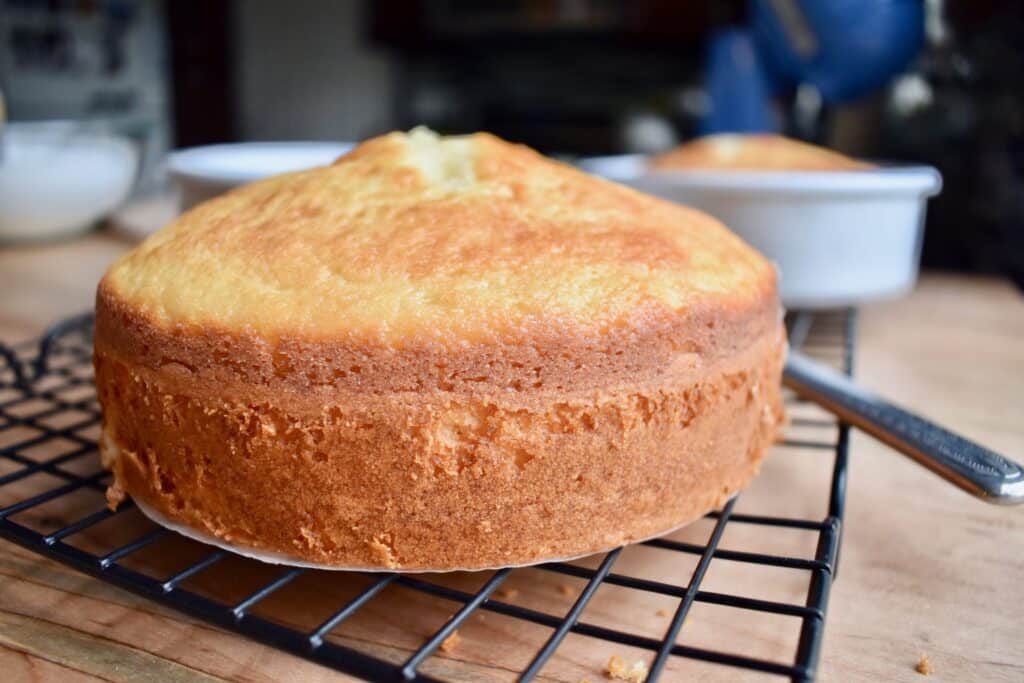
Once the cake layers have cooled completely, you can level the tops. Every once in a while I will have a cake that magically bakes level, but more often than not there is a dome on top. If the dome isn’t too dramatic or doesn’t bother you, you can leave it. But, if you are looking for a level and straight cake once assembled, it would be best to level the layers now.
Set your cake leveler (like this one) to trim just above the top edge of the cake. Holding the cake firmly with one hand directly on top, slowly move the leveler back and forth and “saw” your way across the top of the cake. Get eye level with the cake and see how it came out. If one side of the cake is higher, go back across the cake again (with the level still set to the same height) but start on the opposite side from where you started the first pass.
Now would be a great time to go ahead and do a little taste test! I always save my scraps from leveling the cake. I toss them in a bowl with any leftover icing and we have dessert before we even cut the cake! It’s affectionately referred to as “cake bowl” in our house. I won’t be sad if you steal the idea and enjoy it yourself. 😉
If you aren’t ready to assemble the cake just yet, you can wrap the layers in plastic wrap or place them in an airtight container. Keep them refrigerated until ready to assemble. To freeze the layers, wrap each one in plastic wrap twice and place inside a freezer bag. The layers will stay fresh for a month or two, depending on how well you wrap them!
Alright! Whew. That was a lot of information. Thanks for sticking with me through it all! I hope this is helpful to you, and I can’t wait to share even more with you next month on stacking and decorating! Then we get to apply everything we’ve learned to some yummy cakes! Mmmm, can’t wait!
Happy Baking,
Anna

