At Plan to Eat, we believe that our physical and emotional health is directly tied to what we eat. Eating nutrient dense foods that cultivate and restore personal health, such as bone broth, is one of the tenets we live by. It’s also the focus of one of our favorite cookbooks, Nourishing Traditions by Sally Fallon!
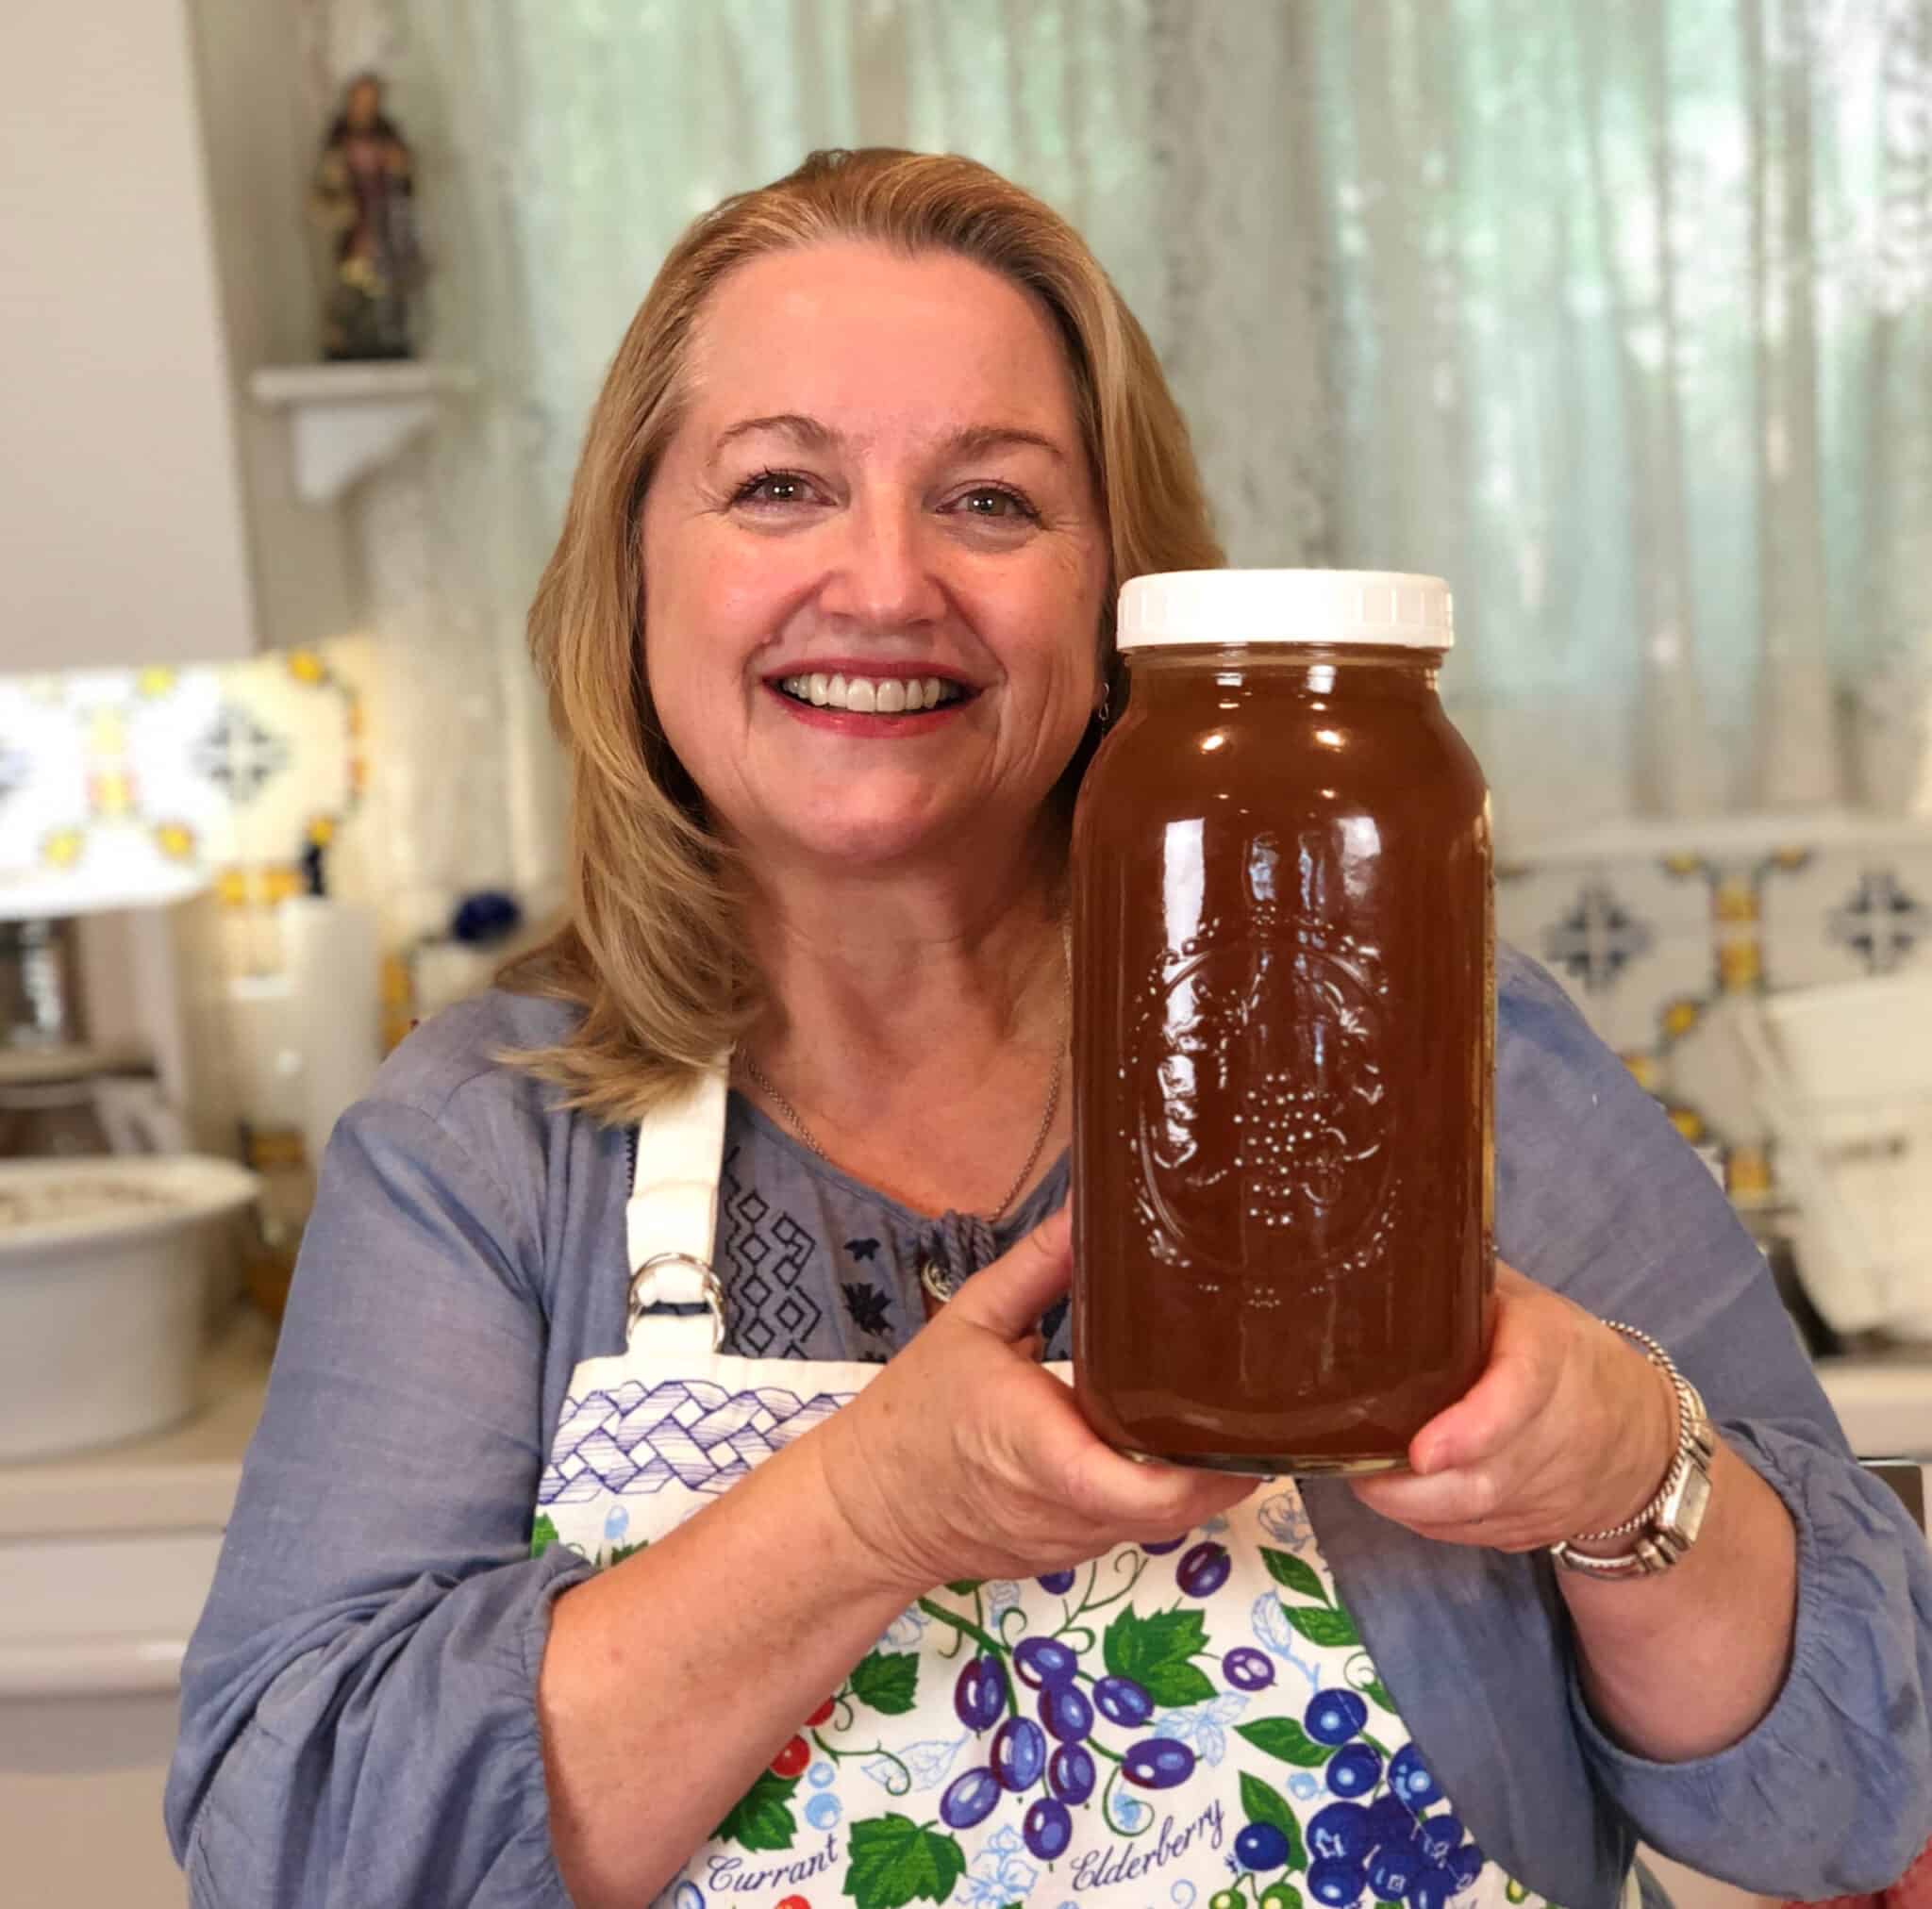
Today, we’re collaborating with a YouTuber who shares this same philosophy! Mary of Mary’s Nest, uses her Youtube channel and website to teach the principles of creating nutrient dense meals from Traditional Foods.
Traditional Foods are defined, by The Weston A. Price Foundation, as:
“…those [foods] in their most natural state, unadulterated and unrefined. It is these real, whole, nourishing foods enjoyed for generation upon generation that provide the cells of our bodies with the necessary fats, proteins, vitamins, minerals, and phytonutrients needed for vibrant health. This state of well-being is characterized by a quiet and strong digestive system, superior brain function, blissful sleep, sturdy bones, calm mind, and an immune function that prevents infection.”
After watching several of Mary’s videos, to learn more about the Traditional Foods she makes, I was particularly interested in learning how to make bone broth. I was under the impression that making bone broth was too challenging or time consuming, so I’d never attempted to make it.

Mary’s videos, which are very fun and informative, helped me realize making broth is actually quite simple! The process does require time, but it’s idle, passive time. I didn’t need to pay much attention to the stove while the broth was simmering.
I decided to try my hand at making a chicken bone broth because we eat chicken frequently at our house, so it seemed gathering the ingredients would be easy.
Here’s what I needed:
- Whole chicken carcasses (bones, joints, fatty bits)
- Chicken feet (optional)
- Apple cider vinegar
- Carrot, onion and celery scraps
- Filtered water
- Whole peppercorns and a bay leaf
I used whole chicken carcasses from the store bought roasted chickens (which goes to show how easy it can get). You can certainly buy whole chickens and roast them yourself (Mary has helpful videos for that too!), but you can also use the store bought kind, like I did.
I collected the onion, carrot, and celery scraps from different meals and kept them in the freezer until I was ready to make the broth. I ended up not spending extra money on making the bone broth because I was able to use the leftover bits and pieces from other recipes I was already making! It was super simple and efficient.
I recommend you watch Mary’s chicken stove top chicken broth video in full to get all of her helpful tips and tricks for making broth. However, I want to share a few things that stood out to me and helped my broth be super gelatinous and tasty!
1. Add an acid.
One of the important ingredients Mary uses in her broths is an acid. She uses white vermouth as the acid in her broths, but also mentions you can use vinegar, which is what I used. The acid is an important part to the chemical process of the broth, as it breaks down the cartilage and collagen, to give the broth a good gel.
In Nourishing Traditions, Sally Fallon also mentions, “Acidic wine or vinegar added during the cooking helps to draw minerals, particularly calcium, magnesium and potassium, into the broth.”
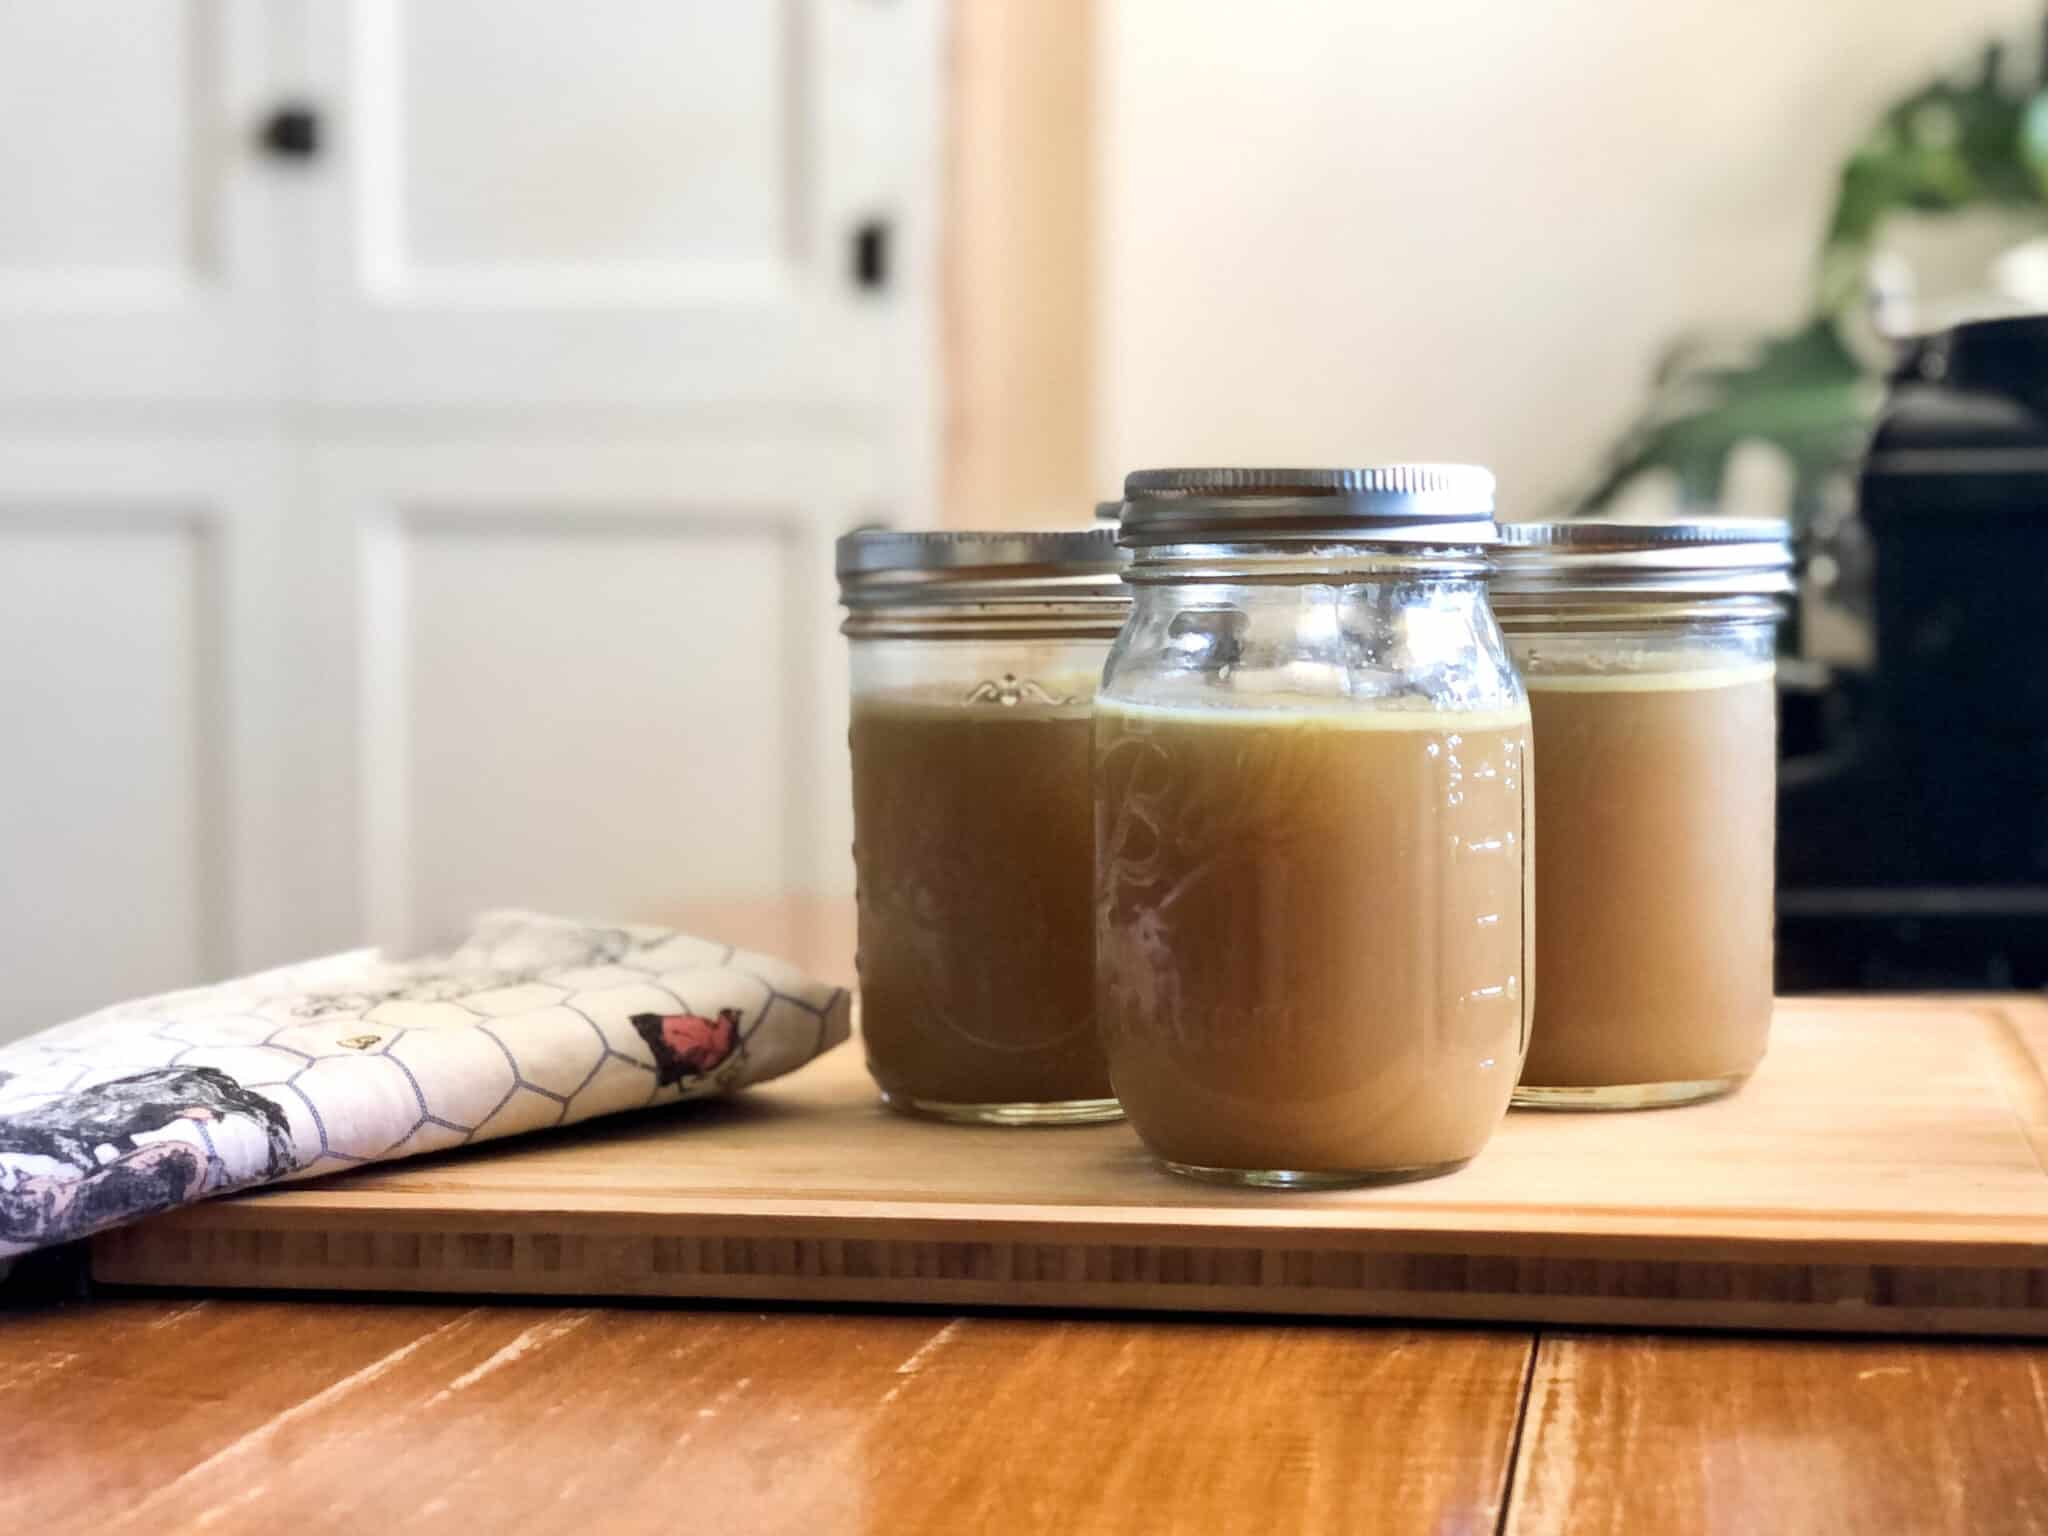
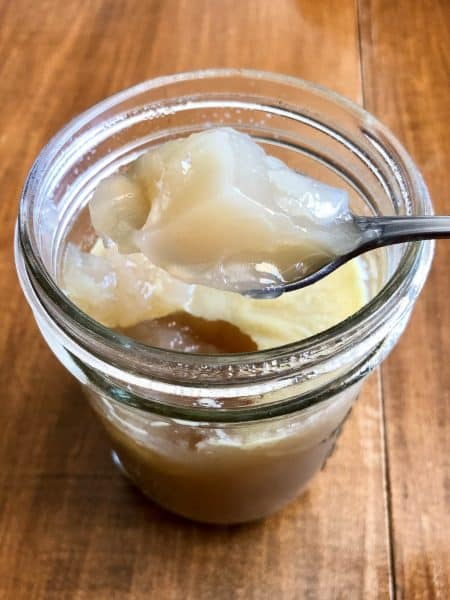
For my bone broth, I only used two chicken carcasses, so it was a smaller batch than what Mary makes in her video, so I added only ¼ cup of apple cider vinegar. My end result was a nicely gelled broth with no acidic flavors left over.
2. Use chicken feet!
Mary’s number one ingredient suggestion is: chicken feet! The feet contain a lot of cartilage and collagen and will give you the end result of a very gelatinous broth.
Typically, you should be able to find chicken feet at a local butcher or even some local grocery store butcher counters. Unfortunately, when I made my broth, I couldn’t find any feet because of the recent COVID-19 outbreak. Every butcher shop I called told me they were focused on having enough ground meat in stock to meet their customer’s needs, so no chicken feet were available.
Even though I didn’t use the chicken feet, I was still able to get a good gel to my stock, so don’t let the feet hold you back! Your stock can still turn out gelatinous and nutritious!
3. Don’t overfill with water.
Too much water can result in a stock that seems watered down and not overly flavorful. Mary recommends adding just enough water to cover your ingredients and that’s it! It’s an easy solution to watered down broth!
4. Don’t boil.
Finally, Mary suggests bringing your stock up to the point of simmering, but then immediately turning down the heat, so your stock stays around 180º Fahrenheit. Allowing your broth to boil will break down the compounds that make it gelatinous, so you won’t have a gel consistency at the end.
I have an electric stove, so I turned my burner on high until the mixture was at a simmer and then turned it down to medium-low. I also checked the temp a couple times over the next six hours that it was on the stove, to be sure it was at a good temperature.

By watching Mary’s videos, you can also learn about why she doesn’t add salt or garlic to her broth mixture while it’s on the stove, as well as her tips for straining and decanting the finished product.
The process to make the broth was much simpler than I imagined and my broth turned out really nice. It’s delicious! I’ve enjoyed drinking it, as well as using it to add extra flavor to recipes.
If you’d like to try making your own nutrient dense bone broth, check out Mary’s video on how to make stovetop chicken bone broth as well as this Bone Broth FAQ.
You can find Mary on Youtube at Mary’s Nest and on her website: https://marysnest.com/


