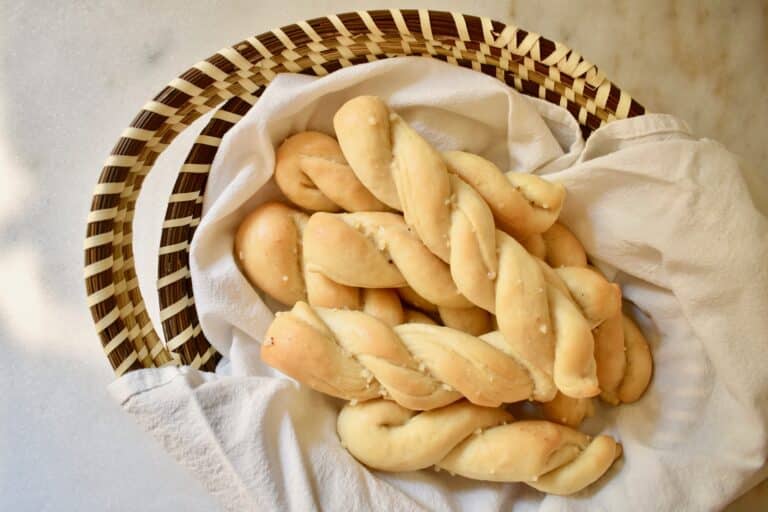
Bread baking has always seemed a tad bit intimidating to me. There is a lot of time involved and you never quite know how it’s going to come out until you get the loaf out of the oven several hours after starting. But, I am learning that it is a process that is worth the time and commitment. And, it’s even a bit fun! I especially enjoy kneading and shaping and these twisted breadsticks are the perfect amount of delicious stress relief. A sweet friend shared this recipe with me a few years back, and I have loved baking it ever since. As long as you plan enough time for the dough to rise, it’s truly a simple recipe with simple ingredients that yields a delicious, savory result.
The first thing to be aware of while baking bread is the yeast that you are using. Yeast is what allows bread to rise and helps creates that lovely soft (and hopefully even) texture on the inside. There are a few different types of yeast, but for this recipe we will be using active dry yeast. Active dry yeast is in a dormant state that needs to be activated by soaking in warm water. Another common type of yeast is instant yeast. The difference in the two is that instant yeast does not need to be activated by warm water; you can simply mix it in with your other ingredients. So, be aware of the type of yeast you are using to have a successful bake from the start.
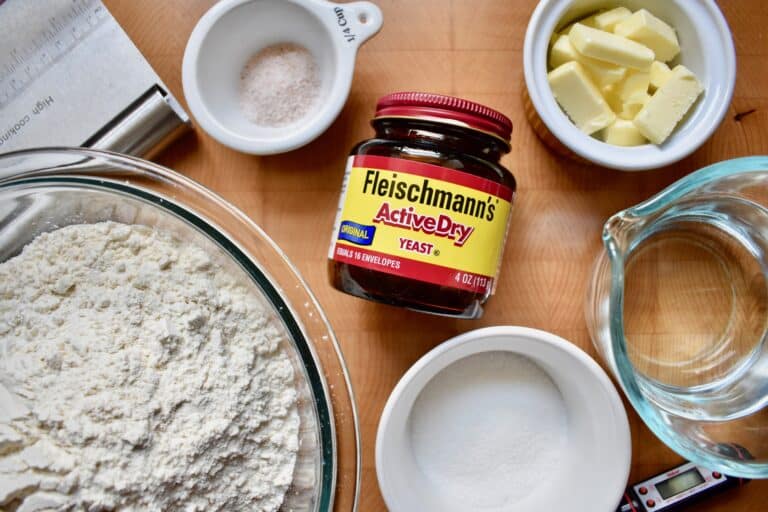
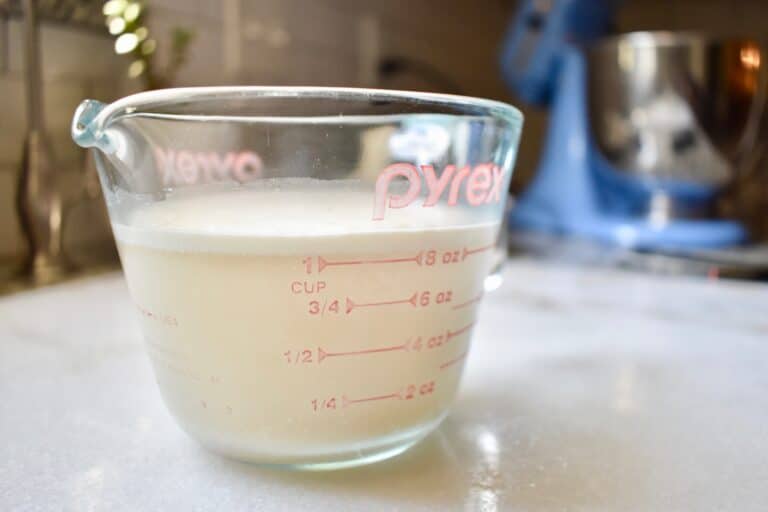
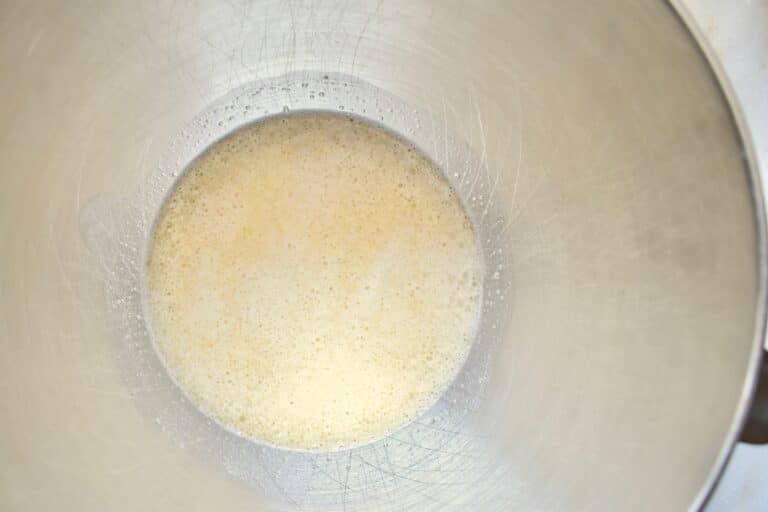
To proof or activate the yeast, warm the water to 100-110 degrees. Water can reach this temperature straight out of the tap, but I always use a food thermometer to make sure it is in the correct range. Add the active dry yeast and sugar to the warm water and stir well. Let the mixture sit for about 5 minutes, and you should come back to a foamy top created by the yeast reacting with the sugar and water. It is now ready to use!
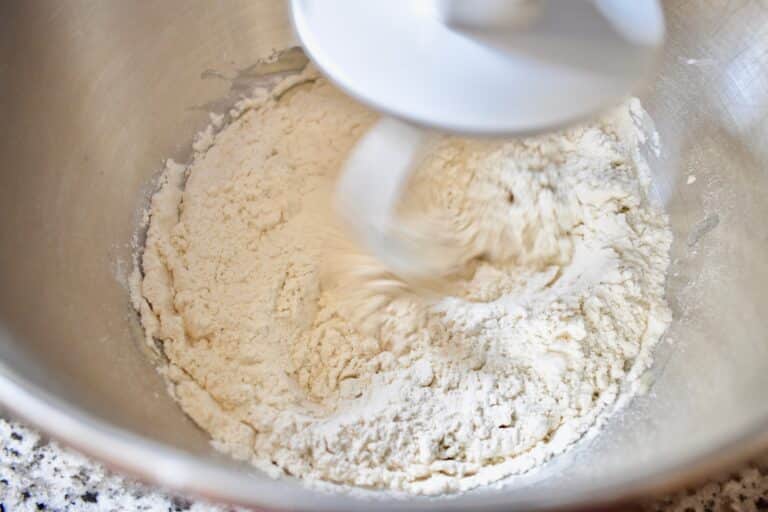
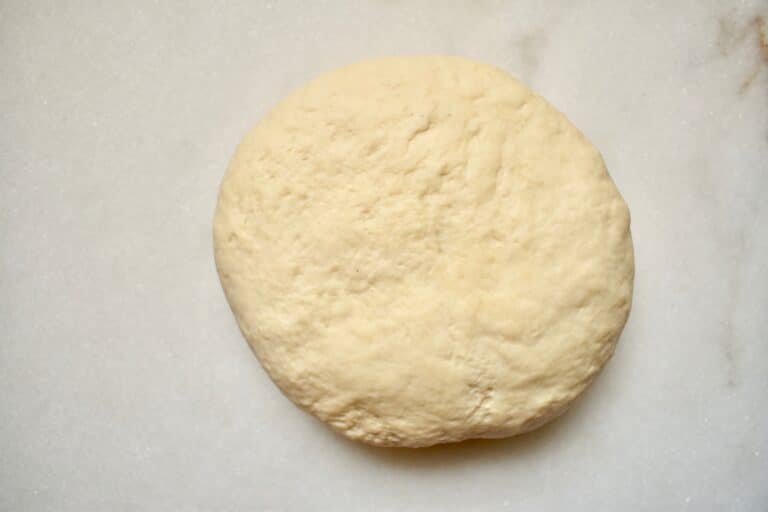
In the bowl of a stand mixer, add the yeast mixture, melted butter, and salt and stir together. Gradually begin mixing in the bread flour. It will take several minutes, but continue to mix the dough in the mixer until the dough comes together and is smooth. You can keep the dough kneading in the mixer until it is completely smooth and elastic, or you can finish kneading by hand on the counter. The finished dough should not be sticky, but should instead hold together easily, have a smooth finish, and be elastic.
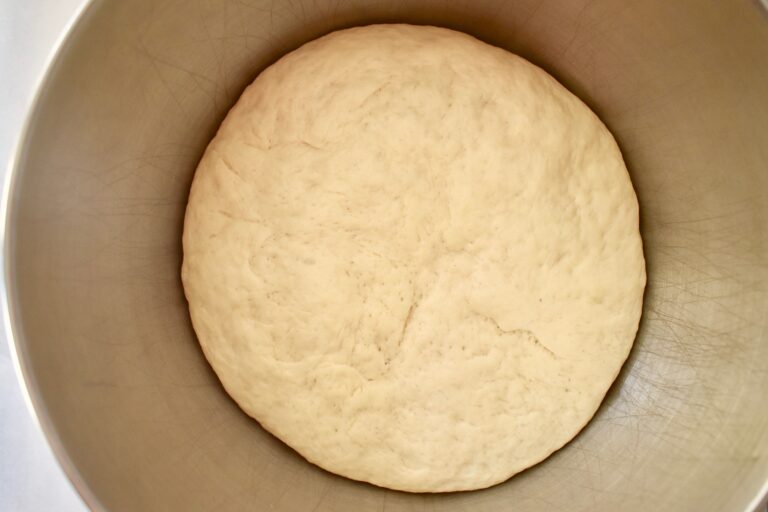
Clean and then lightly oil your mixing bowl and place the dough back inside. Pat the top of the dough very lightly with oil, this will prevent it from drying out. Cover the bowl tightly with plastic wrap and place in a warm place to rise until doubled in size, about an hour and a half. My mom always let her dough rise in the laundry room since it was the warmest place in the house. I usually stick mine in the microwave (without turning it on obviously)!
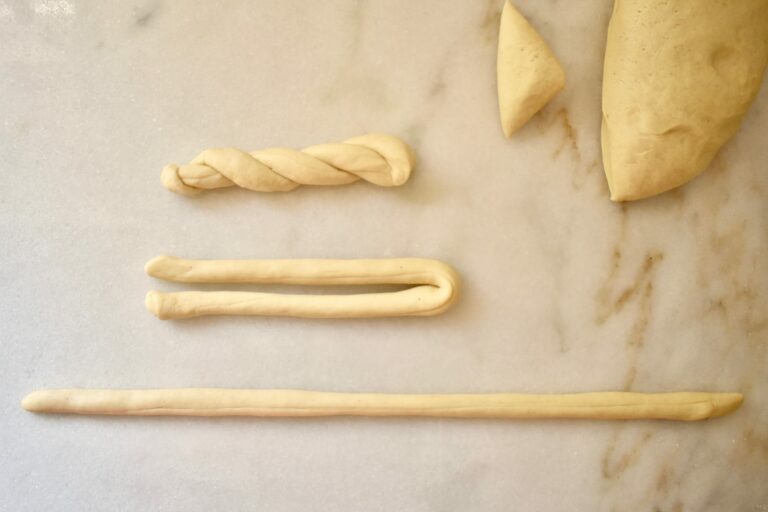
After the dough rises, turn it out onto a clean surface and, working one breadstick at a time, shape the dough. First, cut off a 2 oz piece of dough and begin rolling out until it reaches about 15 inches long. It will be fairly thin at this point. Fold the dough in half and hold the dough at the center point. Gently twist the two ends together until you reach the end of the dough. Pinch together at the end and place on a baking sheet lined with parchment paper. Continue this process until all of the breadsticks are shaped; you should have about 12-13 breadsticks in total. Cover the breadsticks with plastic wrap and let rise until doubled, about an hour.
To see a how-to video of this process, head over to Plan to Eat’s Instagram page!
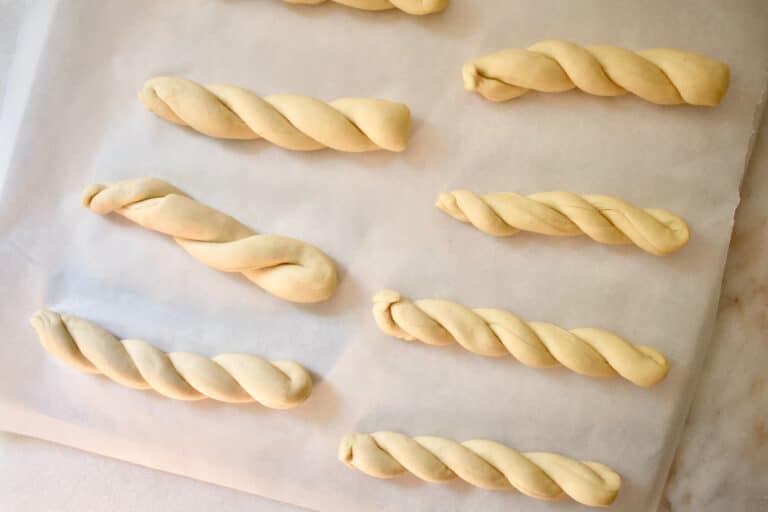
After rising, bake the breadsticks at 400 degrees for 14 minutes or until golden on top. While the breadsticks are baking, you can make the buttery topping. Feel free to improvise here based on your personal preferences, but this is what I did.
Melt 4 tablespoons of butter and add in a bit of minced garlic and kosher salt. Stir together and let sit while the breadsticks bake so that the flavors really mingle. Once the breadsticks come out of the oven, immediately brush the tops with the buttery sauce.
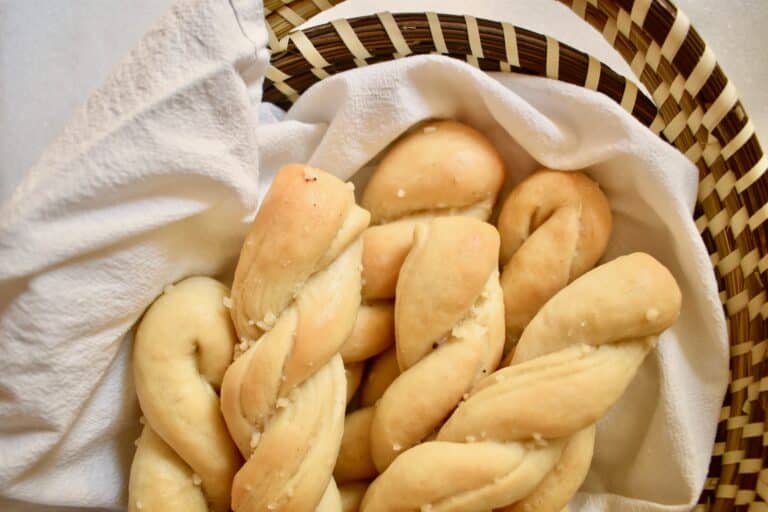

These are truly delicious, and such a good savory addition to a meal. It’s also fun to share with your dinner guests that you made HOMEMADE breadsticks – completely from scratch! If I can do this, so can you!
Enjoy baking, friends!
Anna
Join us this month for more baking basics! Whether you’re a novice or a well-seasoned baker, we’re sharing tips and tricks to help everyone gain Kitchen Confidence!
Twisted Breadsticks
Beautiful, delicious, and simple breadsticks that make the perfect addition to any meal.
Source: The Little Blue Mixer
Course: Kitchen Confidence: Baking Basics
Prep Time: 3 hr 15 min
Cook Time: 14 min
Total Time: 3 hr 29 min
Serves:
Ingredients
- 1 cup warm water 100-110 degrees
- 1 1⁄2 teaspoons active dry yeast
- 2 tablespoons sugar
- 3 tablespoons butter melted
- 1 3⁄4 teaspoons salt
- 3 1⁄2 cups bread flour
- Topping
- 4 tablespoons butter melted
- 1 teaspoon minced garlic
- 1⁄2 teaspoon kosher salt
Directions
- Add yeast and sugar to warm water that is between 100-110 degrees. Stir thoroughly and then let sit for about 5 minutes to proof. When the top of the mixture is foamy, the yeast is ready.
- Stir together yeast mixture, melted butter, and salt in the bowl of stand mixer.
- Gradually mix in the bread flour and continue to knead in the mixer until the dough comes together and is smooth. If needed, finish kneading by hand on the counter until smooth and elastic.
- Place the dough back into a cleaned, oiled bowl. Pat the top of the dough lightly with oil. Cover with plastic wrap and let rise in a warm place until doubled in size, about 1 1/2 hours.
- Divide the dough into 2oz pieces, roll out with hands until about 15 inches long, fold the dough over in half, and twist the two halves together, and pinch together at the end. Place breadsticks on a parchment lined baking sheet, cover with plastic wrap, and let rise until doubled in size, about 1 hour.
- Bake at 400 degrees for 14 minutes or until golden brown on top.
- While baking, make the topping. Stir together melted butter, minced garlic, and salt. Brush hot breadsticks with buttery topping and serve immediately.
- Enjoy!

