This guest post is authored by Cody Hitchcock. Cody is a horticulturist by profession as well as an urban agriculture enthusiast invested in outreach and education to improve human and environmental health.
Spring is fast approaching here in the Northern Hemisphere. That first good day where it’s warm enough to let the sunshine hit your bare skin ignites the urge to start planning outdoor activities. Now is the perfect time to start planning a garden! Growing your own produce is exceptionally rewarding, and the ability to control your own garden inputs is the only way to truly know what’s being used to grow your food. Even certified Organic produce at the grocery store is typically sprayed quite heavily with pesticides, they’re just certified Organic pesticides. Take matters into your own hands!
Thinking about the whole process at once can seem overwhelming, as it can be a project that continues all the way through summer and into autumn, so don’t get ahead of yourself. The beginning of the project will be when you have the most energy for it, and luckily this coincides with when you need it most. Get through the spring planting season with the steps outlined below, and the majority of your summer should only involve some watering and picking fresh fruits and vegetables!
Decide what area of the property you want to use:
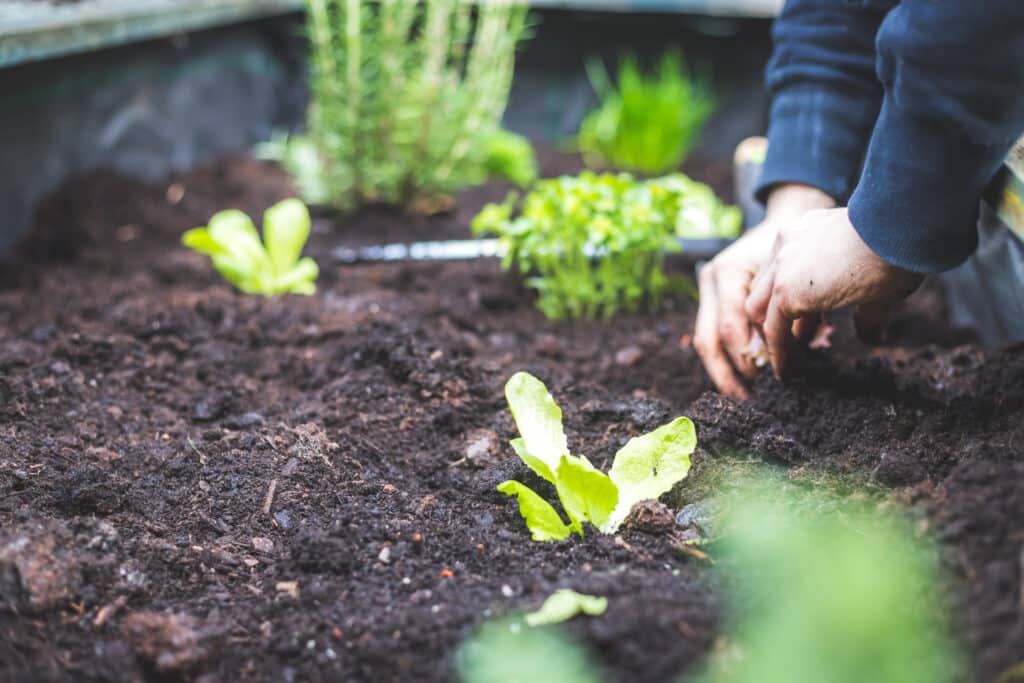
First, you will need to decide what area of the property you would like to convert to garden space. Ideally, pick out a place that gets the most sunlight. At least six hours per day is considered “full sun,” which will provide all you need to grow most sun-loving plants such as tomatoes, peppers, zucchini, carrots, onions, beans, etc. Generally speaking, more sun equals more produce, but don’t be discouraged if you find yourself in short supply of an area that gets the full six hours. You can still grow these types of crops, you just won’t be able to get as much yield in total, and shade tolerant plants like leafy greens and most herbs can be every bit as fun and delicious to grow. Once you’ve decided on your area and square footage, you should now consider the soil.
Consider soil health:
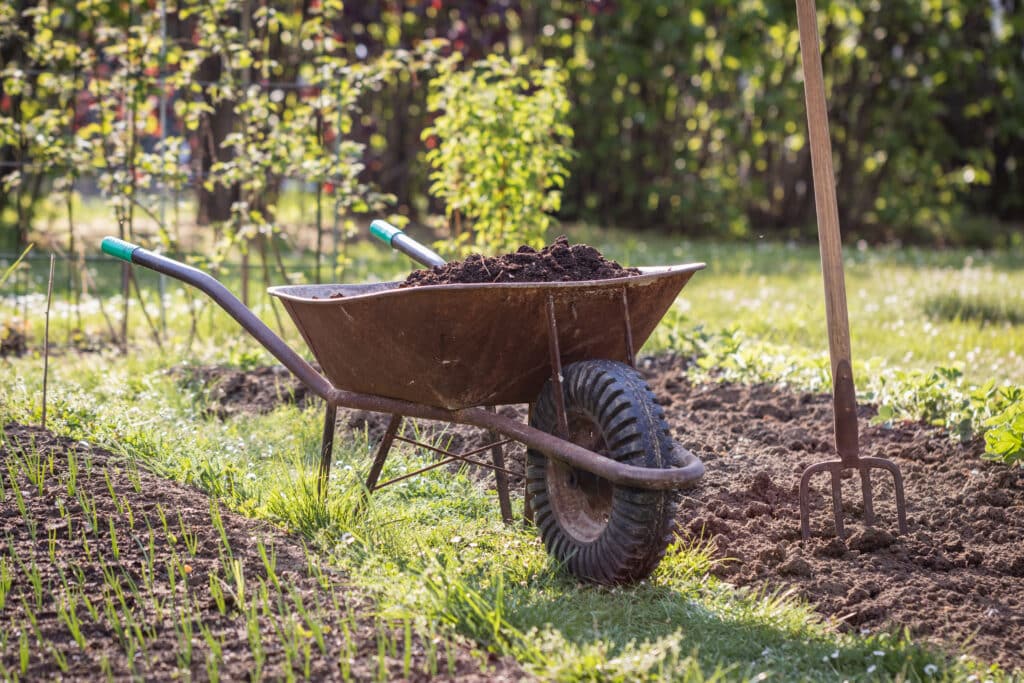
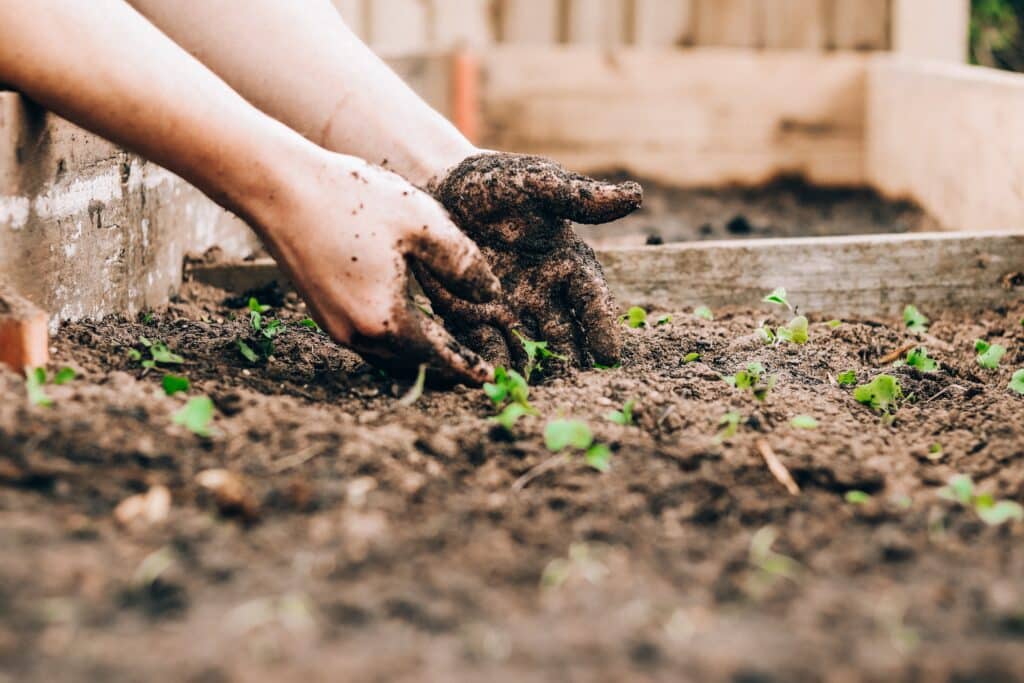
If you haven’t gardened before, I would recommend starting out with a smaller area to make it easy on yourself. Raised beds can be terrific if you have the means to purchase the structures themselves as well as the soil to fill them. Bagged soil is quite expensive so check out a landscape materials supplier to find something cheaper with compost already mixed in. If you’re not into the idea of spending a bit more time and money to make your own structure, you can typically find custom beds on websites that sell local goods, which I would recommend over the kits you’ll find in big box retail stores. However, raised beds are certainly not a necessity. Making your garden right in the ground will provide way more space for much cheaper. Even if your soil is just dirt, all you need to do is add compost (“dirt,” by the way, is a dirty word in gardening and refers to soil lacking microbial life and organic matter). You might not make spectacular soil right away, but continuing to add organic matter like compost, mulch, manures, grass clippings, etc. will allow your garden to grow healthier and healthier every season, regardless if your soil is starting out as mostly sand, clay, acidic, alkaline, or anything under the sun. Patience and organic matter are your friends when it comes to soil health. Search online for “preparing an organic garden bed” to get some good visuals on what a planting bed should look like.
How do you want to irrigate?
The next consideration is water. If you plan to water by hand in a hot and sunny climate, be prepared to be out there most every day through the summer months. You will ideally want to water in the morning since plants don’t drink in the dark anyway, and it can make for a refreshing morning ritual. Just make sure your hose can reach! If you have a little more time up front, investing a bit of energy into setting up drip irrigation provides a pretty amazing payoff. Quite a few websites exist that can make this job accessible to most anyone, and being able to set your water applications on a timer allows you to sleep in until the last minute without worrying about your salad greens getting all wilty. This way you can also take a vacation without having to ask your neighbor for a “really big favor.”
Pick out the crops you want to grow:
Now it’s time to pick out which crops you want to grow, which is super fun and inspiring! Local nurseries can provide both seeds and transplants (a.k.a. “plugs” or “starts”), depending on your plans. Germinating seeds is probably my favorite aspect of growing, but it does require a few more materials and a good dose of daily TLC. If you invest in a small light (or are lucky enough to have a glass ceiling) plus a few planting trays with dome lids, you’ll end up spending a few cents per plant rather than somewhere around five dollars. My personal strategy is to start from seed and then purchase supplemental transplants as needed if I don’t get the greatest germination success. Don’t be afraid to fail; it’s actually easier than you might think!
Check your hardiness zone to determine your timeline:
If you are anything like me, you have now picked out probably far more seeds than you have room for in the actual garden space, but not to worry, just keep any extra seeds in an airtight container in the fridge or a cool basement. They can last for years. The important thing to look at now is a planting calendar for your hardiness zone. Look up “hardiness zone” on the internet for your area. You will get a number that corresponds to the dates of your first and last average frost (i.e. freezing temperatures), which indicates the length of your growing season. Once you have that number, all you need is to find a “planting calendar” to provide you with suggested dates for starting seeds or for transplanting plugs directly into the ground. These calendars are easy to find online and include a wide variety of fruits and vegetables. Your local nursery will likely have a hard copy (and professional advice) if you prefer.
Once you have the desired planting dates in your plans, you can create a timeline for when you want to have the prep work accomplished (the topics we’ve been discussing above). For the record, it’s okay if you end up running a little behind. Sometimes it’s actually a little safer that way if your area is prone to startling weather fluctuations like here in Colorado. You don’t want a late spring frost to zap all your transplants a few days after you just put them in the ground!
In summation, this information provides you with a general overview of how to start a garden from scratch. You can take a deep dive into any of the topics discussed at your own discretion, but just remember that the most important thing is simply to get started. You can successfully garden in a thousand different ways, but an overload of information can end up just bogging you down. Get yourself a shovel and some compost, and off you go!
Starting your garden in 5 steps:
- Decide what area of the property you want to use:
- How many square feet (start small and easy)
- How much sun (ideally at least six hours)
- Consider soil health:
- Clear the area of competing plants (weeds)
- Add a few inches of compost (can be dug in or just layered on top if your soil is fairly loose)
- How do you want to irrigate?
- Is drip irrigation accessible (saves time in the long run)
- Hand watering with a hose (required daily during hot weather)
- Pick out the crops you want to grow
- Seeds are cheaper than transplants but require a bit of equipment and an earlier start
- Check a planting dates calendar for your hardiness zone to determine your timeline for preparations
If you would like to connect with Cody, contact [email protected] for outreach and partnership opportunities.

