When spring finally arrives, I always look forward to picking fresh strawberries. Our strawberry plants are starting to perk up a bit after winter. Hopefully, we will have our own little crop of berries in the next month or so! There are so many ways to enjoy this sweet springtime fruit, and one of my favorites is making fresh strawberry jelly. I grew up loving this homemade jelly, and it’s such a joy to get to share it with my own kiddos and you guys!
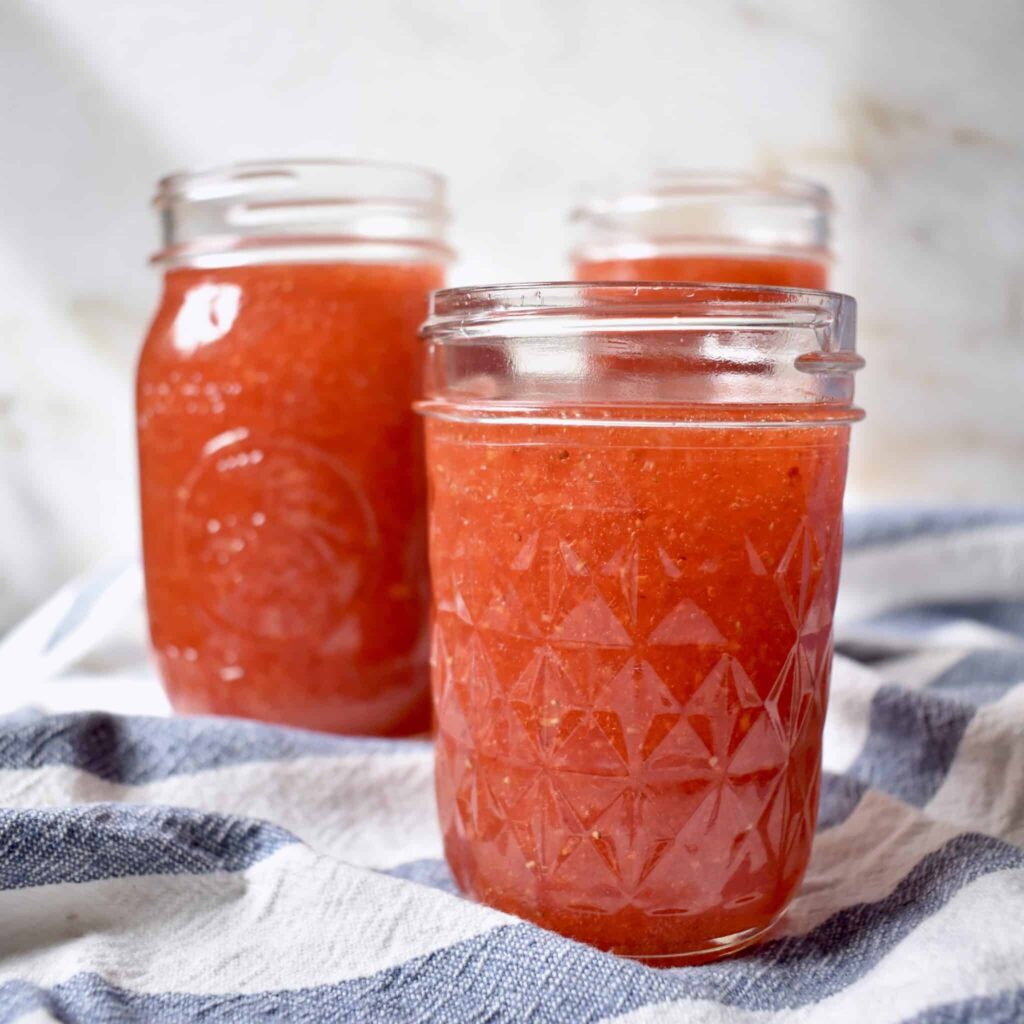
This jelly comes together with just 4 simple ingredients – strawberries, sugar, fruit pectin, and water. Another bonus – it doesn’t require the extra effort of normal canning as this is a freezer jelly recipe! You simply follow the recipe, let the jelly set on the counter for 24 hours, and then store in the freezer until needed. How easy is that!
Before getting started on the jelly, gather a few jars and lids and have them ready to be filled when needed. You can use any size jar you like, but keep in mind that the recipe yields about 5 cups.
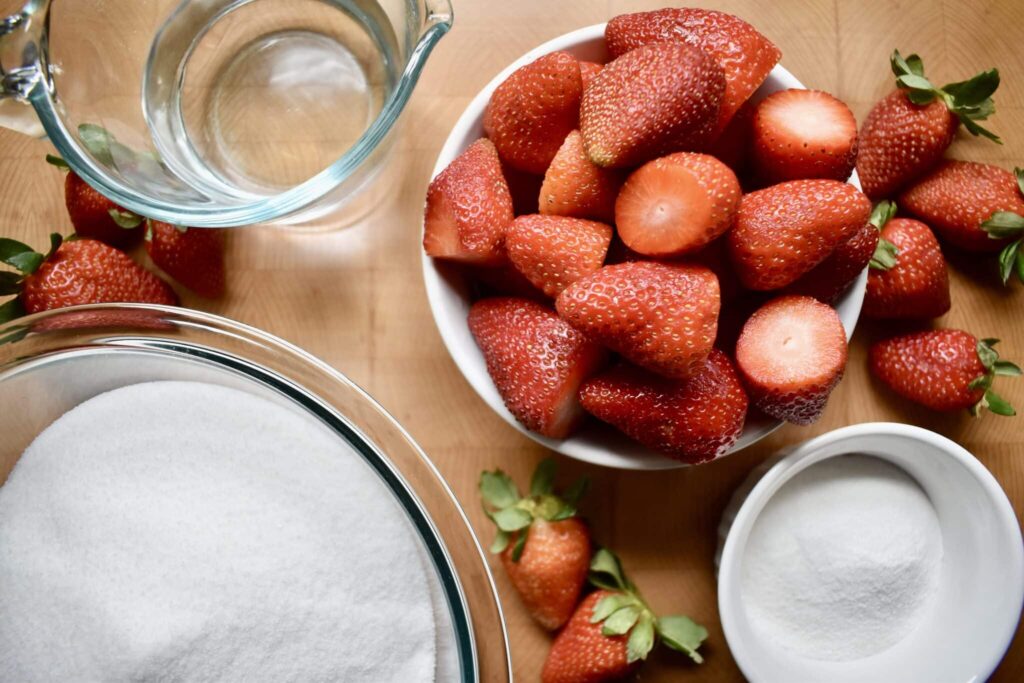
Next, wash and dry 4 heaping cups of fresh strawberries and remove the stems. Using a blender or food processor, crush the strawberries to yield 2 cups of fruit. If you don’t have a blender, you can cut the strawberries into small pieces and use a potato masher or similar tool to crush the berries. Add the sugar to the fruit, stir well, and let sit for about 10 minutes while stirring occasionally.
This process of letting the fruit and sugar sit together is called maceration. During maceration, the strawberries are softened and release flavorful juices, which is just what we want for our jelly!
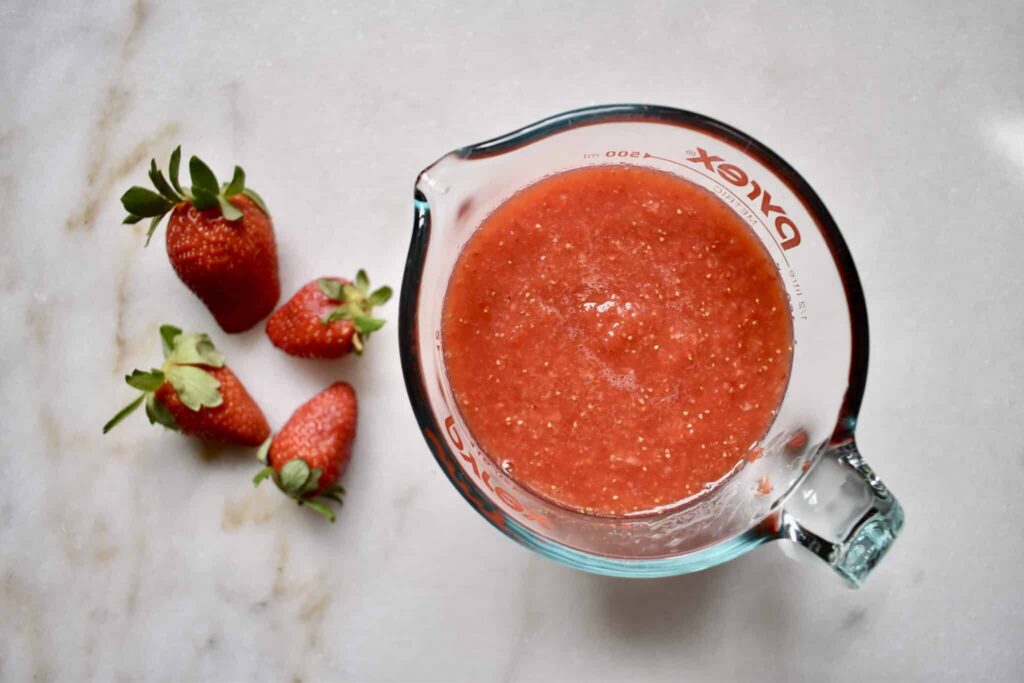
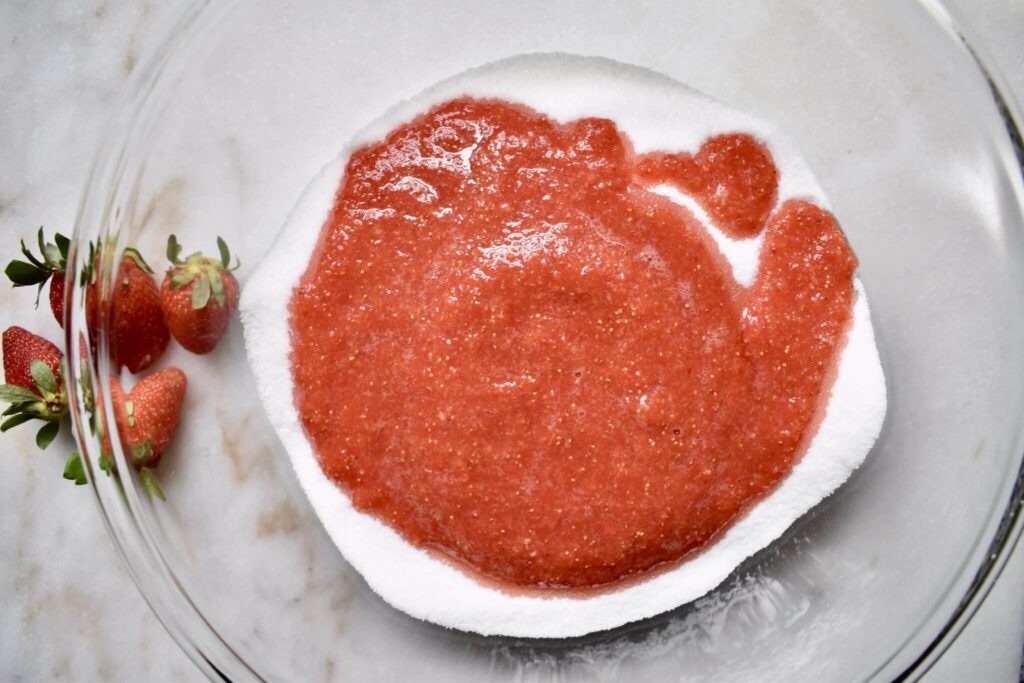
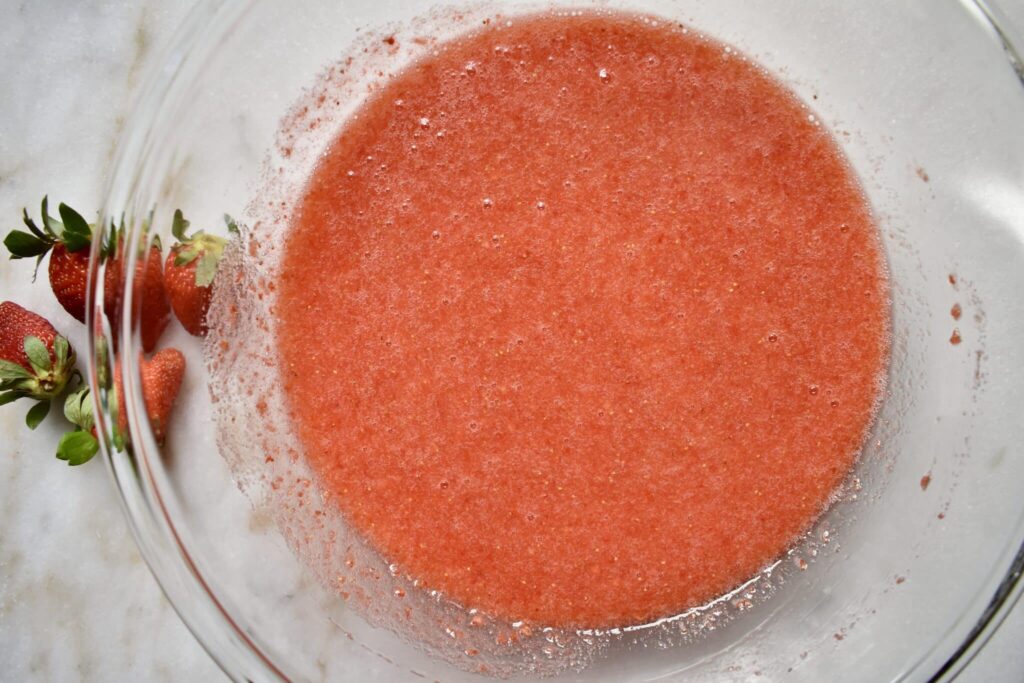
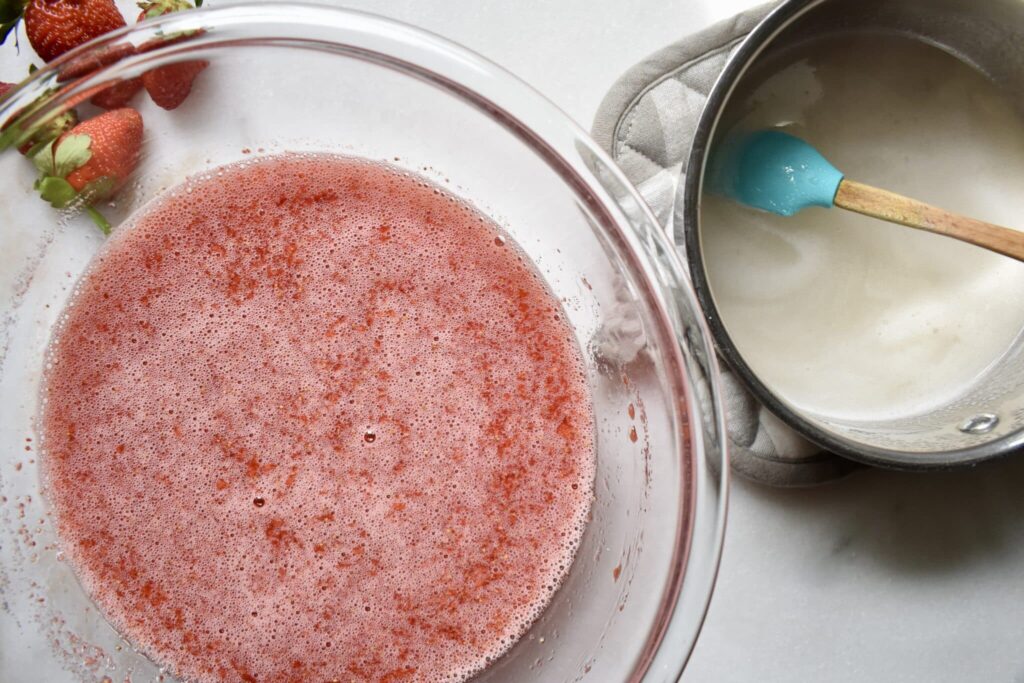
While waiting on the strawberries, choose a small saucepan and stir together the fruit pectin and water. Fruit pectin is a thickening agent that allows your jelly to reach just the right consistency.
I use the original version of the SureJell brand, but check your local grocery store to see what options are available near you. Stir the mixture continually while bringing it to a boil over high heat. Once it begins boiling, continue stirring for 1 minute and then remove it from the heat. Add the pectin to the strawberries and stir until the sugar is dissolved.
Carefully pour the jelly into jars leaving about 1/2 inch of space at the top. Put the lids on and let the jelly sit on the counter at room temperature for about 24 hours. Store in the freezer until needed!
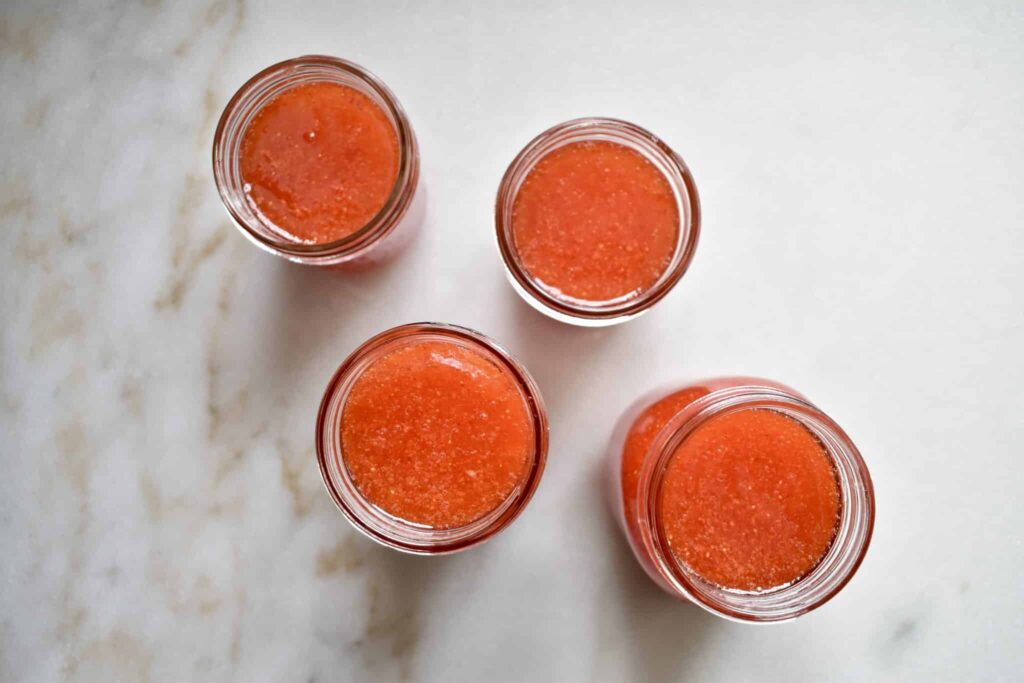
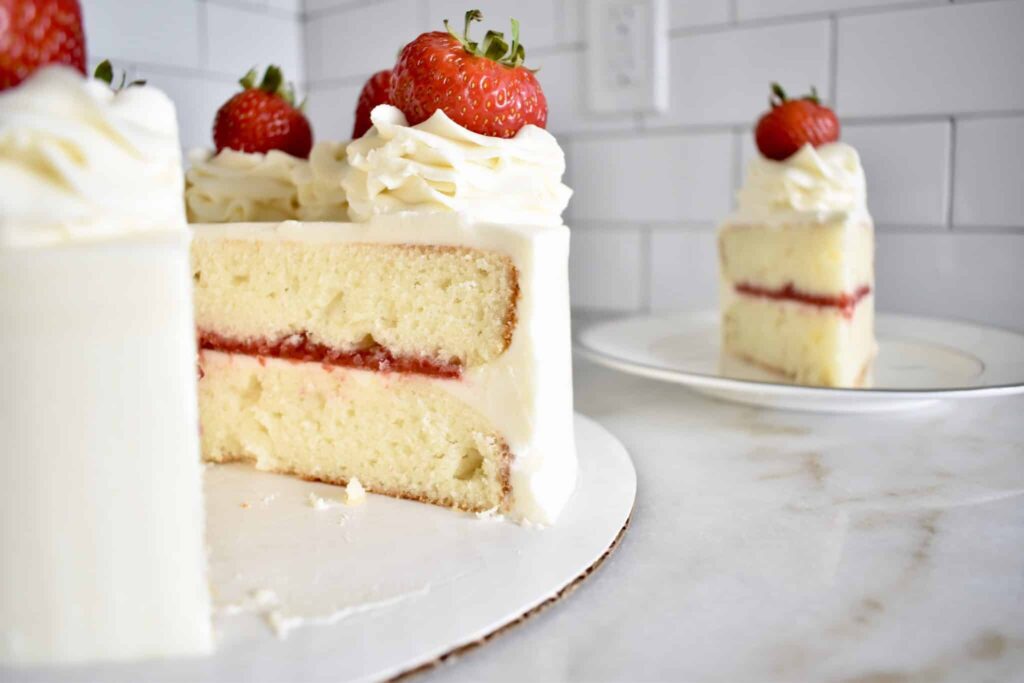
There are so many fun ways to enjoy this jelly. Serve it on toast or biscuits for breakfast, top off vanilla ice cream for dessert, or use it as a filling for cakes, Linzer cookies, or homemade pop-tarts!
– Anna
P.S. Any leftover strawberries can be used as a fruit filling for a weekend breakfast of crepes!
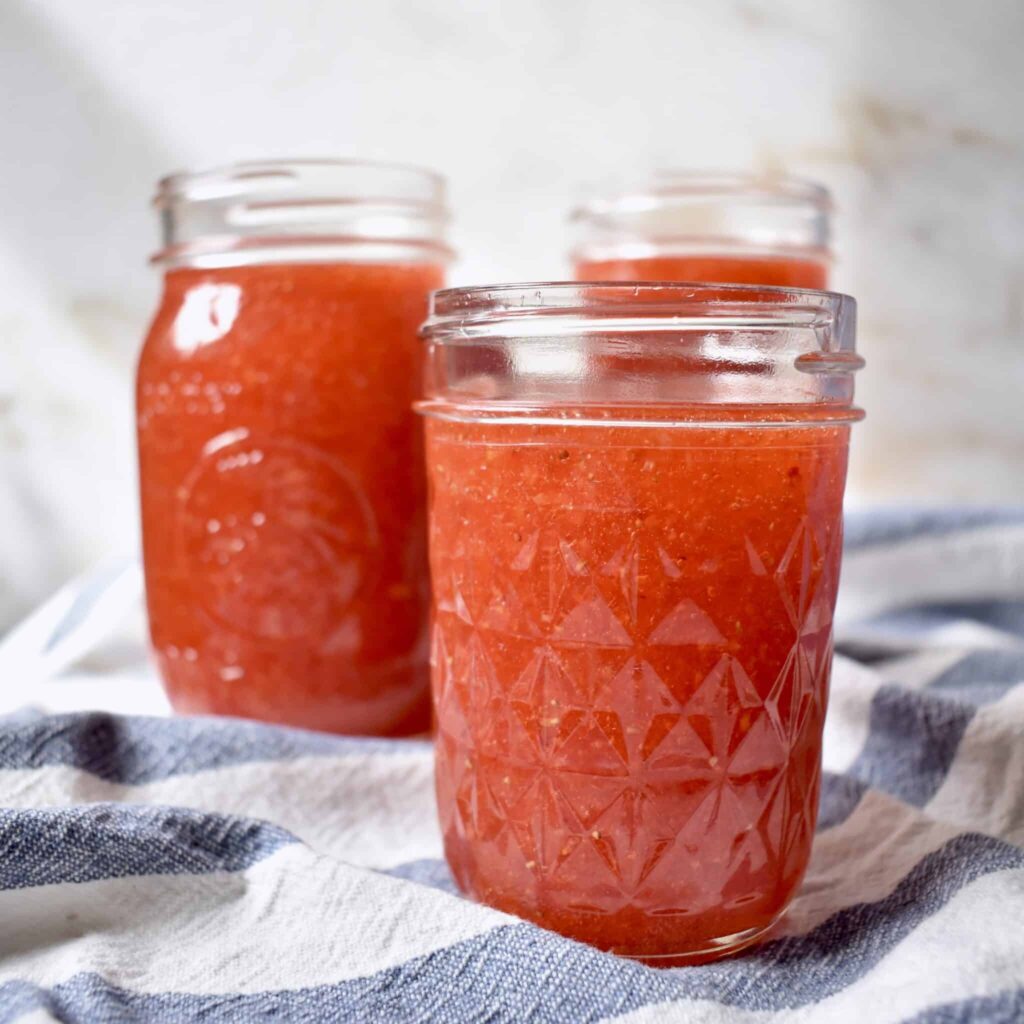
Homemade Strawberry Jelly
Such an easy recipe! This strawberry jelly is bursting with flavor and the perfect addition to breakfast, dessert, or as a yummy filling.
Source: Anna Reid - The Little Blue Mixer
Course: Desserts
Cuisine: American
Main Ingredient: Fruit
Prep Time: 20 min
Cook Time: 5 min
Total Time: 25 min
Yield: 5 cups
Serves:
Ingredients
- 2 cups crushed strawberries (about 4 heaping cups uncrushed)
- 4 cups sugar
- 1.75 oz package fruit pectin (SureJell)
- 3⁄4 cup water
Directions
- Gather enough jars and lids to hold about 5 cups of jelly. Set to the side until needed.
- Wash and dry 4 heaping cups of strawberries and remove the stems. Using a blender or food processor, crush the strawberries to yield 2 cups of fruit.
- In a large bowl, combine the sugar and crushed fruit, stir well, and let sit for 10 minutes while stirring occasionally.
- In a small saucepan, stir together the fruit pectin and water. Stir continually while bringing to a boil over high heat. Once boiling, continue stirring for 1 minute and then remove from the heat.
- Add the hot pectin to the strawberries and stir until the sugar is dissolved.
- Carefully pour the jelly into jars, leaving about 1/2 inch of space at the top.
- Let the jelly sit on the counter for about 24 hours to set and then store in the freezer until needed.
- Enjoy!


