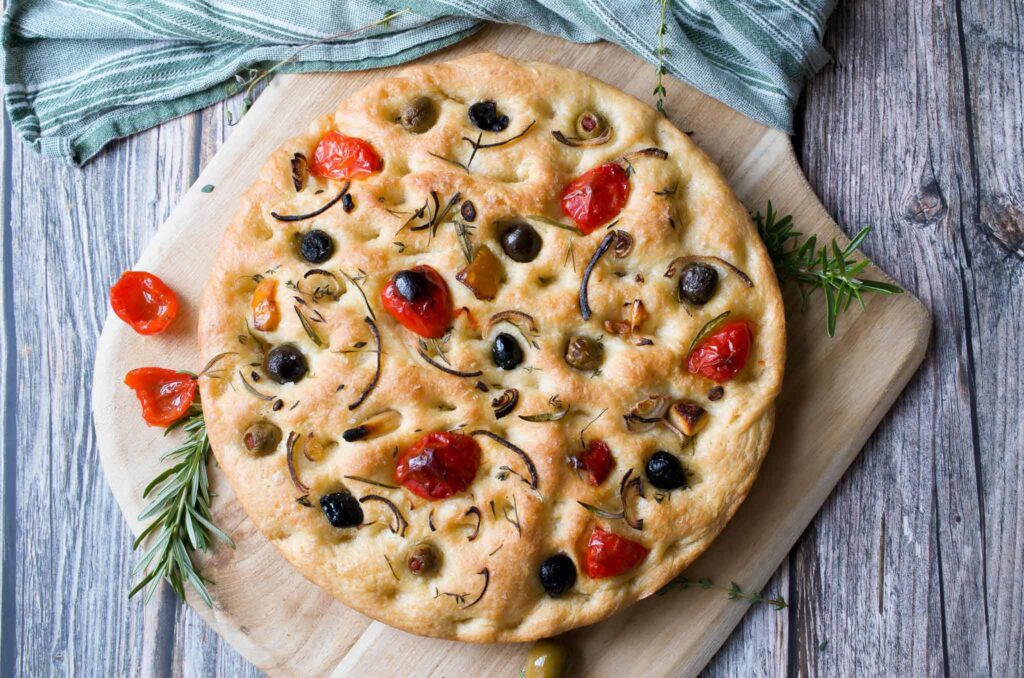
When it’s grilling season, you CAN have freshly baked bread without turning on the oven!
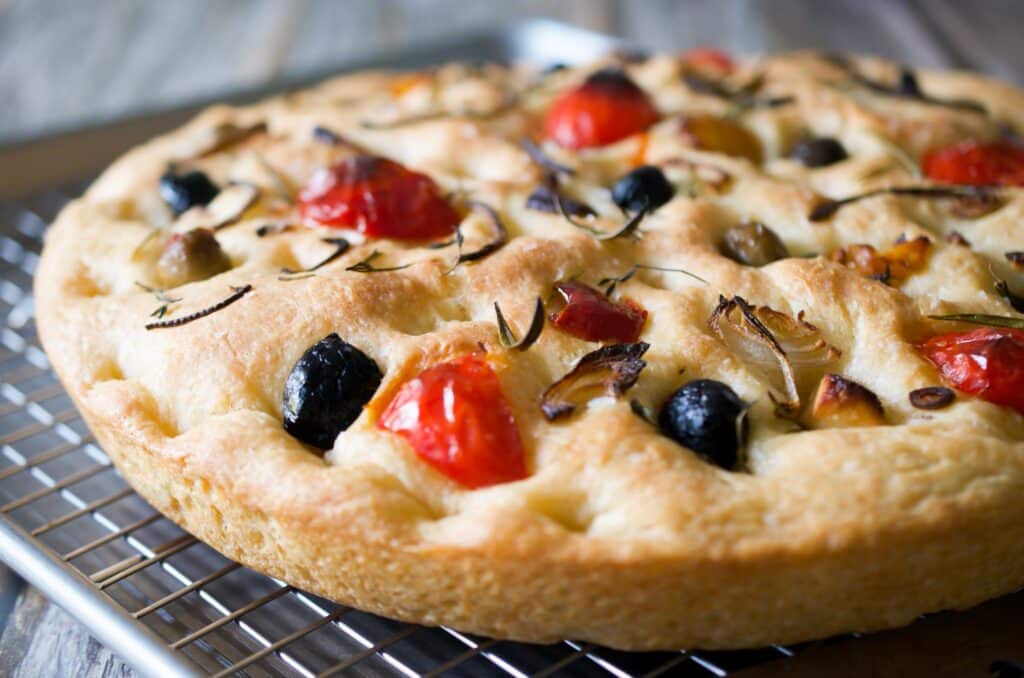
Grilled “Olive Bar” Focaccia is baked in a grill-friendly cast iron pan that delivers the crispy outer crust and tender inside you expect from focaccia.
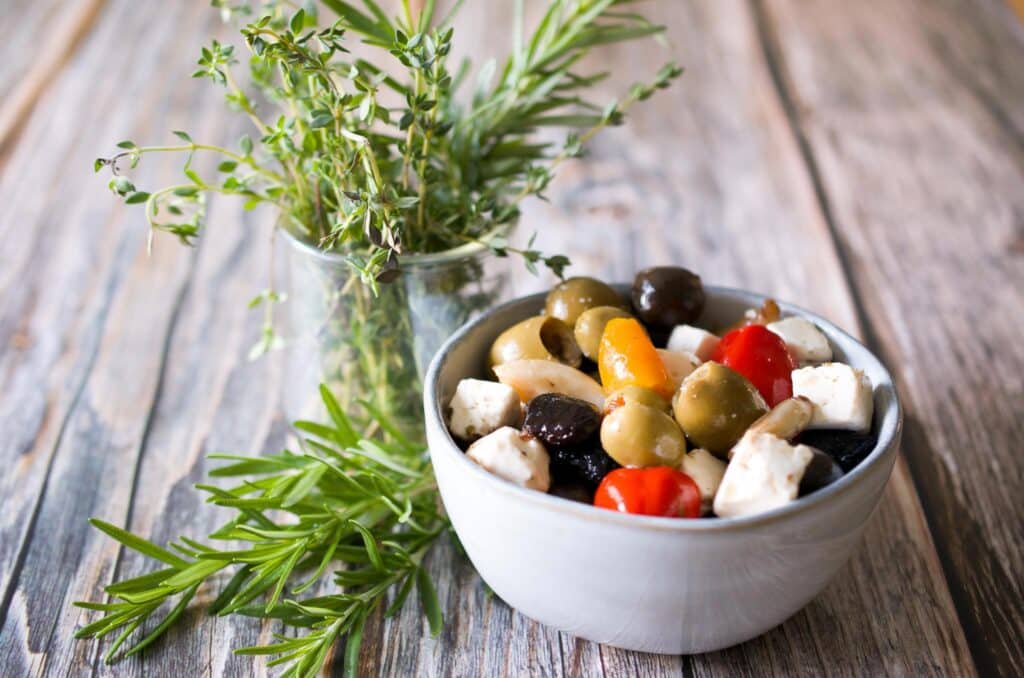
Take a stroll around your grocer’s olive bar and snag your favorite ingredients for topping the loaf…briny olives, roasted veggies, or marinated cheese…any and all of it will add punches of flavor to your homemade focaccia bread, along with fresh herbs and onions.
Enjoy it alongside your grilled dinner, make it a meal with a big salad, or serve it as an antipasto with Italian cured meats and cheese. Because it bakes up thick, it’s also perfect for making sandwiches.
Gather Your Dough Ingredients
- All-purpose flour — some recipes call for bread flour for a chewier texture. I like the lighter, airier quality that comes from all-purpose. Either will work, so it’s the cook’s preference.
- Instant yeast — I like instant for its stability and ease of use. You can simply mix it into your dry ingredients and skip the step of blooming the yeast first.
- Salt — kosher salt for the dough + coarse sea salt for finishing.
- Extra-virgin olive oil — use good quality oil. It adds so much flavor and contributes to the final crispy exterior texture.
- Warm water — right from the tap is fine. Ideally, between 100-110°F is best.
- Shallots — red onion, or even caramelized onions would be delish.
- Herbs — like fresh rosemary, oregano, and thyme.
- Olive bar toppings — the choice is yours! Think pitted kalamata olives, green olives, oil-cured black olives, roasted red bell peppers, cherry peppers, roasted garlic, marinated mushrooms, sun-dried or roasted tomatoes, mozzarella pearls, and feta.
The Equipment You’ll Need for Grilled Focaccia
Outdoor Grill (with Lid)
A gas grill makes baking this focaccia really easy since you can regulate the temperature by simply adjusting the burners. It’s important to maintain steady heat so the bread cooks evenly and thoroughly. If your grill has a built-in thermometer, you’re in business. If not, an inexpensive metal thermometer that can go inside an oven or grill will be helpful.
You’ll need to set it up for indirect heating, meaning one side of the grill will have a flame and the other will not. (On my 3-burner grill, the left burner is set between medium and medium-high, the middle burner to low, and the right burner is completely off.)
If you have a charcoal grill and are experienced in creating an environment with steady heat (like for slow cooking a brisket), you can definitely use that for this recipe. (Sorry, I have no advice on setting that up!)
Cast Iron Skillet or Pan
I use a 12-inch round, cast iron skillet as the baking vessel because: 1) it’s fully heat-safe and won’t be damaged by the grill, 2) it’s great at conducting and holding heat, and 3) it does a fantastic job of creating that crisp golden crust on the focaccia.
The shape doesn’t matter, but if you plan to use something smaller, divide the dough and bake it in batches.
A Big Bowl & A Scraper
Grab a really large bowl…the biggest one you have! You’ll do all the mixing, kneading and first proof in that bowl, so space is going to be your friend.
A plastic scraper or silicone spatula will be helpful along the way, as you prepare the focaccia dough and to help it into the cast iron pan.
You can use a stand mixer fitted with a dough hook, but it’s definitely not required.
Warm or Cold Proof?
Once you mix the dough, you have two options for the first proof. Both methods work!
- Overnight cold-proof — mix the dough in the evening and slow-proof it overnight in the refrigerator. Complete the remaining steps anytime the next day.
- Warm proof — mix the dough and proof it in a warm spot in your kitchen for an hour (~75-82°F). I like using the oven with just the oven light on. Complete the remaining steps right away.
Using the cold-proof method will save you time the next day (prep + one hour of proofing). Warm proofing simply lets you enjoy the focaccia the same day!
How to Make Grilled Focaccia
Mix the dough — Mix the dry ingredients together in a large mixing bowl. Combine the wet ingredients, then gradually pour that into the bowl, mixing with a wooden spoon or spatula after each addition until a shaggy dough ball forms. Use clean hands to work any remaining loose flour into the dough and knead a few times. This shouldn’t take more than a couple of minutes. Drizzle with a little olive oil and turn to coat.
- Option 1: Cover with a tea towel and set in a warm spot to proof for one hour.
- Option 2: Cover with plastic wrap and place in the refrigerator to cold-proof overnight.
[To make in a stand mixer, combine the dry ingredients in the bowl. With the mixer running on low, slowly add the water/olive oil mix. Knead on low for a couple of minutes, scraping down the sides of the bowl once or twice. Cover and set aside as above.]
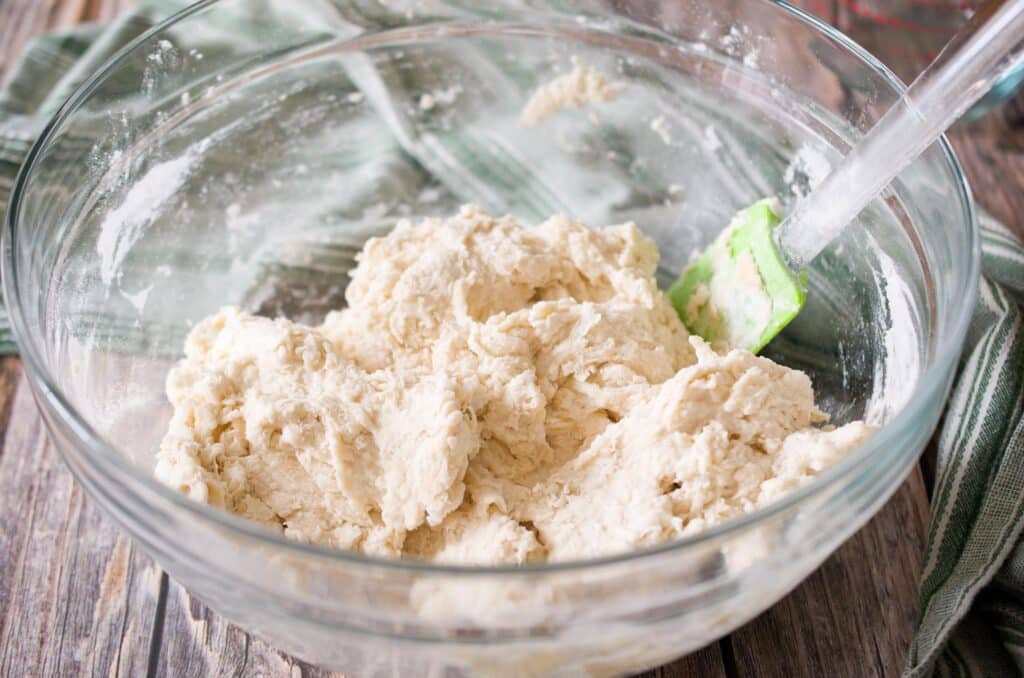
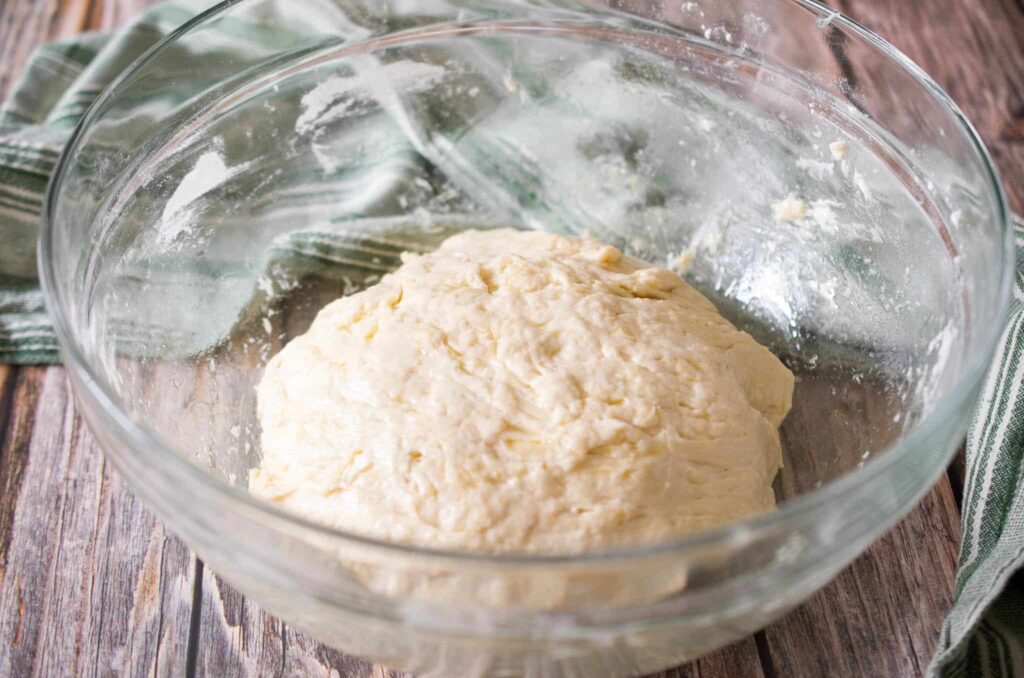
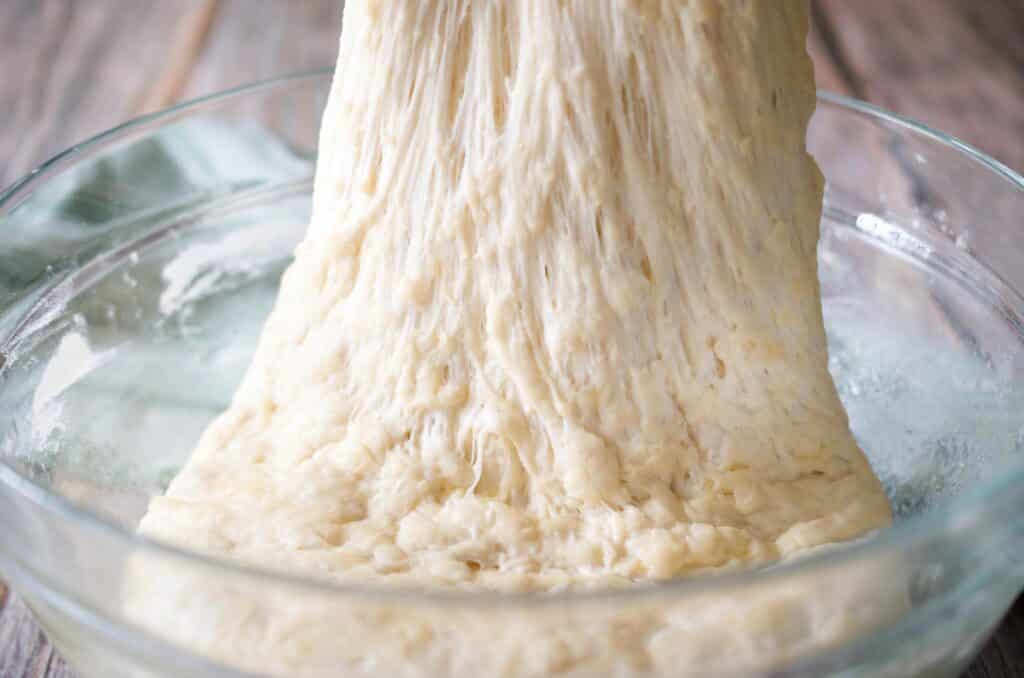
Proof in the skillet — Stretch and fold the dough over on itself several times. Transfer it to a cast iron skillet that has been greased with one tablespoon of olive oil and gently stretch it to fill the space. It’s okay if it doesn’t reach all the way to the sides. Cover it with a tea towel and allow it to rest in a warm place for the second rise.
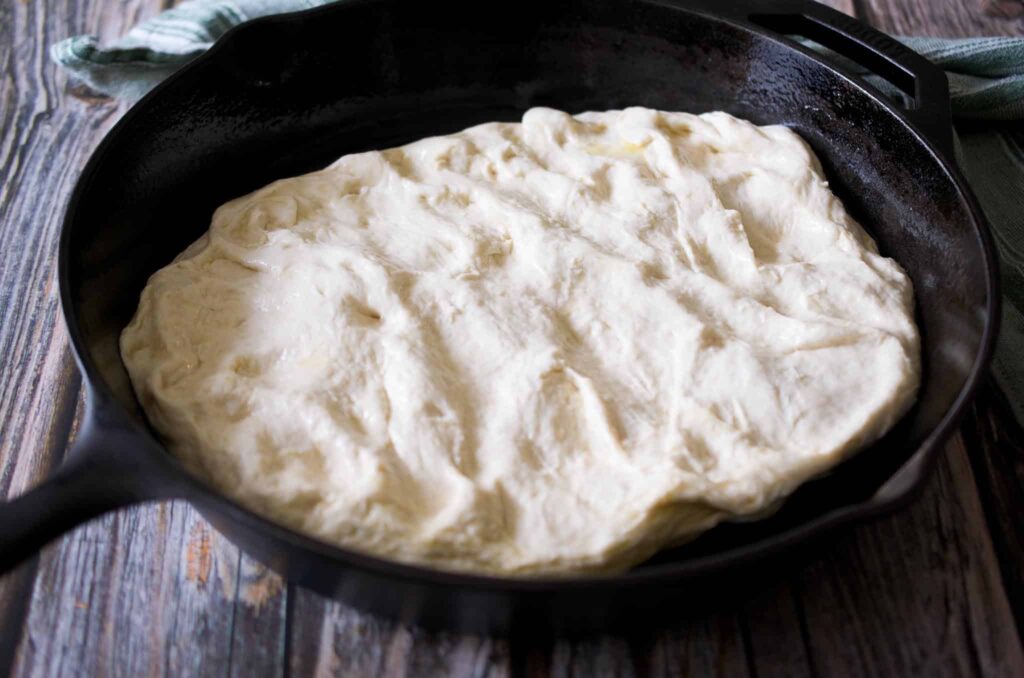
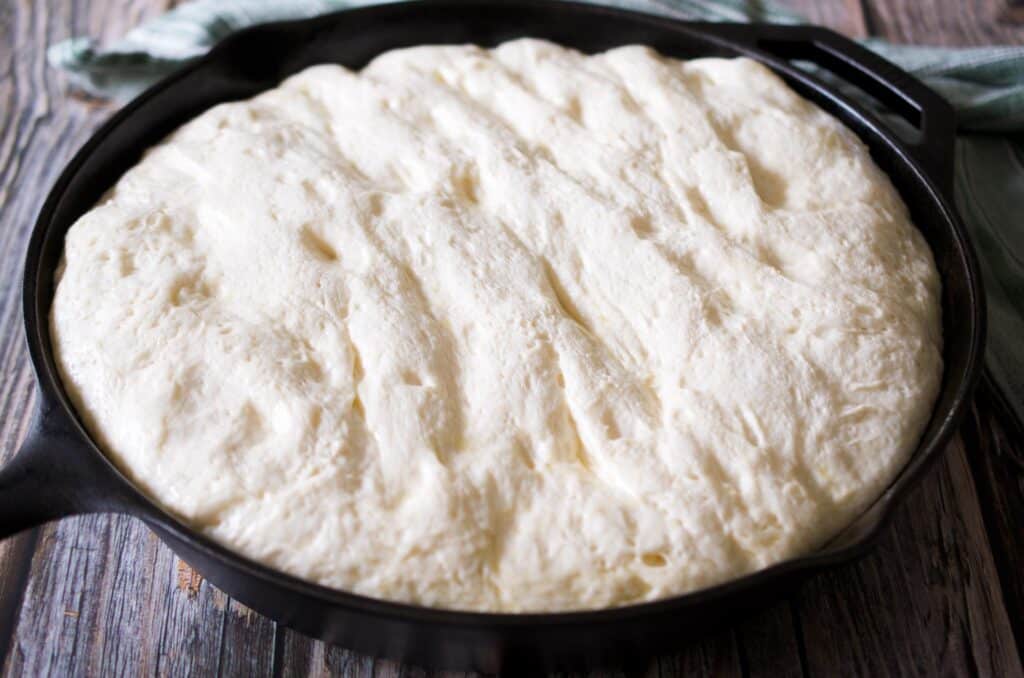
Prepare the grill — Preheat your gas grill for two-zone, indirect grilling.
Assemble the focaccia — With wet fingers, create dimples on the surface of the dough by pressing all the way to the bottom of the pan. Drizzle the surface with more olive oil, sprinkle with coarse salt, then top with shallots, fresh herbs and your olive bar finds. Drizzle with a little more olive oil.
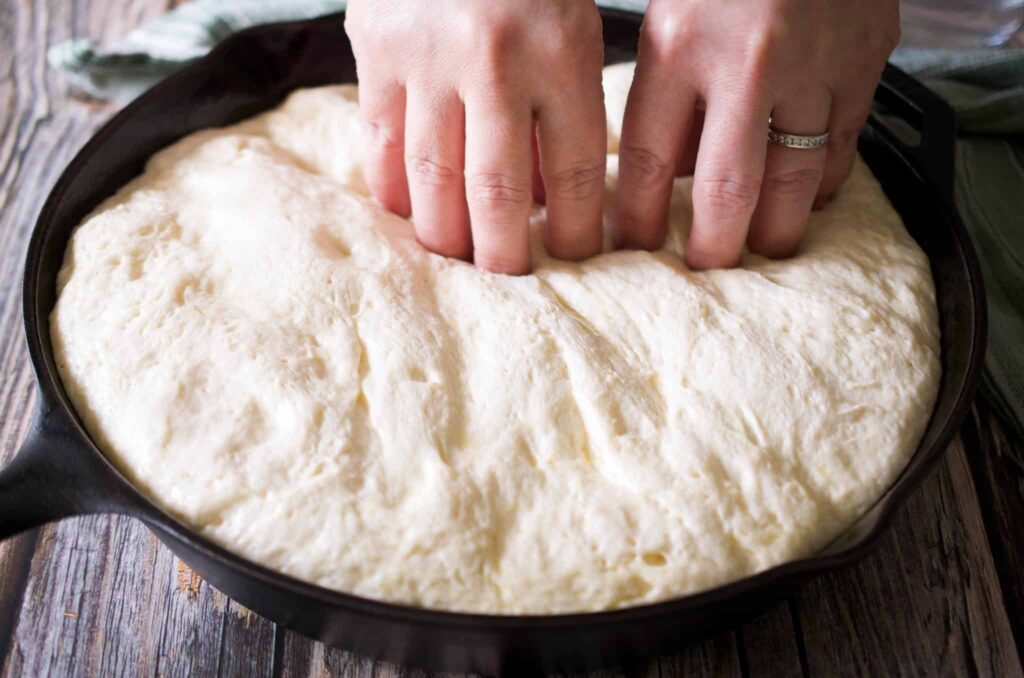
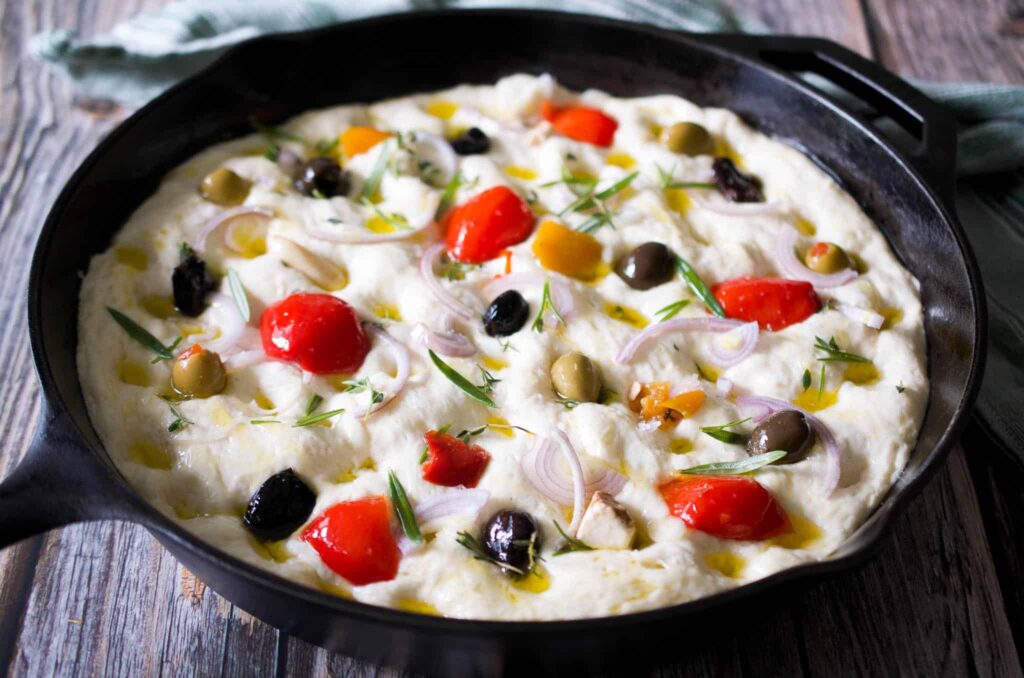
Grill the bread — Place the skillet on the ‘cool’ side of the grill, lower the lid, and bake for about 30 minutes until it’s golden brown. Keep an eye on the thermometer and adjust the burners accordingly. Rotate the pan once halfway through for even browning.
Grilling Tip: the cast iron pan will absorb heat from the grill. The bread should bake at 450°F. I preheat my grill to a steady 475°F, place the pan inside, close the lid, then watch the gauge to make sure it hovers at 450°F, adjusting the burners as needed.
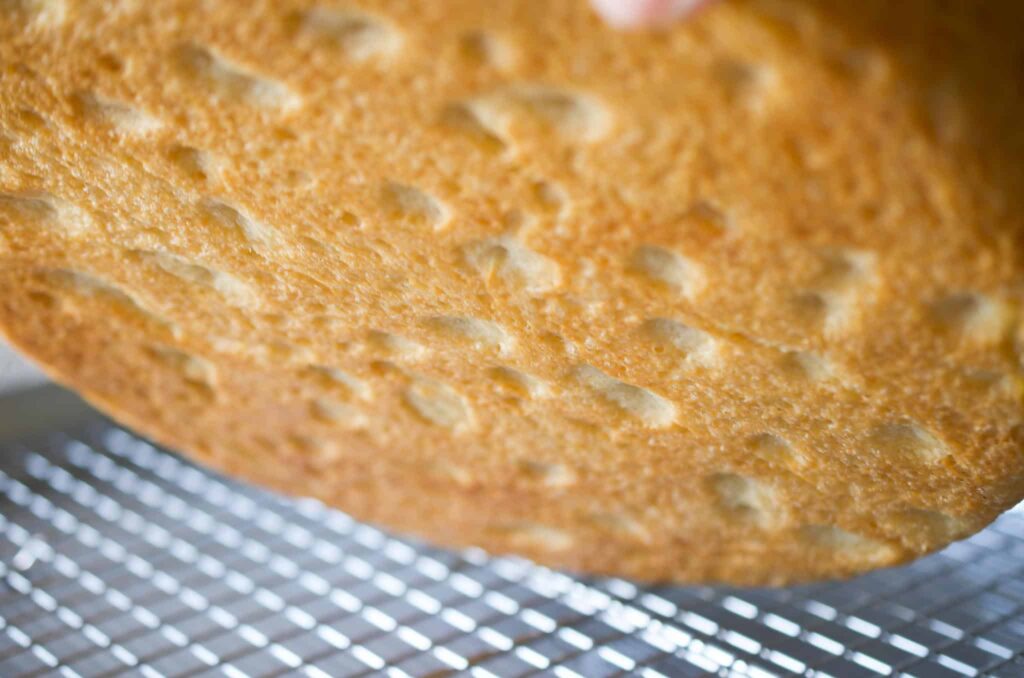
Cool on a rack — Immediately slide the focaccia out of the pan to a cooling rack so steam doesn’t build up and ruin the crusty exterior. (A large metal spatula can be helpful.)
Serve It Up!
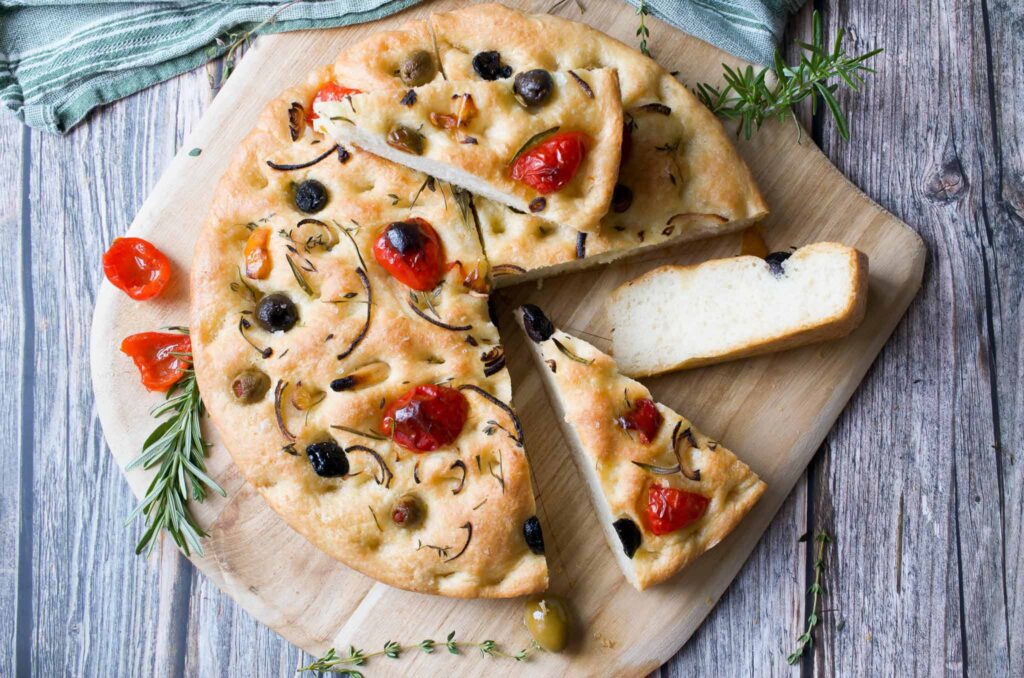
Grilled “Olive Bar” Focaccia is a delightful twist on a classic Italian favorite. The combination of the soft, pillowy bread with the robust flavors of the olive bar toppings creates a surprise in every bite. Now matter how you top it, this recipe is sure to impress friends and family alike. So fire up the grill, gather your favorite olive bar toppings, and get ready to savor every delicious bite of this mouthwatering grilled focaccia bread recipe.
Linda Feller has been a Plan to Eat superfan since 2013 and will whip out the app to share with anyone who expresses the least bit of interest. She is a recipe developer, food photographer, and the gal behind Sip + Sanity, recipes for entertaining and celebrating.
FB & Instagram: @sipandsanity
Twitter: @SanitySip
Grilled "Olive Bar" Focaccia Bread
Once you mix the dough, you have two options for the first proof. Both methods work! Overnight cold proof: mix the dough in the evening and slow proof it overnight in the refrigerator. Complete the remaining recipe steps anytime the next day. <br>Warm proof: mix the dough and proof it in a warm spot in your kitchen for an hour (I like using the oven with just the oven light on). Complete the remaining recipe steps right away. Using the cold proof method will save you time the next day (prep + one hour of proofing). Warm proofing simply lets you enjoy the focaccia the same day!
Source: Sip + Sanity | Linda Feller for Plan to Eat
Course: Breads
Prep Time: 2 hr 20 min
Cook Time: 30 min
Total Time: 2 hr 50 min
Yield: 8 to 10 servings
Serves:
Ingredients
- Focaccia Dough
- 4-1⁄2 cups all-purpose flour
- 1⁄4 oz instant yeast (1 packet)
- 2 tsp kosher salt
- 1 3⁄4 cups warm water
- 2 tbsp olive oil plus more for drizzling
- Fresh Toppings
- 1⁄4 tsp coarse sea salt
- 1⁄2 small shallot slivered or sliced
- 1 tbsp fresh herbs like rosemary, oregano, thyme strip leaves from stem, chop if desired
- Olive Bar Topping Suggestions (~3/4 cup total)
- cheese like feta or mozzarella pearls
- pitted marinated olives
- roasted bell peppers or cherry peppers like Peppadew
- roasted garlic
- marinated mushrooms
- sundried or roasted tomatoes
Directions
- In the largest mixing bowl you have, combine the flour, instant yeast, and salt. Mix well to distribute the yeast and salt evenly throughout the flour. Create a well in the center of the dry ingredients. Add the olive oil to the warm water, then gradually pour it into the bowl while stirring with a wooden spoon or silicone spatula. Continue mixing until a shaggy dough ball forms.
- Use clean hands to work in any loose flour, then knead a few times. The dough will still be a little tacky. Drizzle olive oil over the dough and turn to coat. Cover with a tea towel and set in a warm spot to proof for one hour.
- (To cold proof overnight, cover the bowl with plastic wrap and refrigerate. Complete the remaining steps the next day.)
- Grease a cast iron skillet with 1 tablespoon of olive oil, be sure to get the sides, too. Stretch and fold the dough over on itself several times while still in the original bowl. Transfer the dough to the skillet and gently stretch it to fill the space. It doesn't have to reach every edge. Cover it with a tea towel. Allow to proof for another hour in a warm spot to expand and fill the pan.
- Preheat your grill for two-zone indirect grilling to maintain 475°F. Cast iron will absorb the heat, so preheat it to a higher temperature than you need. Once you place the pan on the grill and lower the lid, the temperature will drop and should maintain 450°F for baking.
- Dip your fingers in water then create dimples on the surface of the dough by pressing directly down to the bottom of the pan.
- Drizzle some olive oil over the top of the dough. Sprinkle with coarse sea salt, shallots, herbs and your chosen olive bar toppings. Drizzle more olive oil over the top. (Be generous as the oiled surface will help with the browning process.)
- Place the skillet on the 'cool' side of the preheated grill and bake for 30 minutes, or until the focaccia turns golden brown on top (up to an additional 5 minutes). Watch your grill's thermometer and adjust the 'on' burner up or down as needed to maintain 450°F.
- Remove the focaccia from the grill and slide the bread onto a wire rack to cool for a few minutes. Slice and serve warm or at room temperature.

