A traditional charcuterie board is still a popular option for the holiday season. They offer a variety of flavors and textures and allow guests to enjoy a diverse range of tastes. Because they are so customizable, you can tailor them for dietary needs, to suit personal preferences or to compliment your main course.
With a colorful array of ingredients, a fall charcuterie board is an easy and fun way to impress guests and hold hunger at bay – it’s inviting, festive, interactive and sure to spark conversation!
Putting together a beautiful charcuterie board is relatively simple and requires zero cooking. This can be especially helpful when you’re already busy creating a Thanksgiving feast. If you’re a guest for thanksgiving dinner, offer to bring a seasonal charcuterie board (or a dessert board!) to contribute to the celebration and free up some time for your host.
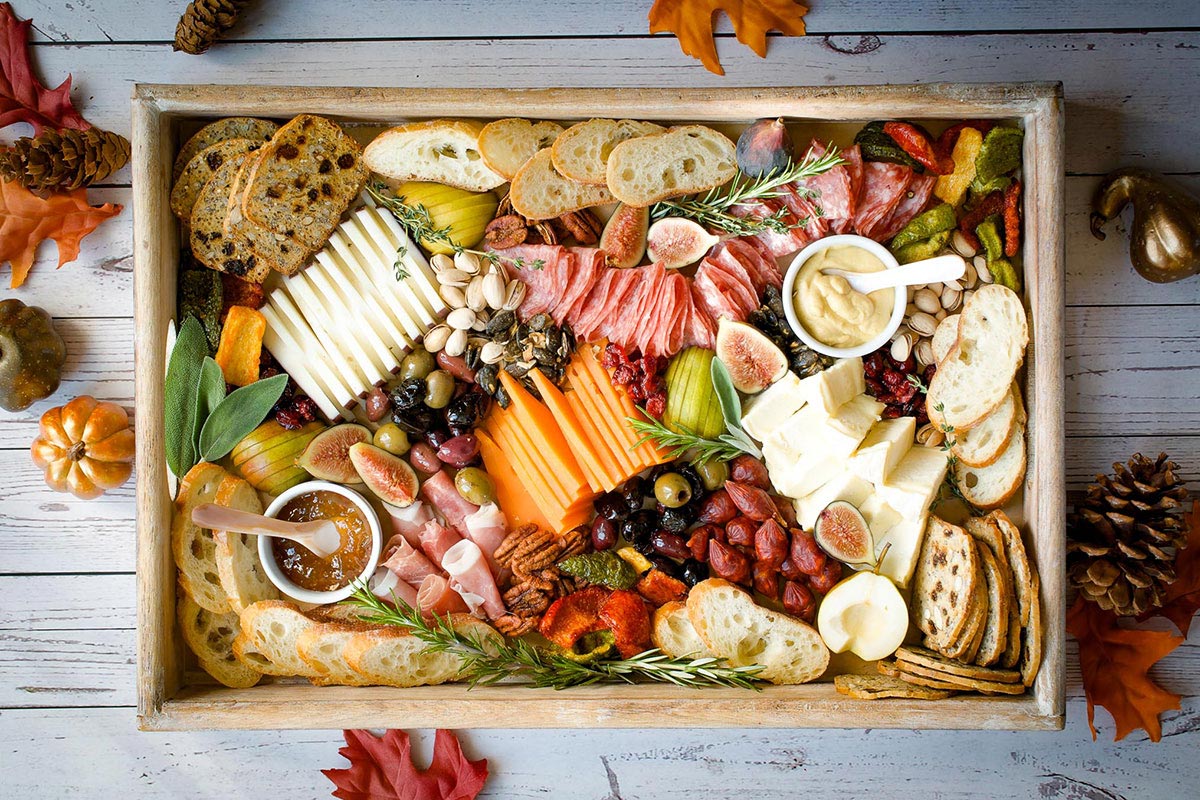
Ingredients for a Thanksgiving Board
The best charcuterie boards offer a variety of options and the possibilities are endless. Here are just some ideas to help you on your way.
- Different types of cheeses – consider a variety of textures, colors and flavors. Popular soft cheeses include fresh goat cheese, brie, camembert, and blue cheeses. Hard cheese varieties include Parmigiano, aged cheddar, and gouda. Semi-soft cheeses include fontina and havarti.
- Cured meat – provide a single type or a variety of meats. Your choices include whole-cured, thin sliced meat like prosciutto, speck, & serrano ham, and casing-style meats like salami, coppa and chorizo. You can usually find prepackaged assortments that make it really easy.
- Seasonal fruits – you can include both dried and fresh fruits. Great choices for fresh fall fruit are figs, apple, pears, grapes, persimmons, and pomegranate seeds. Dried fruits that are great for any board are cranberries, figs, dates, golden raisins, cherries and even dehydrated apples, pears and citrus.
- Olives & vegetables – these offer a savory juxtaposition to fruit. Raid the olive bar at your grocer for a variety of colors and sizes. Cornichons or other pickled vegetables are always great. Raw or blanched fall veggies like rainbow carrots, Belgian endive leaves, and purple cauliflower can provide lovely seasonal color.
- Nuts, seeds & crunchy things – nuts and seeds need little explanation, except to say consider spiced, glazed, raw or roasted. Crunchy things are another story…this is a catch all for things like crispy chickpeas, dehydrated & flash-fried fresh vegetables, and sesame sticks.
- Spreads – it’s nice to offer a little something to compliment the cheeses you choose. Sweet options like fig jam, honey and even cranberry sauce can enhance and balance flavors. Savory spreads include Dijon mustard, pesto, or tapenade. If adding veggies to your board, hummus is a great option.
- Fresh herbs – these are the icing on the cake. A sprig or two of herbs strategically tucked into your board offers visual interest through color and texture.
- Crackers & bread – there are so many options available today, from traditional water crackers to artisanal fruit & nut crackers. The same goes for bread. Keep it classic with a French baguette or infuse another flavor with something like a rosemary-olive oil loaf. It’s ok to provide a couple of options…something plain for those bold flavors (like a pungent blue cheese) and something flavored to enhance a mild fontina.
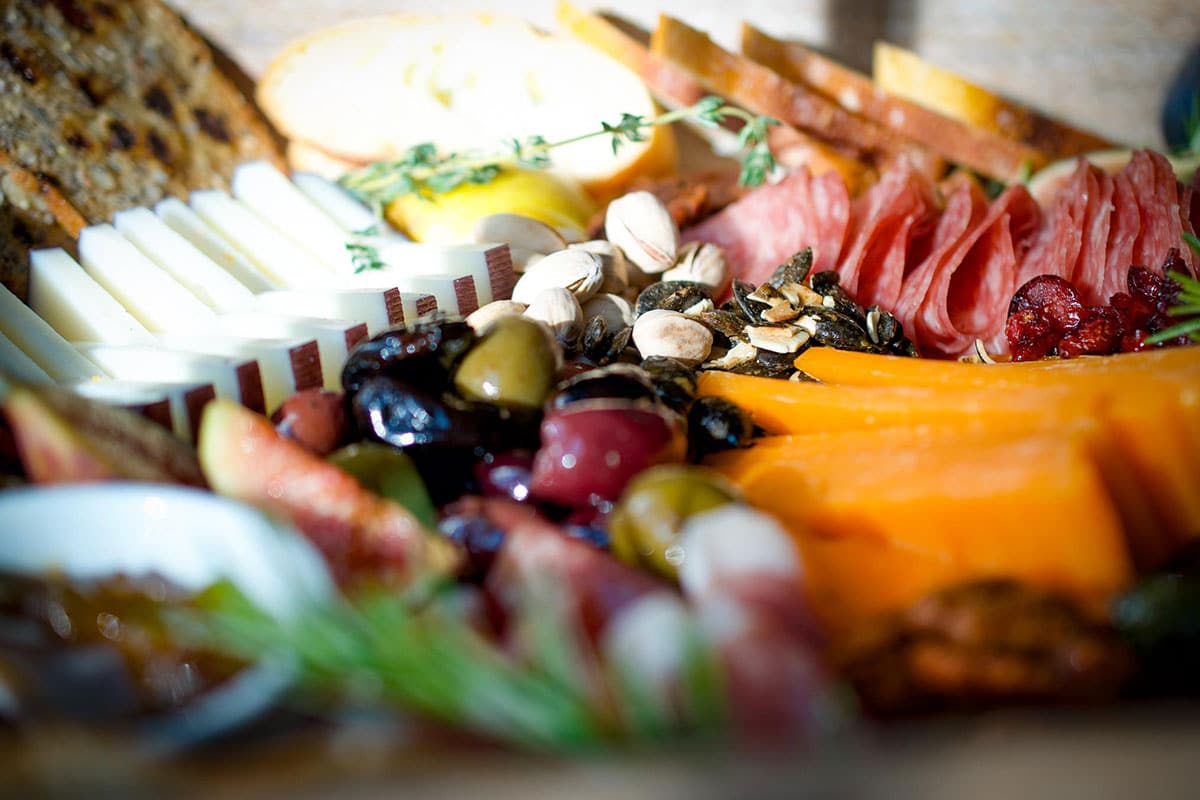
Sourcing Ingredients
I shop at the local grocery stores for many of these ingredients. While we have fancy cheese shops in the area, they aren’t conveniently located near my home. If you live in the Northeast or Mid-Atlantic, you’ll be familiar with a family-owned, regional chain called Wegmans and that’s usually where I acquire my grazing board supplies.
However, three budget-friendly stores that are known for their great charcuterie board provisions (and I have shopped all three for that purpose) are German brands Lidl (only on the east coast) & Aldi and US-based Trader Joe’s. The latter two have locations coast-to-coast. You CAN make an impressive spread with both minimal effort and expense!
If you’re lucky enough to have year-round farmer’s markets, don’t forget that many sell locally-produced cheese & cured meat…among other supplies!
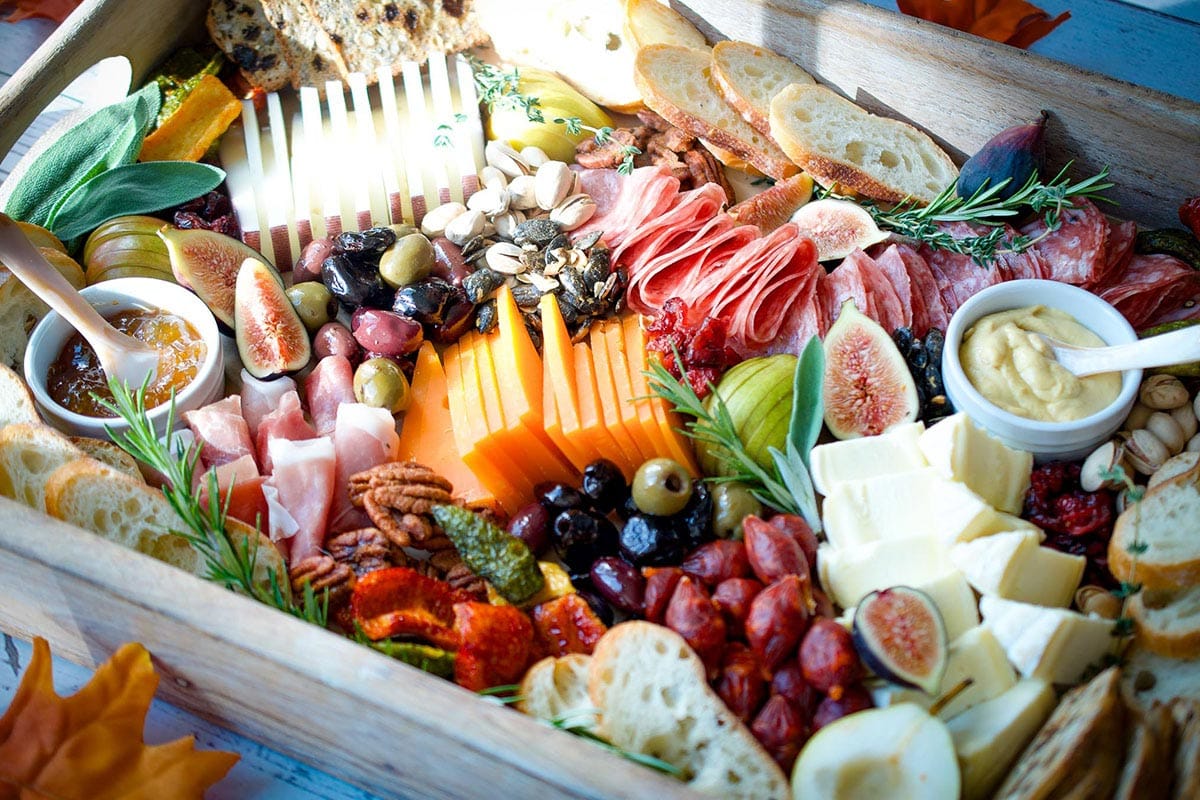
Assembling a Gorgeous Thanksgiving Charcuterie Board
There is no wrong way to assemble your own Thanksgiving charcuterie board. Simply use these steps to spark your own creativity!
- Arrange your cheeses and bowls on the board. (Bowls may contain spreads, nuts, olives or other small elements.) I like to space cheese out across the board; here they’re grouped on the left, right and in the middle of the board. I tend to place spreads next to the cheese it compliments (i.e. honey next to blue cheese).
- Arrange the meat in piles (like the prosciutto), in an array (like the salami) or in rosettes. You can use the meat to create balance and movement in the composition of your board.
- Add fresh and dried fruit, olives, pickles or veggies next. These look nice in little groupings. Spread them out to add color to different parts of the board.
- Arrange bread and crackers around the perimeter. I find it’s easier to snag a cracker from the edge before venturing in for the toppings. If your board is really large and there is space to fill, you can definitely add some through the center. For small boards with limited real estate, place your bread and crackers in a basket instead.
- Fill in all the gaps by piling on nuts, seeds and crunchy things.
- Finally, add fresh herbs wherever you need a pop of color.
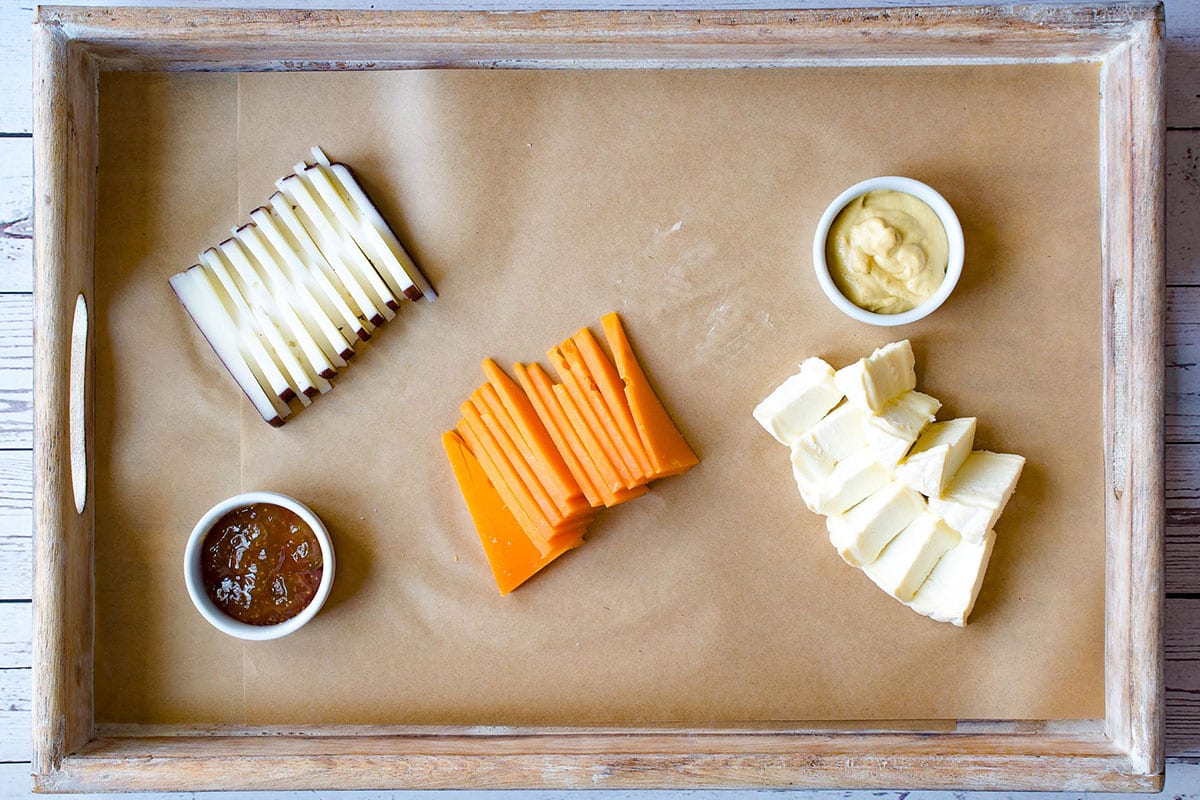
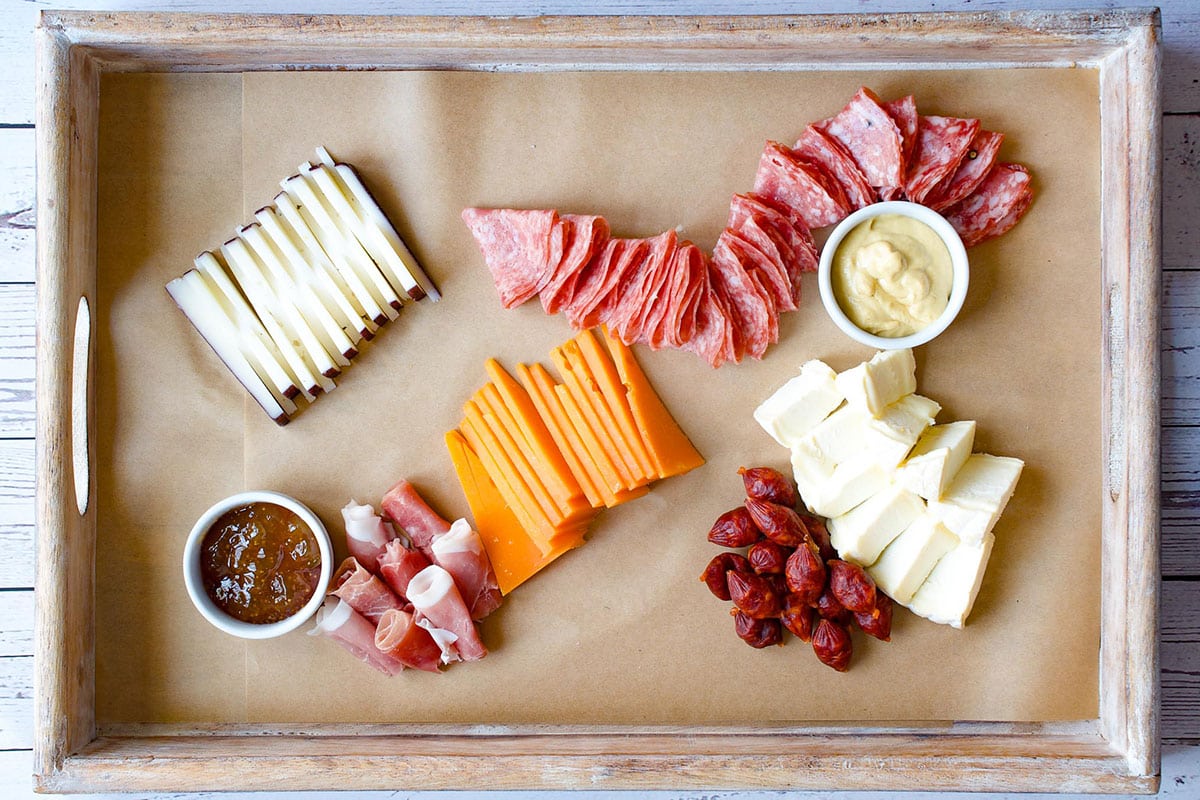
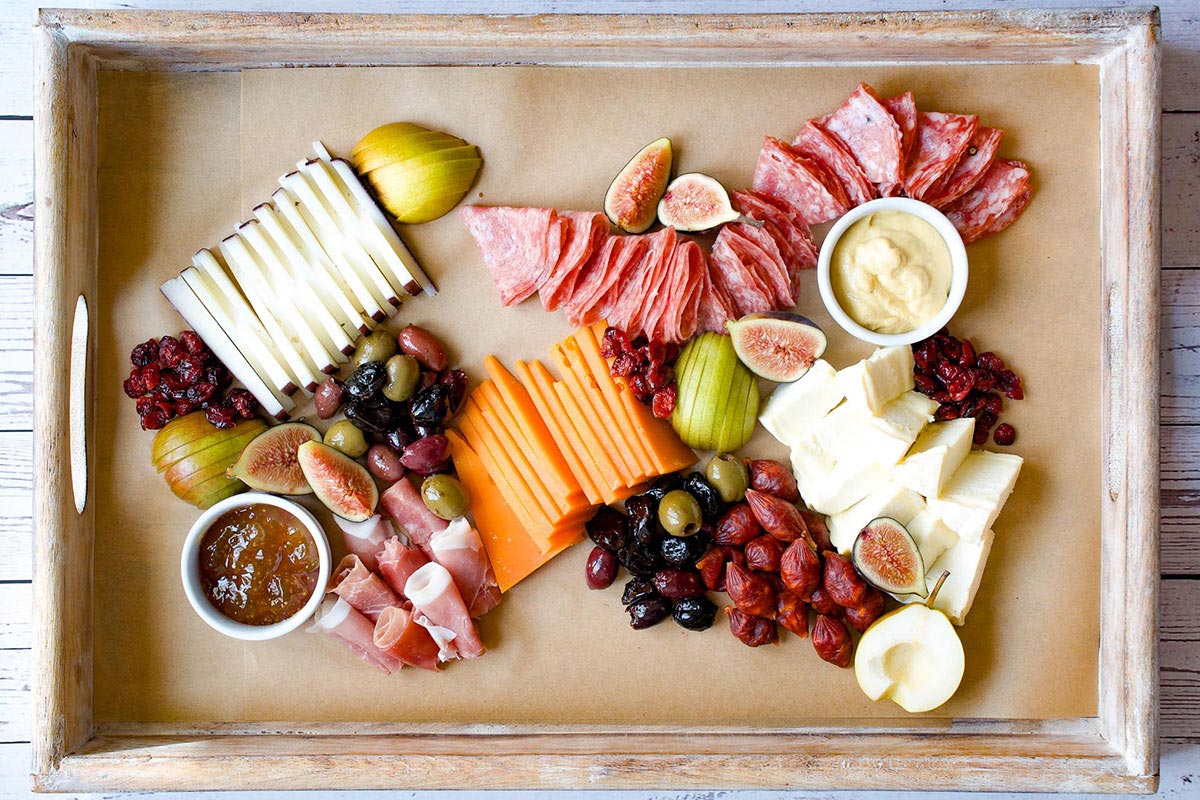
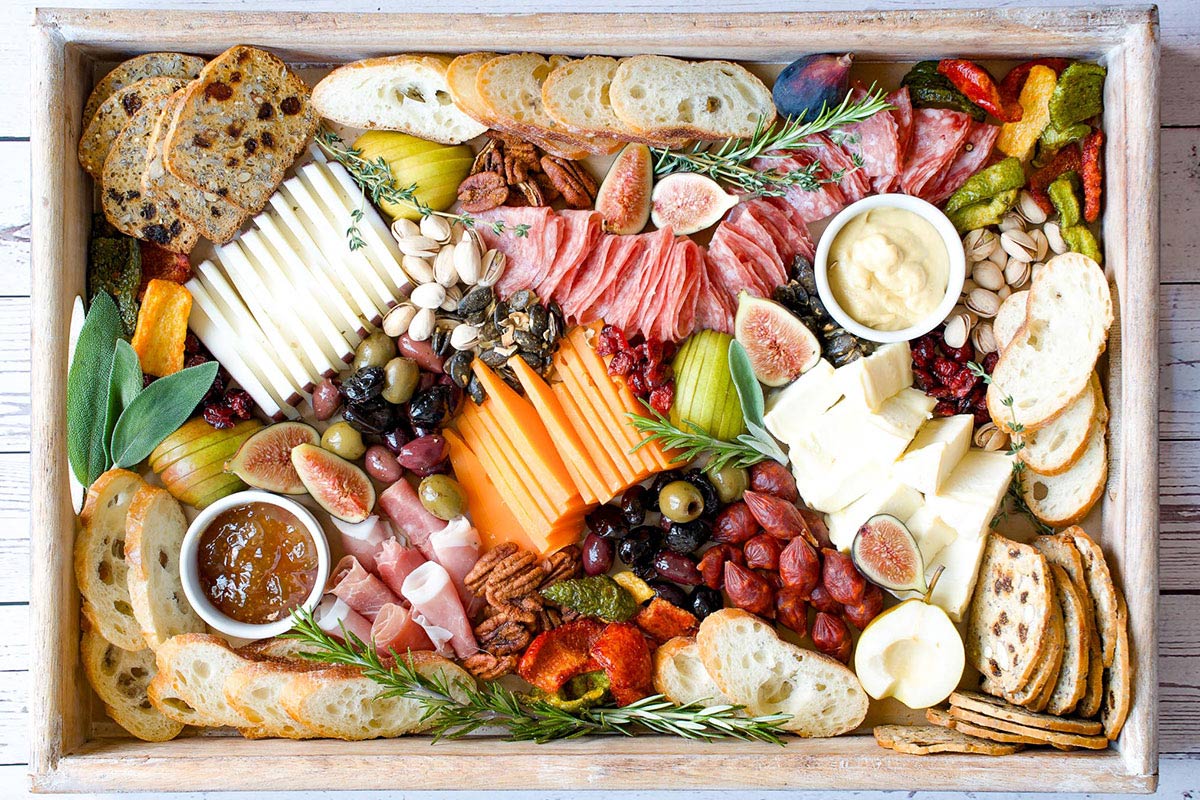
The products I used on this board:
- Drunken Goat – a mild-flavored, semi-firm goat cheese bathed in red wine, giving it a purple exterior.
- Mimolette – a firm French cheese with a striking orange hue and a flavor that is fruity and nutty.
- Brie – a soft, bloomy-rind cheese. I chose a mild Brie with a firmer texture because it holds its shape when sliced into wedges for the board.
- Spreads – fig jam and Dijon mustard.
- Meats – prosciutto, uncured genoa salami and uncured sopressata; these came in an antipasti trio pack. I also added little salami nuggets that my parents brought back from Portugal.
- Fruit & olives – Seckel pears, fresh figs, dried cranberries, Greek olive mix & oil-cured black olives.
- Nuts, seeds & crunchy things – pistachios in the shell, Trader Joe’s Sweet & Spicy Pecans, maple glazed pumpkin seeds, and sea salted bell pepper chips (includes red, green, orange & yellow bell peppers…colors that are perfect for a fall board).
- Crackers & Bread – raisin, rosemary & almond artisanal crackers and sliced French baguette.
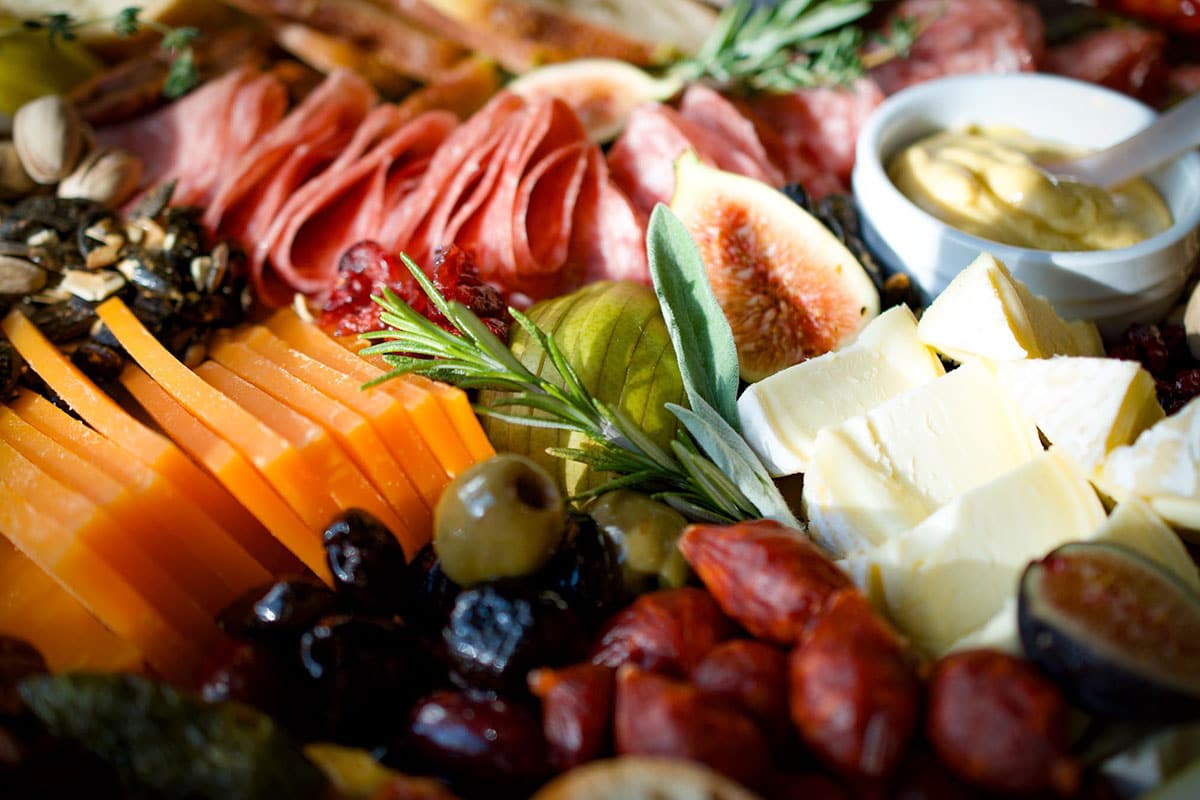
The Conundrum of Cutting Cheese
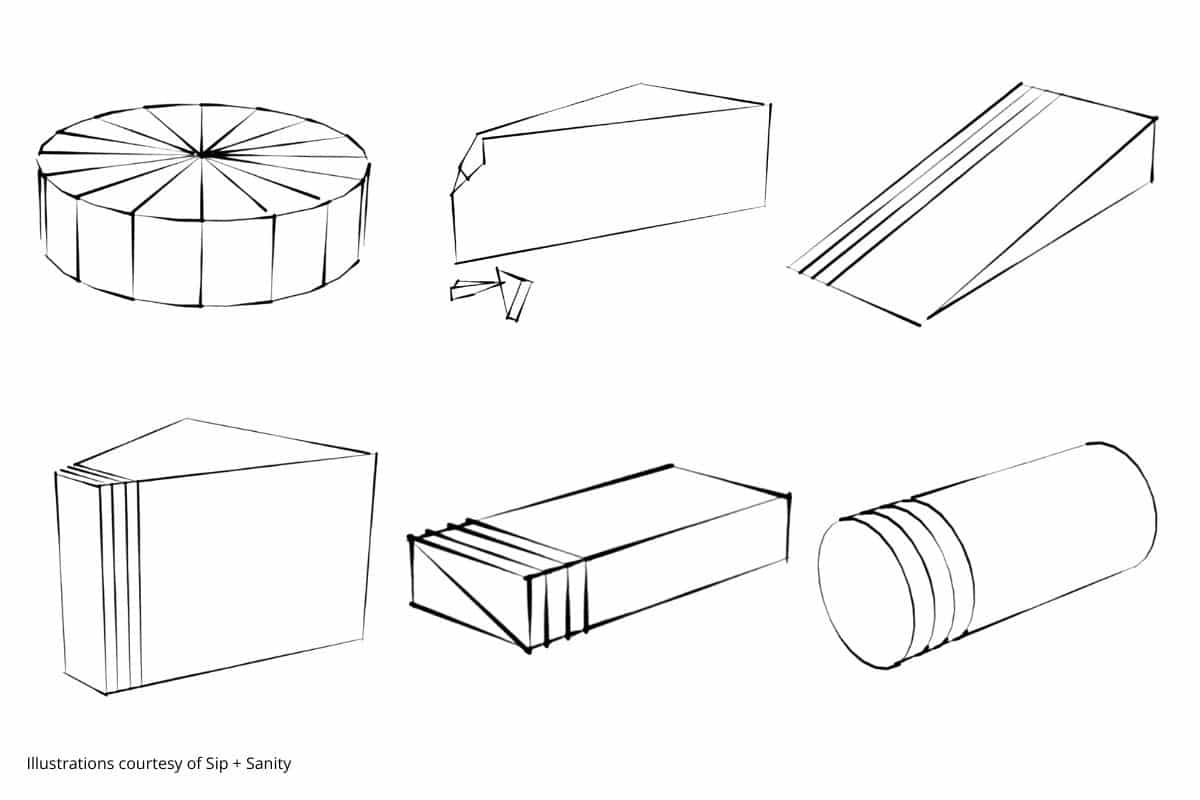
You don’t need to pre-slice cheese for your board, but in some cases, it can be very helpful. The type of cheese will dictate the best cut. Really hard cheese like Parmigiano, can be crumbled in chunks with the tip of a knife. Wheels of soft cheese can be cut into smaller wedges, and large wedges of soft cheese can be left as-is and sliced as you go. Here are a few common shapes and cuts.
Incorporating an easy Thanksgiving charcuterie board into your celebration can add an element of elegance, variety, and convenience to your holiday gathering, making it a delightful and memorable experience for your guests. Get creative and enjoy!
Linda Feller has been a Plan to Eat superfan since 2013 and will whip out the app to share with anyone who expresses the least bit of interest. She is a recipe developer, food photographer and the gal behind Sip + Sanity, recipes for entertaining and celebrating.
FB | Instagram | Pinterest: @sipandsanity
Thanksgiving Charcuterie Board

Source: Sip + Sanity | Linda Feller for Plan to Eat
Course: Appetizers
Yield: varies
Serves:
Ingredients
- assorted cheeses (semi soft & firm) 1-2 oz/person for appetizer, 3-4 oz/person for main course
- assorted cured meats (like prosciutto & salami) 1-2 oz/person for appetizer, 3-4 oz/person for main course
- fresh & dried fruits like cranberries, apricots, figs, grapes, pears, apples
- olives and/or veggies
- crackers & bread
- nuts, seeds and crunchy things spiced or glazed, dehydrated veggies, chickpeas, etc.
- fresh herbs for garnish like rosemary, thyme, sage
- jam, honey, or mustard
Directions
- Prep ahead instructions: Slice or chunk the cheeses. Fold or make rosettes with the meat. Place the cheese and meat in airtight containers. Place jam, honey or mustard in small serving bowls and cover tightly. Store these items in the refrigerator until assembly. (It’s best to slice fresh fruit just before assembling your board so they don’t oxidize or dry out.)
- Use a cheese board, serving tray, sheet pan, etc. in any shape or size. (For reference, the tray I used has interior dimensions of 12.5″W x 17.75″L.)
- Order of assembly:
- Arrange cheese and bowls of spreads on the board.
- Arrange meat in piles, rosettes or arrays.
- Add fresh fruit, dried fruit, olives and veggies to begin to fill in space.
- Arrange crackers and bread around the perimeter (smaller crackers could be also be used to fill in space in the center area). If your board is too small to accommodate bread and crackers, place them in a basket nearby.
- Fill in gaps and create visual variety with nuts, seeds or other crunchy items.
- Garnish with sprigs of fresh herbs, adding color and texture. Tuck them in around the edges and in between piles of goodies.

