Blog /

Have you tried your hand at sourdough yet? There is something really special about making a loaf of bread with your own hands using only the simplest of ingredients. Flour, water, and salt… that is all there is! For the last two years, I have slowly been learning about and baking sourdough. It has been a delicious journey and while I am by no means an expert, I would love to share what I have learned. One of my goals for the year is to expand my sourdough recipe book and try new techniques and recipes. So stay tuned this year to see what we can learn!
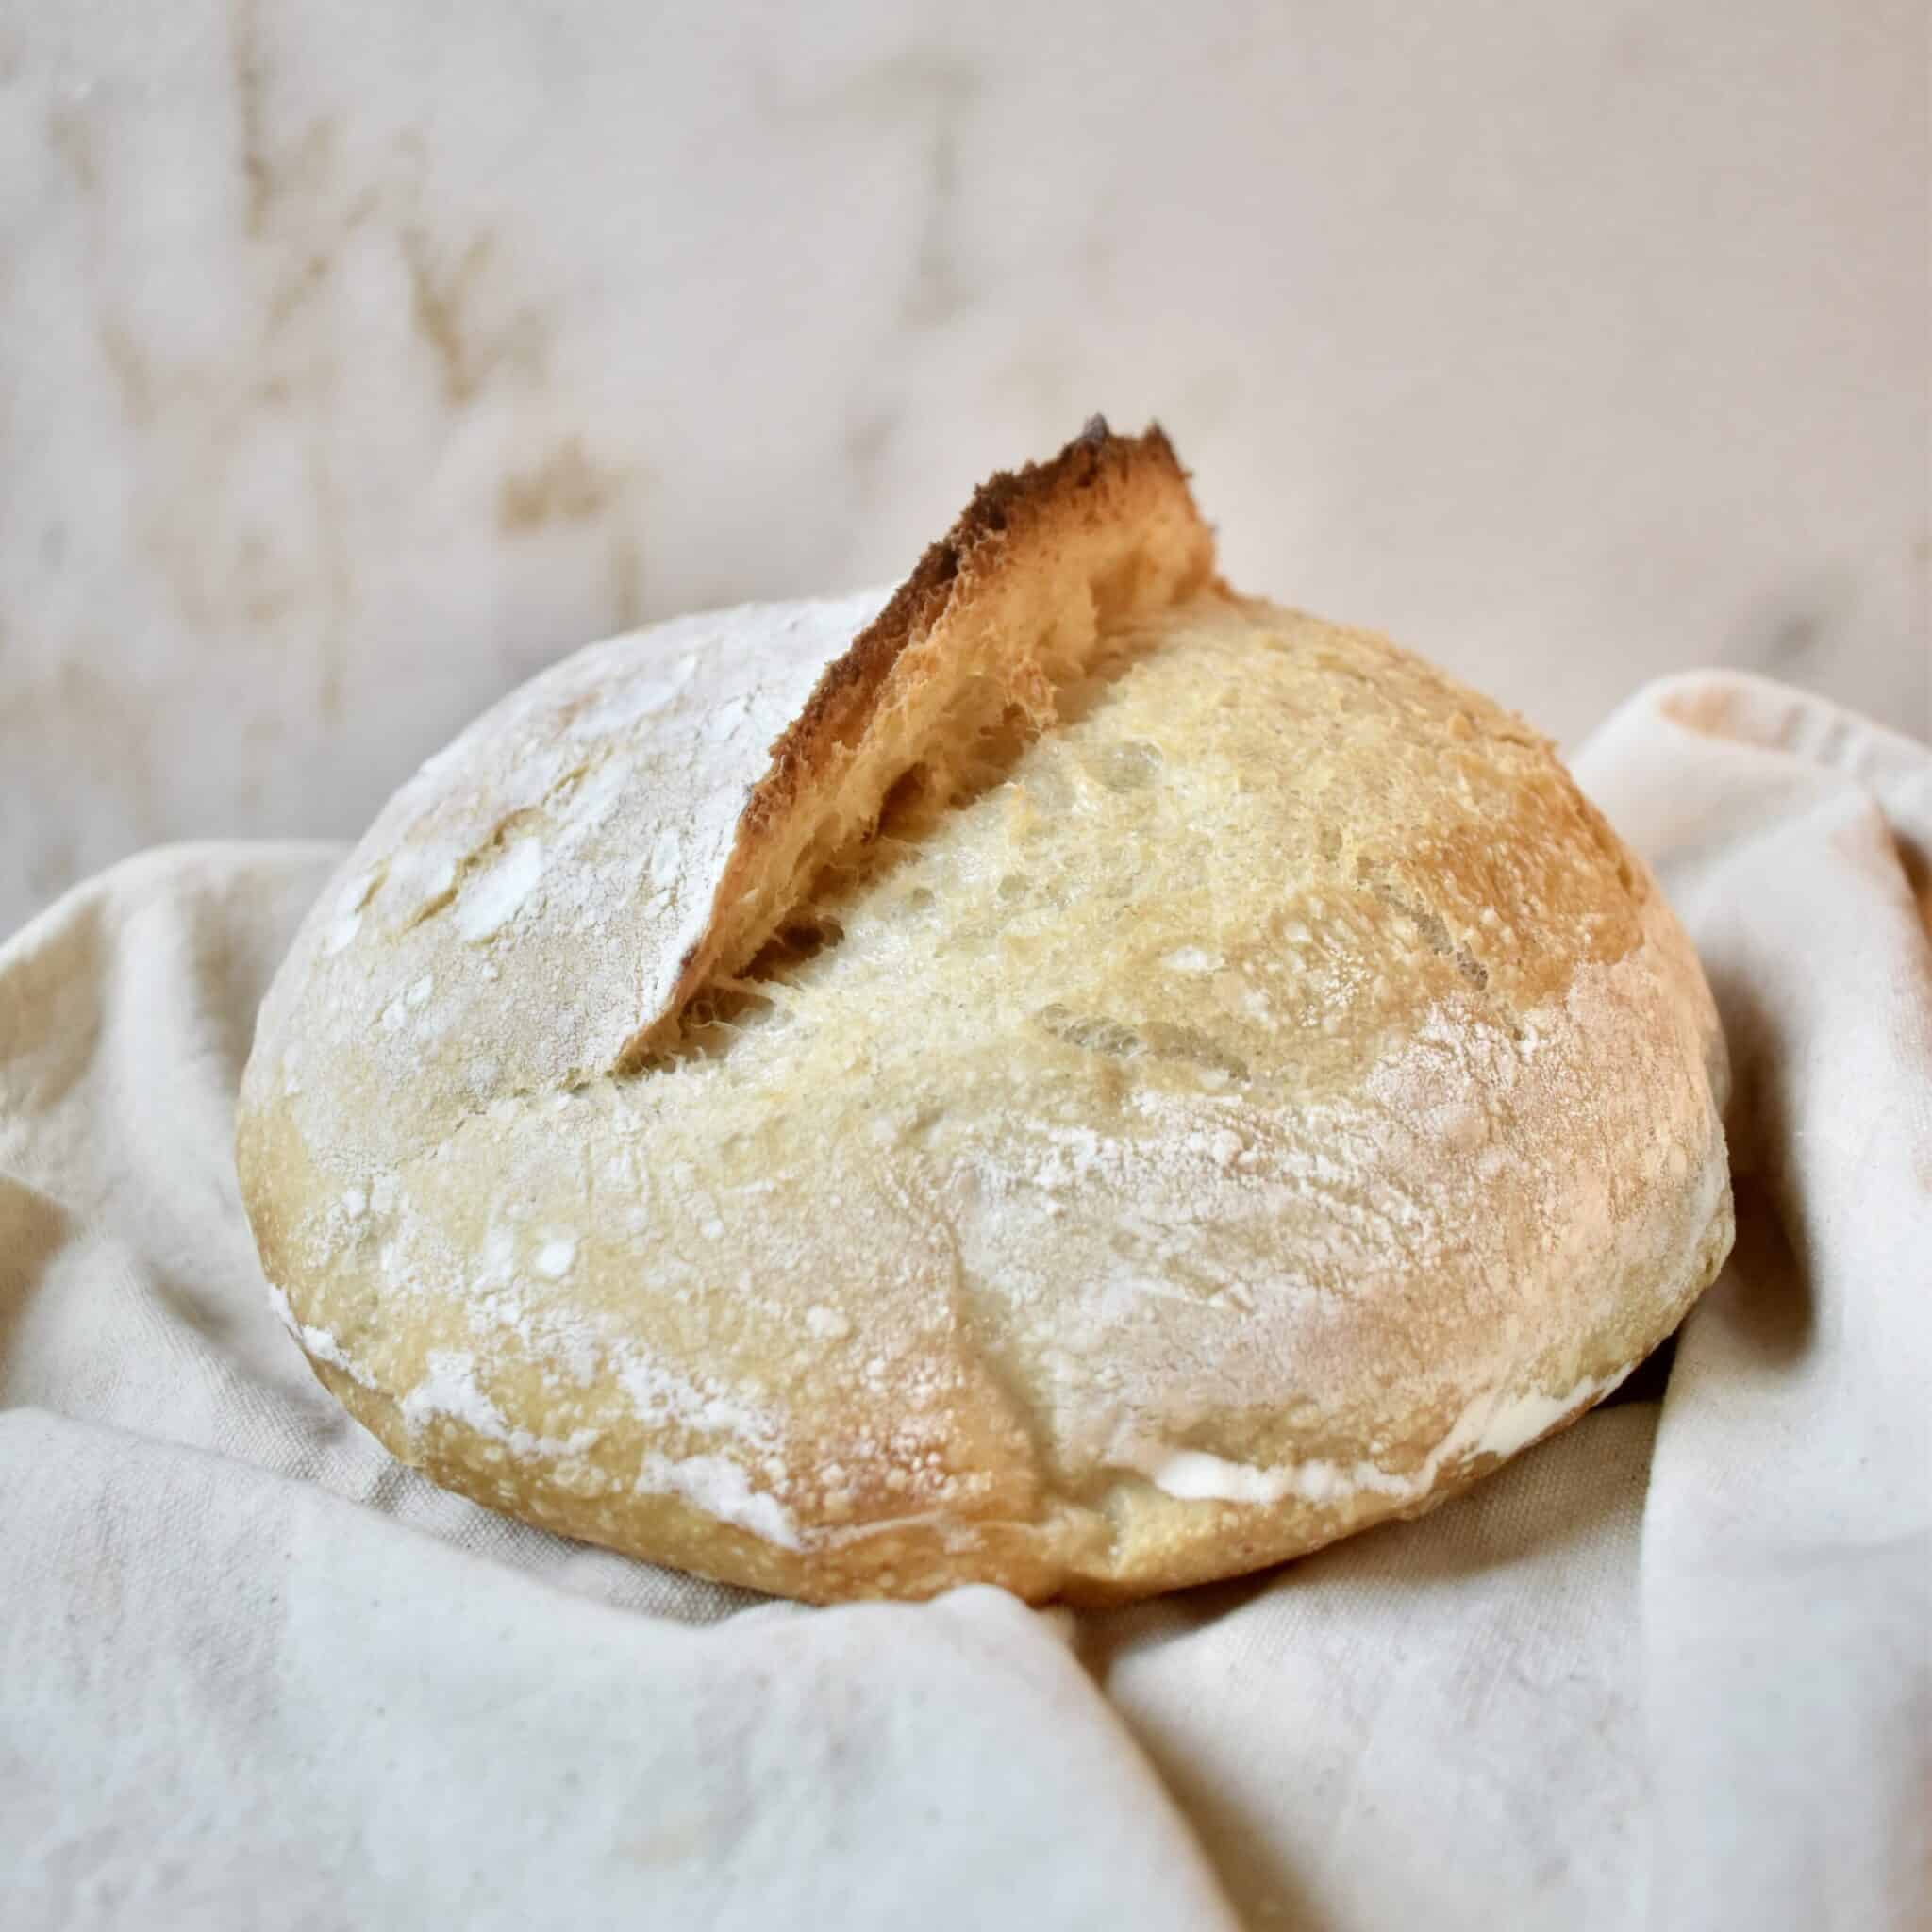
Today, I am going to share a classic sourdough boule recipe with you. If you do not already have a sourdough starter, that is where you will need to begin. There are so many wonderful resources out there for how to make your own starter. There are also many people who sell dehydrated starter. Your easiest option will likely just be to find a friend who is already making sourdough and get some of their starter!
Here is a list of a few tools that will be helpful to have on hand for your sourdough journey:
- Large glass jar – for storing your sourdough starter
- Large glass bowl – for mixing the dough
- Kitchen scale – it is easier and more accurate to weigh your ingredients
- Parchment paper – for lining the banneton and dutch oven while baking; this makes transferring the bread much easier
- Banneton – for use during the final rise so the bread doesn’t lose its shape
- Bread lame or razor – for scoring the bread; this allows steam to escape and the bread to expand
- Dutch oven – for baking the sourdough
Here is a list of the ingredients you will need:
- Sourdough starter – which is just flour, water, & salt!
- Unbleached flour – the bleaching process gets rid of the wild yeast in flour, which is needed for a healthy sourdough starter. Using different types of flour can add different flavors to your bread.
- Filtered water – using filtered water will ensure that traces of chlorine don’t get into your starter, which would inhibit the good bacteria in your starter
- Salt
Prep
I store my starter in the refrigerator. The night before making something, I take my starter out to feed and refresh it. During this time, I weigh out one portion of the original starter that I feed and then place back into the refrigerator in order to maintain my starter. I then weigh out another portion from the original starter to feed for the recipe that I am planning to make. Any of the original starter that is left over is then discarded. As you bake you, will develop your own preferences for how and when to refresh and/or split your starter.
For this recipe, we will use a 1:2:2 ratio of starter to flour to water. You will need 25 grams of starter mixed with 50 grams of unbleached flour (I use 25g dark rye flour and 25g all-purpose flour to feed my starter) and 50 grams of lukewarm filtered water.
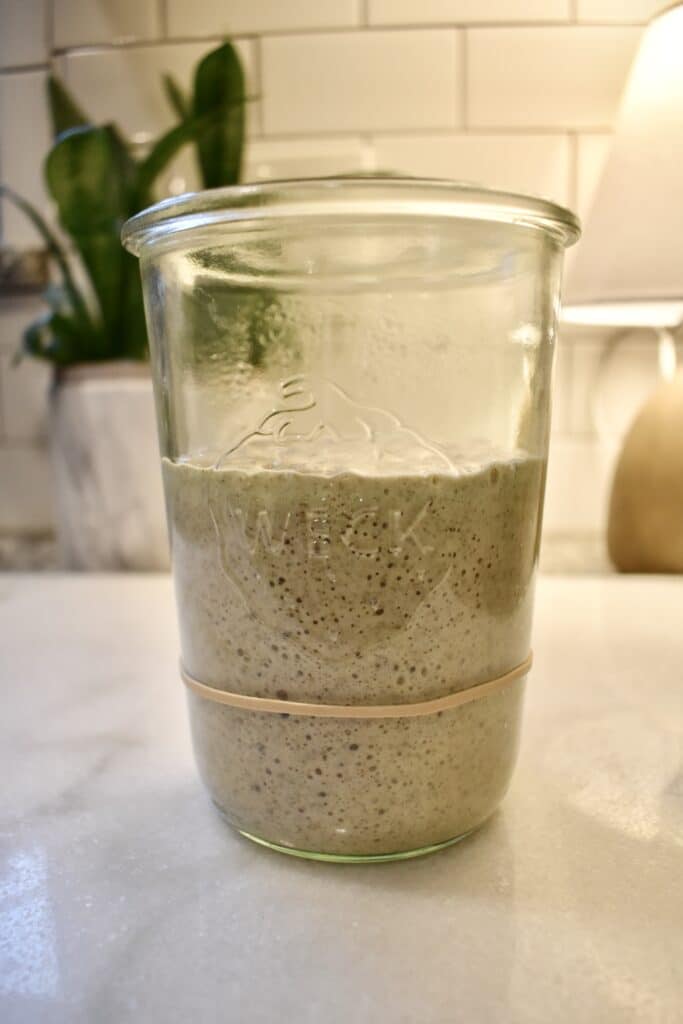
Stir the ingredients together until there are no lumps and pour into a glass jar. Place a loose-fitting lid on top of the jar. It is helpful to place a rubber band around the jar at the current height of the starter. This will help give you a good visual to see if your starter has risen enough to be active and ready for baking. Leave the starter on the counter until it peaks.
The amount of time for the starter to peak will greatly depend on several conditions, the main one being temperature. The warmer it is, the more quickly the starter will peak. The colder it is, the more slowly your starter will peak. There are several visual cues to watch for. Once the starter is active, it will be bubbly throughout and about doubled in size with a dome shape on top. After your starter has peaked, it will begin to deflate and sink back down into the jar.
In the winter, I feed my starter at the end of the night and leave it on the counter. It is usually ready to go first thing in the morning. If I want it to rise faster, I put it in the microwave after feeding and it speeds the process up by several hours.
Alright, you have your tool, ingredients, and an active starter; lets make some bread!

Autolyse
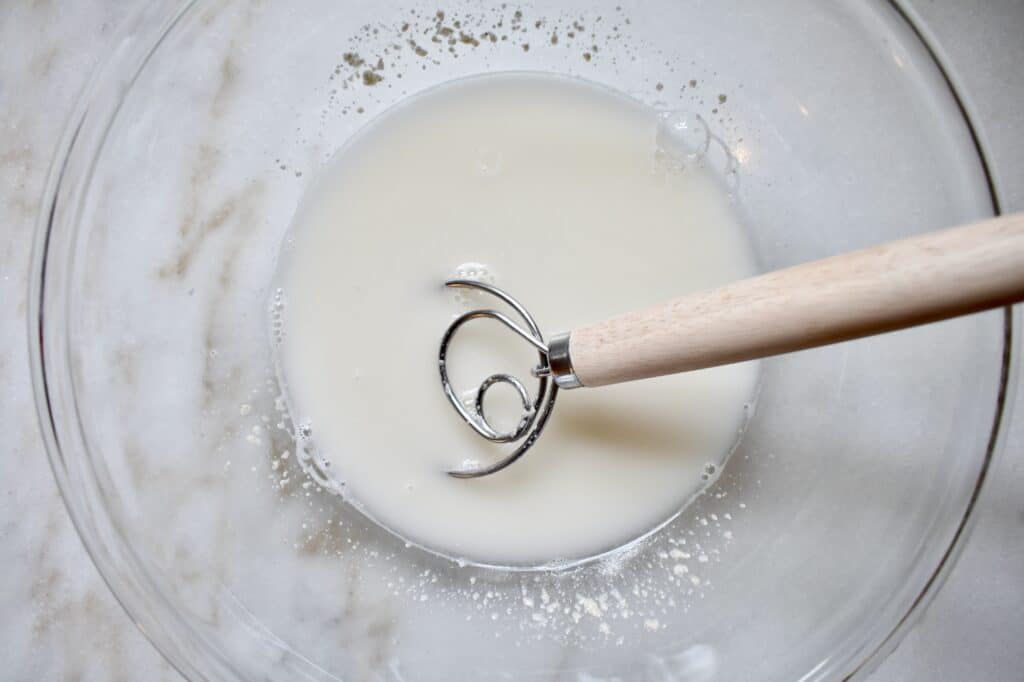
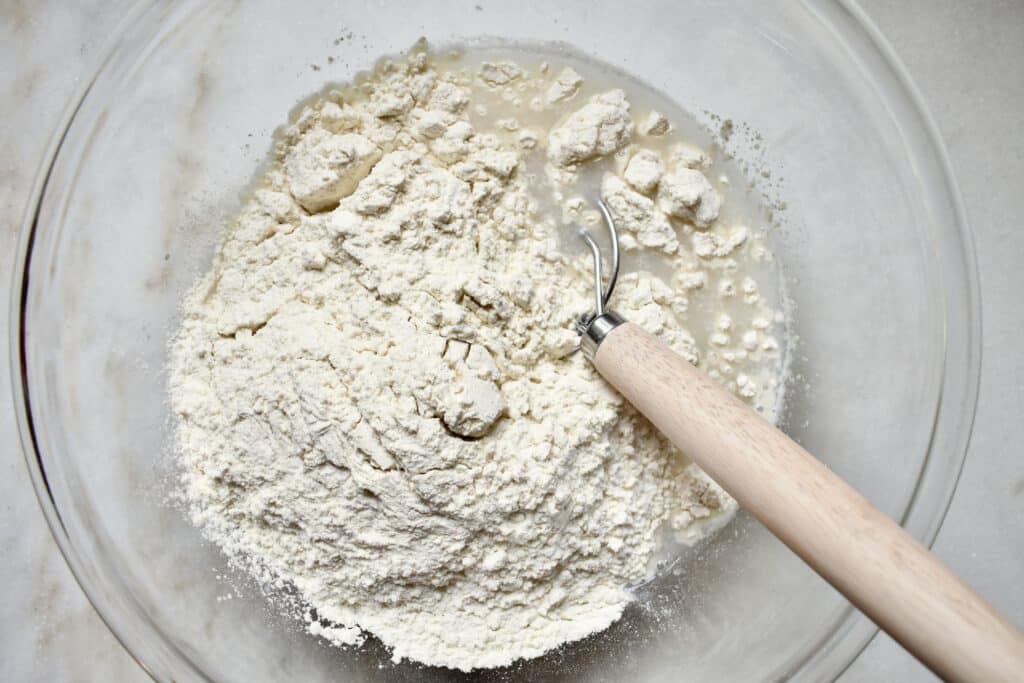
The first step in the sourdough process is referred to as the autolyse. During this phase, the ingredients are mixed together and then left to rest, which allows the enzymes in the flour to activate. In a large bowl, add 100g of active starter and 350g of lukewarm water and whisk the two together. Add in 500g of unbleached all-purpose flour and stir together. The dough will be quite shaggy right now. Cover the bowl with plastic wrap or a damp dish towel and let it rest for 30 minutes.

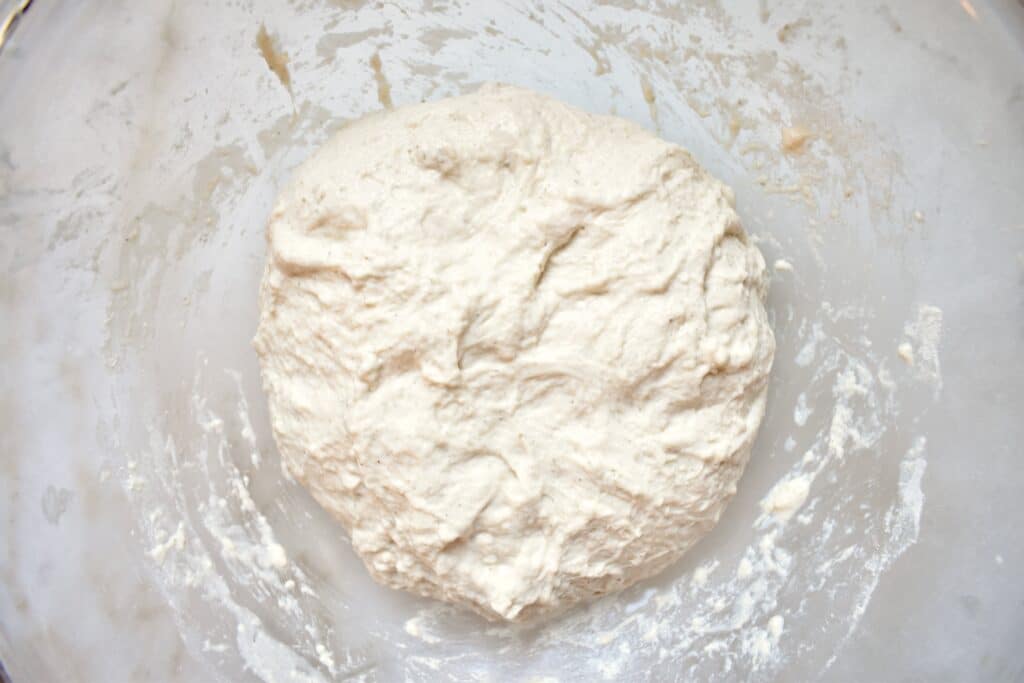
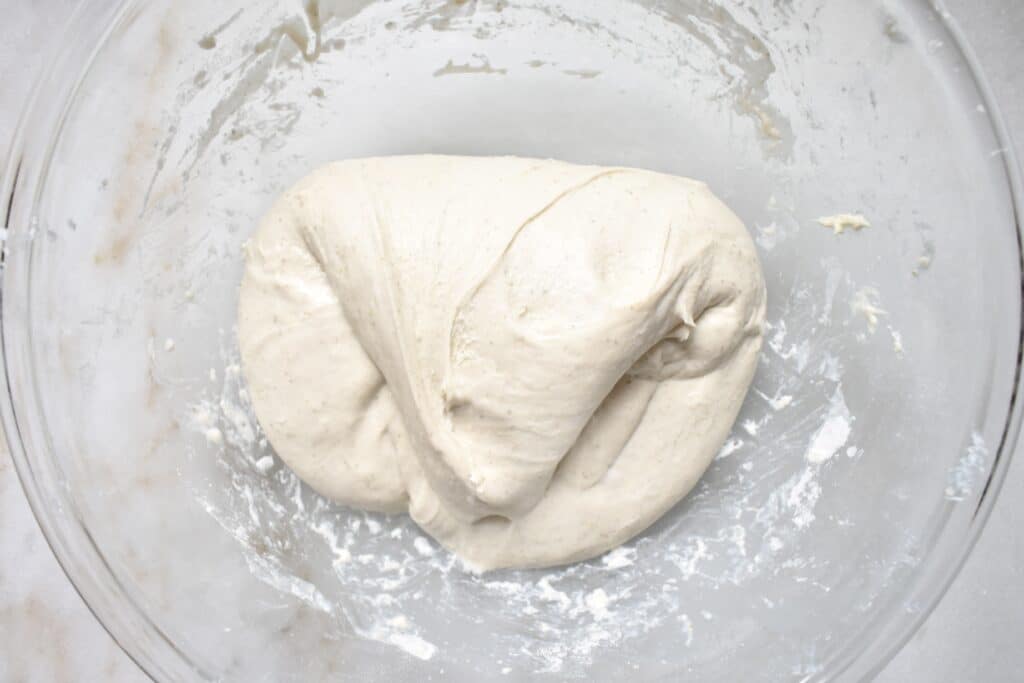
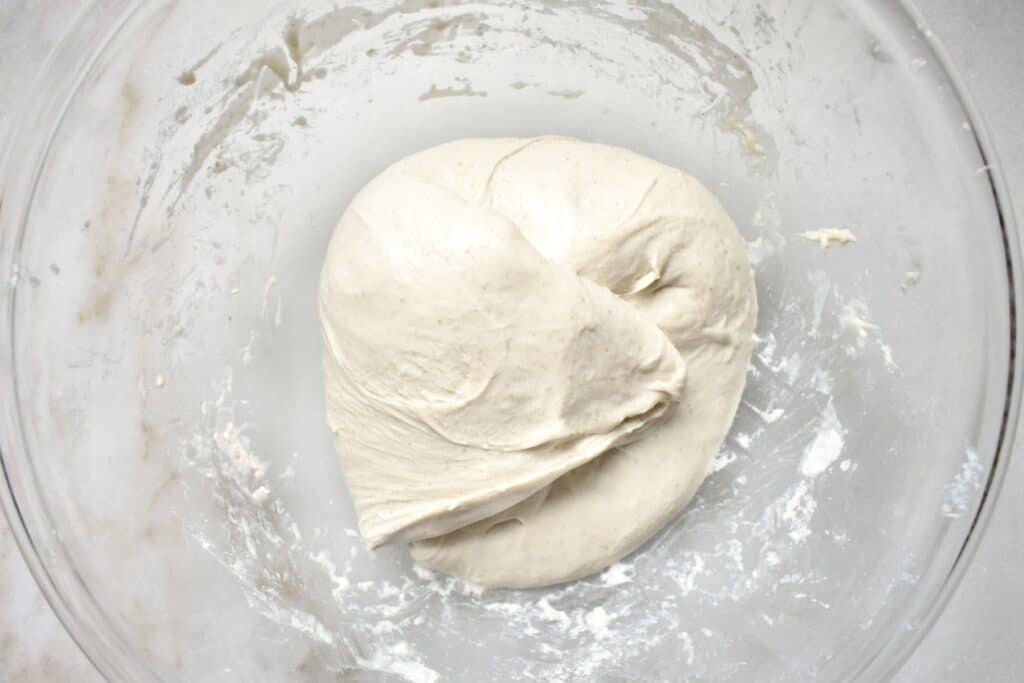
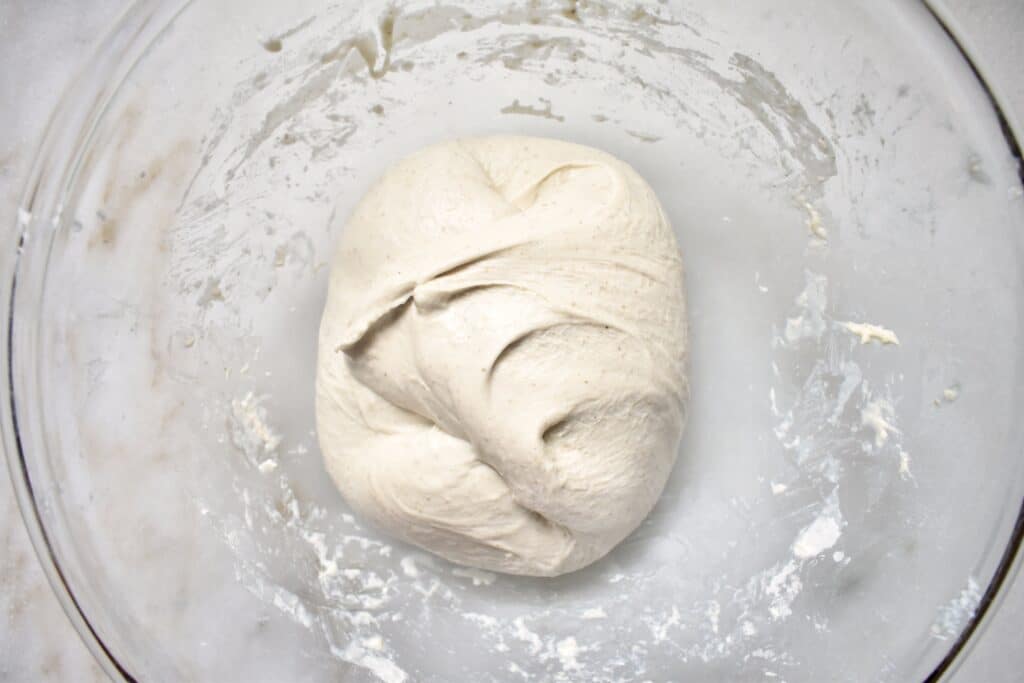
After the rest, add in 10g of salt and 25g of lukewarm water. Using your hands, pinch the salt and water into the dough. Then, for about two minutes, continue working the dough by folding it in on itself and then lifting the dough from the bottom of the bowl and slapping it against the side of the bowl. Repeat this process for the full two minutes
This will help create elasticity in the dough and you will notice it change from a shaggy mixture to a more cohesive dough (see photos below). After the two minutes, cover the bowl again and let it rest for 30 minutes.

Bulk Fermentation
This rest begins the next stage in the process which is called bulk fermentation. You will need to fold the dough once every 30 minutes for the next 2 hours for a total of 4 folds.
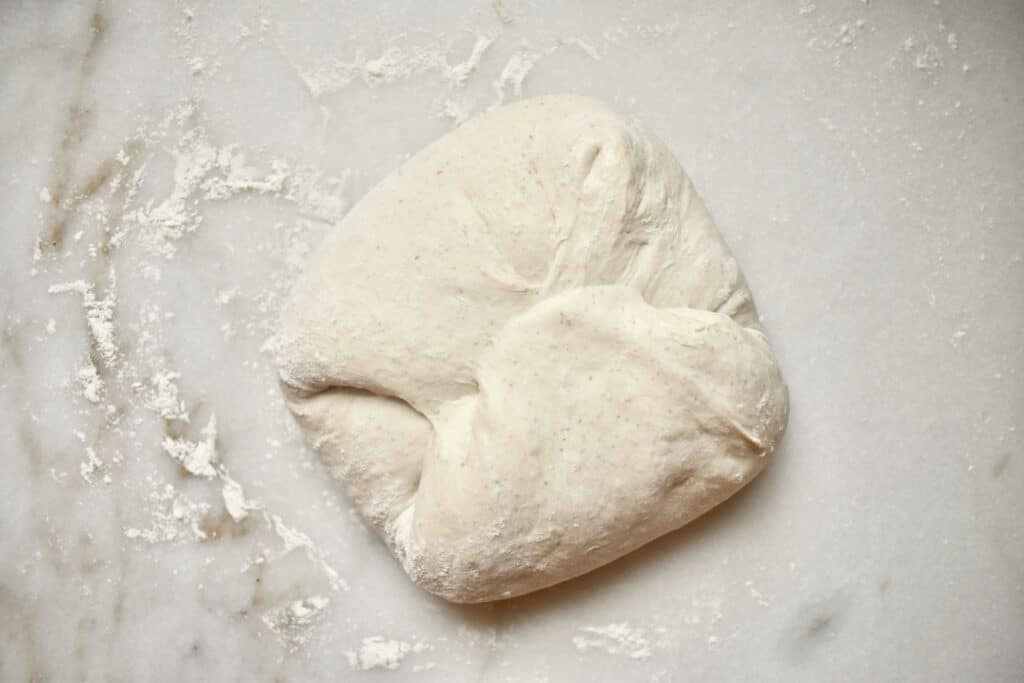
After the 30-minute rest, uncover the bowl. Get your hands wet so that the dough does not stick to you. To make one full fold, we will fold each of the 4 sides of the dough over onto itself. So, with a damp hand, slide your hand under the top edge of the dough, lift it, and fold the dough down onto itself (picture 1).
On the left side, slide your hand under the edge of the dough, lift, and fold the dough over onto itself (picture 2).
Repeat this on the bottom side (picture 3) and on the right side (picture 4). This is one complete fold.
Cover the bowl and let the dough rest for 30 minutes. The dough will relax some during each rest, this is normal.

Repeat this process until you have done 4 complete folds with rests in between. After the final fold, cover the dough and let it rest for a full 2 hours.
For all of the bulk fermentation, you will follow this schedule:
30 min rest + fold + 30 min rest + fold + 30 min rest + fold + 30 min rest + fold + 2 hour rest
Shaping
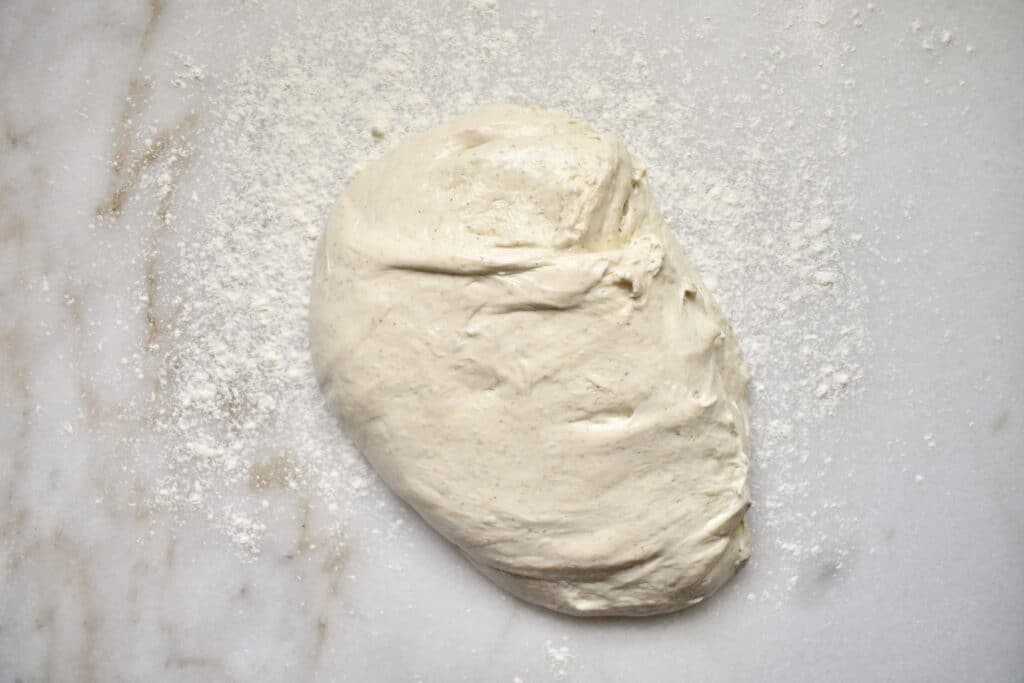
After the two-hour rest, uncover the dough, wet your hands, and gently turn the dough out onto a lightly floured counter (picture 1).
Wetting your hands beforehand will help keep the dough from sticking to you while gently scooping the dough out of the bowl. Similar to the folds we did during bulk fermentation, gently lift each corner of the dough and fold into the center (picture 2).
Now, using either your hands or a bench scraper, gently flip the dough over so that the folds are now on the bottom (picture 3).
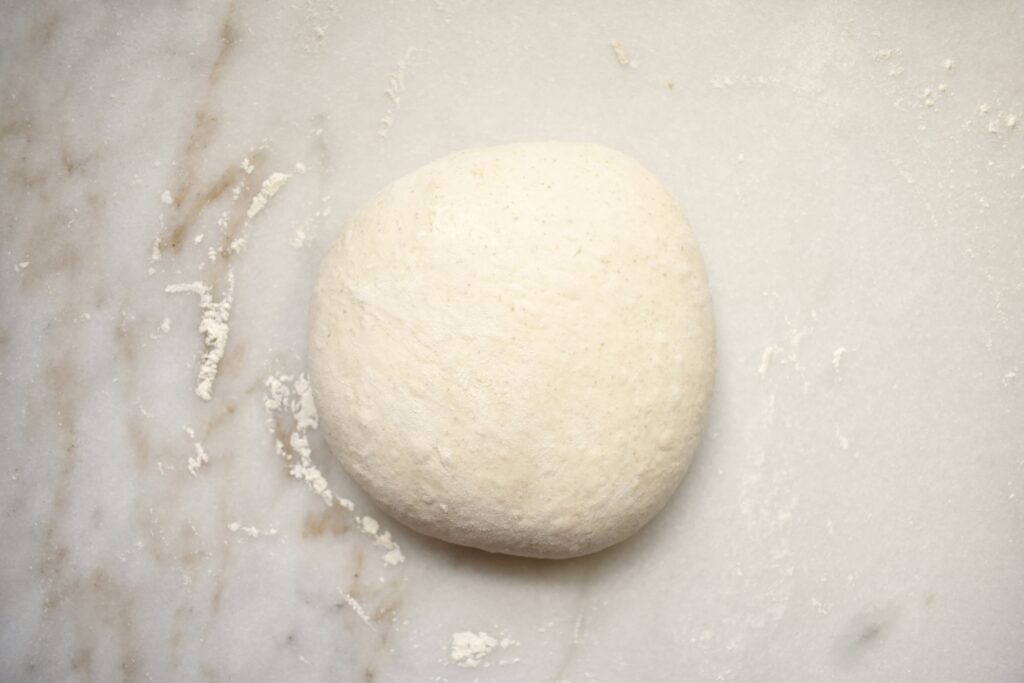
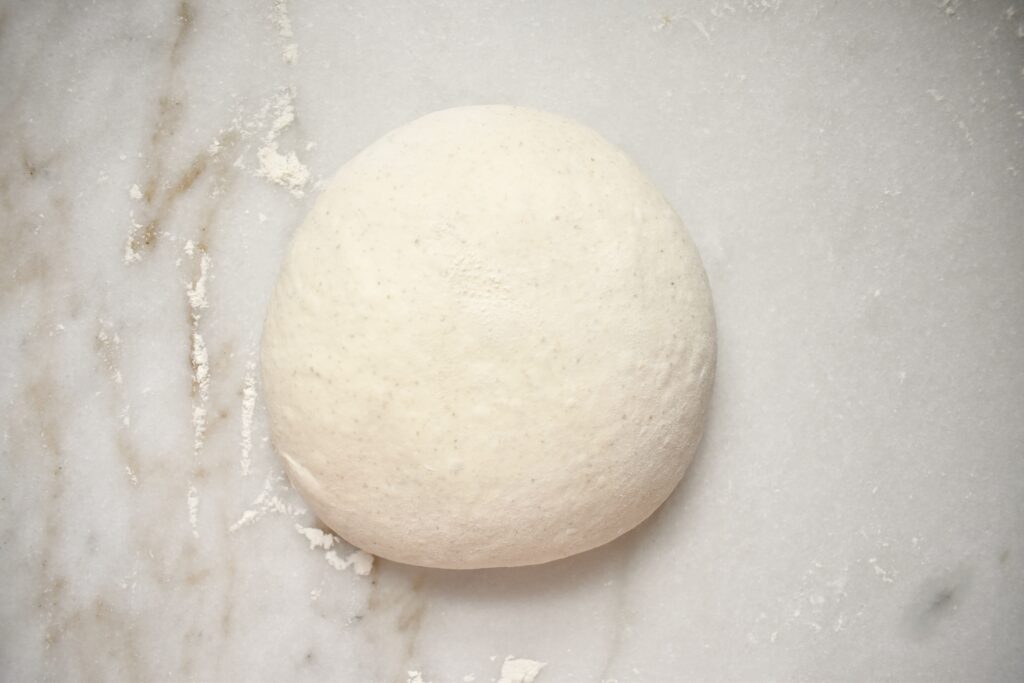
Gently and slowly pull the dough towards you across the counter. Push the dough back up and away from you and while rotating in a circular motion, tuck under the edges, and pull it back towards you. You are essentially sliding the dough back and forth across the counter while rotating it in a circle. Repeat this a few times. The aim here is to create tension on the top of the dough as you shape it into a circle (picture 4). Cover loosely and let rest for 30 minutes.

While the dough rests, prepare the banneton by lining it with parchment paper. Be sure to leave enough extra parchment hanging over the sides so that you can use it as a sort of handle to lift and transfer the dough in and out of the hot Dutch oven later.
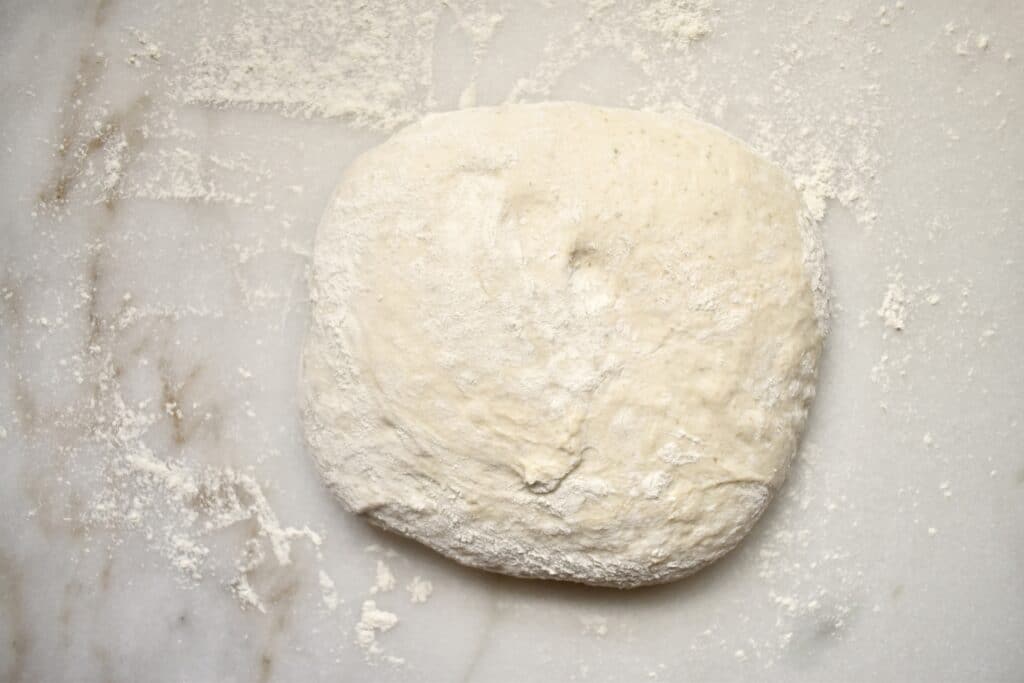
After the rest, the dough will have relaxed in its shape some (picture 1).
Sprinkle the top of the dough with flour (picture 2) and then gently flip the dough over using your hands or a bench scraper. Once the floured side of the dough is on the counter, gently fold the corners into the center of the dough one last time (picture 3).
Carefully flip the dough back over and then repeat the circular sliding motion across the counter to shape the dough once more (picture 4).
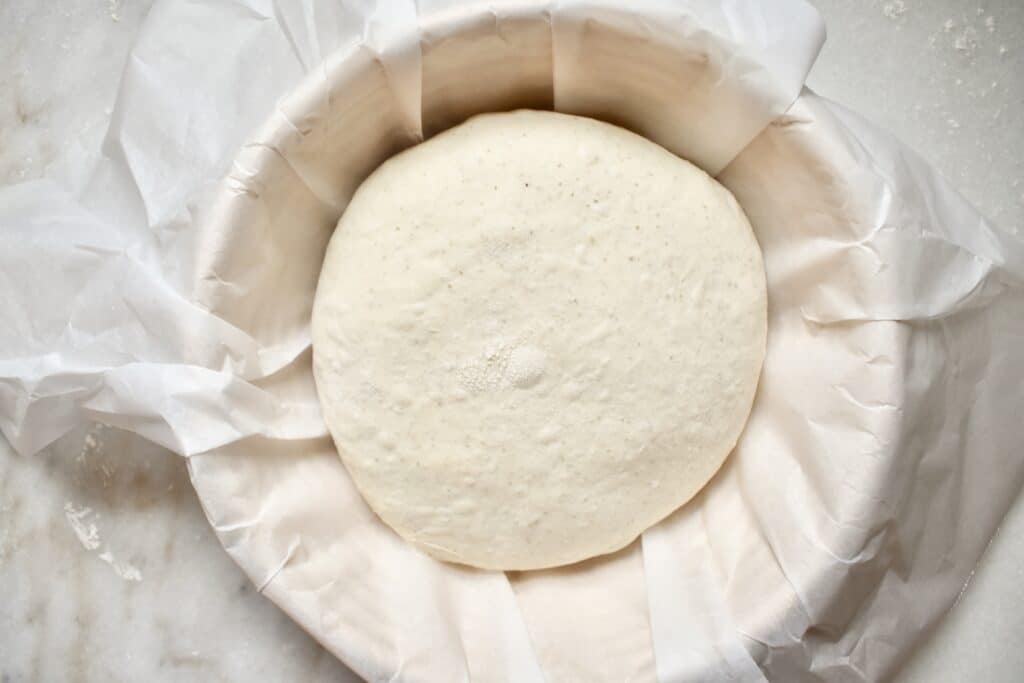
Lift the dough and place it into the prepared banneton (picture 5). Loosely cover the dough. Plastic grocery sacks are handy for this because they hold their shape above the dough and don’t stick.

Final Rise
For the final rise, there are two options. If you would like to bake your bread immediately, simply leave the dough on the counter to rise for about 1.5 – 2 hours and then bake. Alternatively, you can let the dough do its final rise in the refrigerator for about 10-12 hours and then bake. This can be handy if you want to have fresh bread in the morning or if you need to space out your baking. If needed, you can leave the dough for up to 24 hours in the fridge before baking.
Baking
With about 45 minutes left in your rise time, place the Dutch oven in the oven and preheat it to 500 degrees. We want both the pans and the oven to be very hot to help the sourdough develop that nice crust, so be sure to preheat for at least 45 minutes.
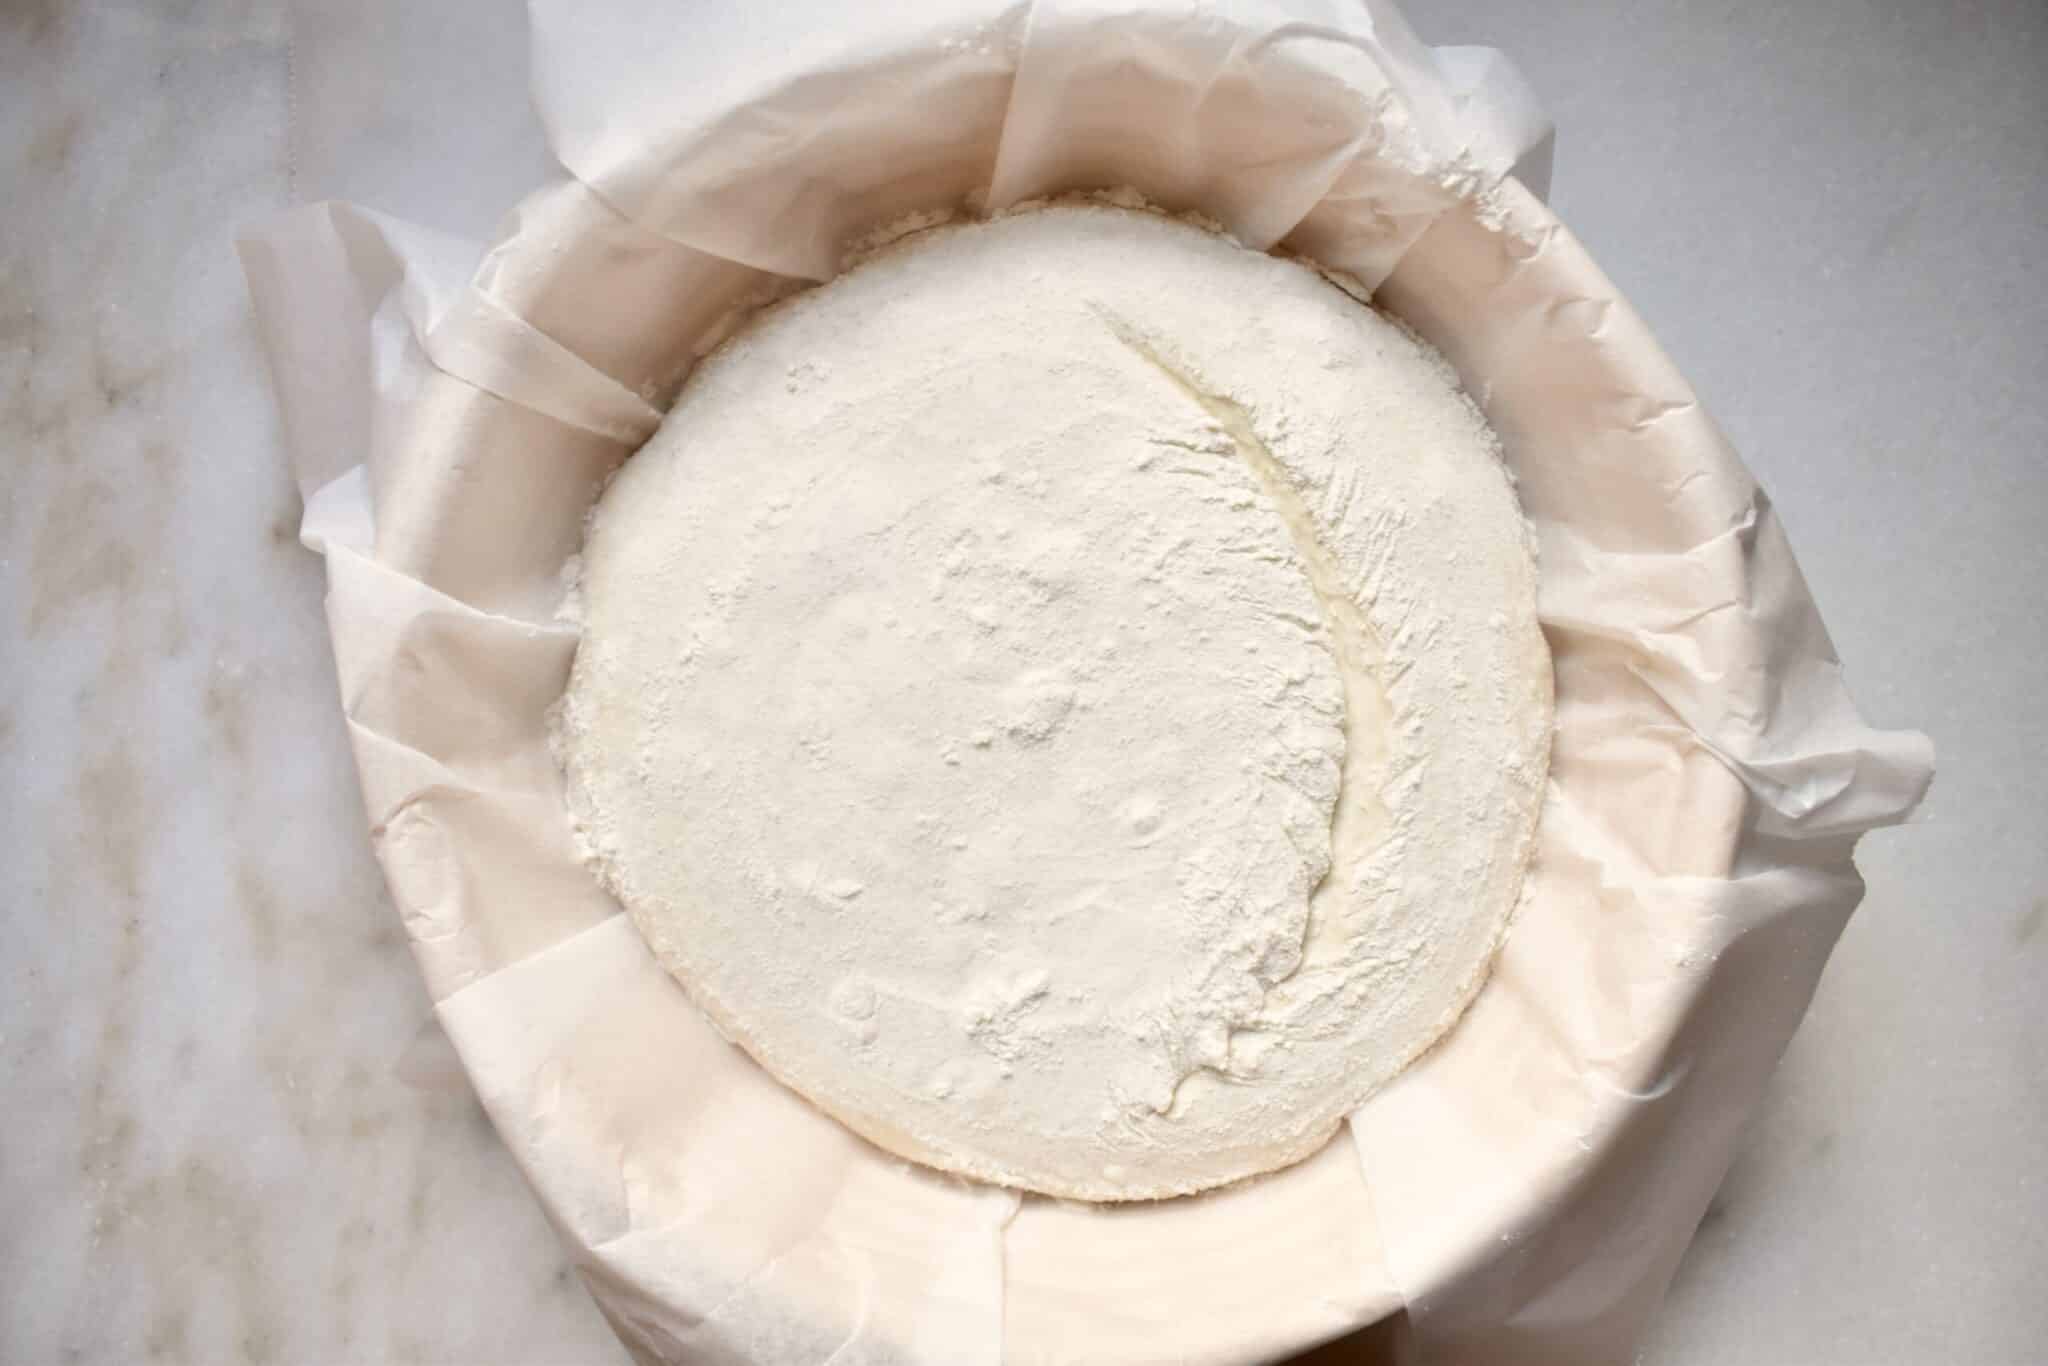
After the final rise, dust the top of the dough with flour and gently spread it around to make it even. You could use a pastry brush or your fingers. Using a bread lame or razor, score the dough to allow steam to escape and the bread to expand while baking. To do this, make a clean cut about 1/4 inch deep along one side of the dough. There are many beautiful and creative ways to score your loaf. The more you bake, the more creative you can get!
Once preheated, very carefully remove the dutch oven from the oven. It will be HOT, so please be careful! Lower the temperature of the oven to 450 degrees. Using the parchment as a handle, lift the dough out of the banneton and place it into the Dutch oven. Place the lid on top and bake for 20 minutes.
After the 20 minutes, remove the lid from the Dutch oven and continue to bake for 15-20 minutes or until golden. Carefully lift the loaf out of the Dutch oven using the parchment. Place on a wire rack to cool for about 20 minutes before slicing.
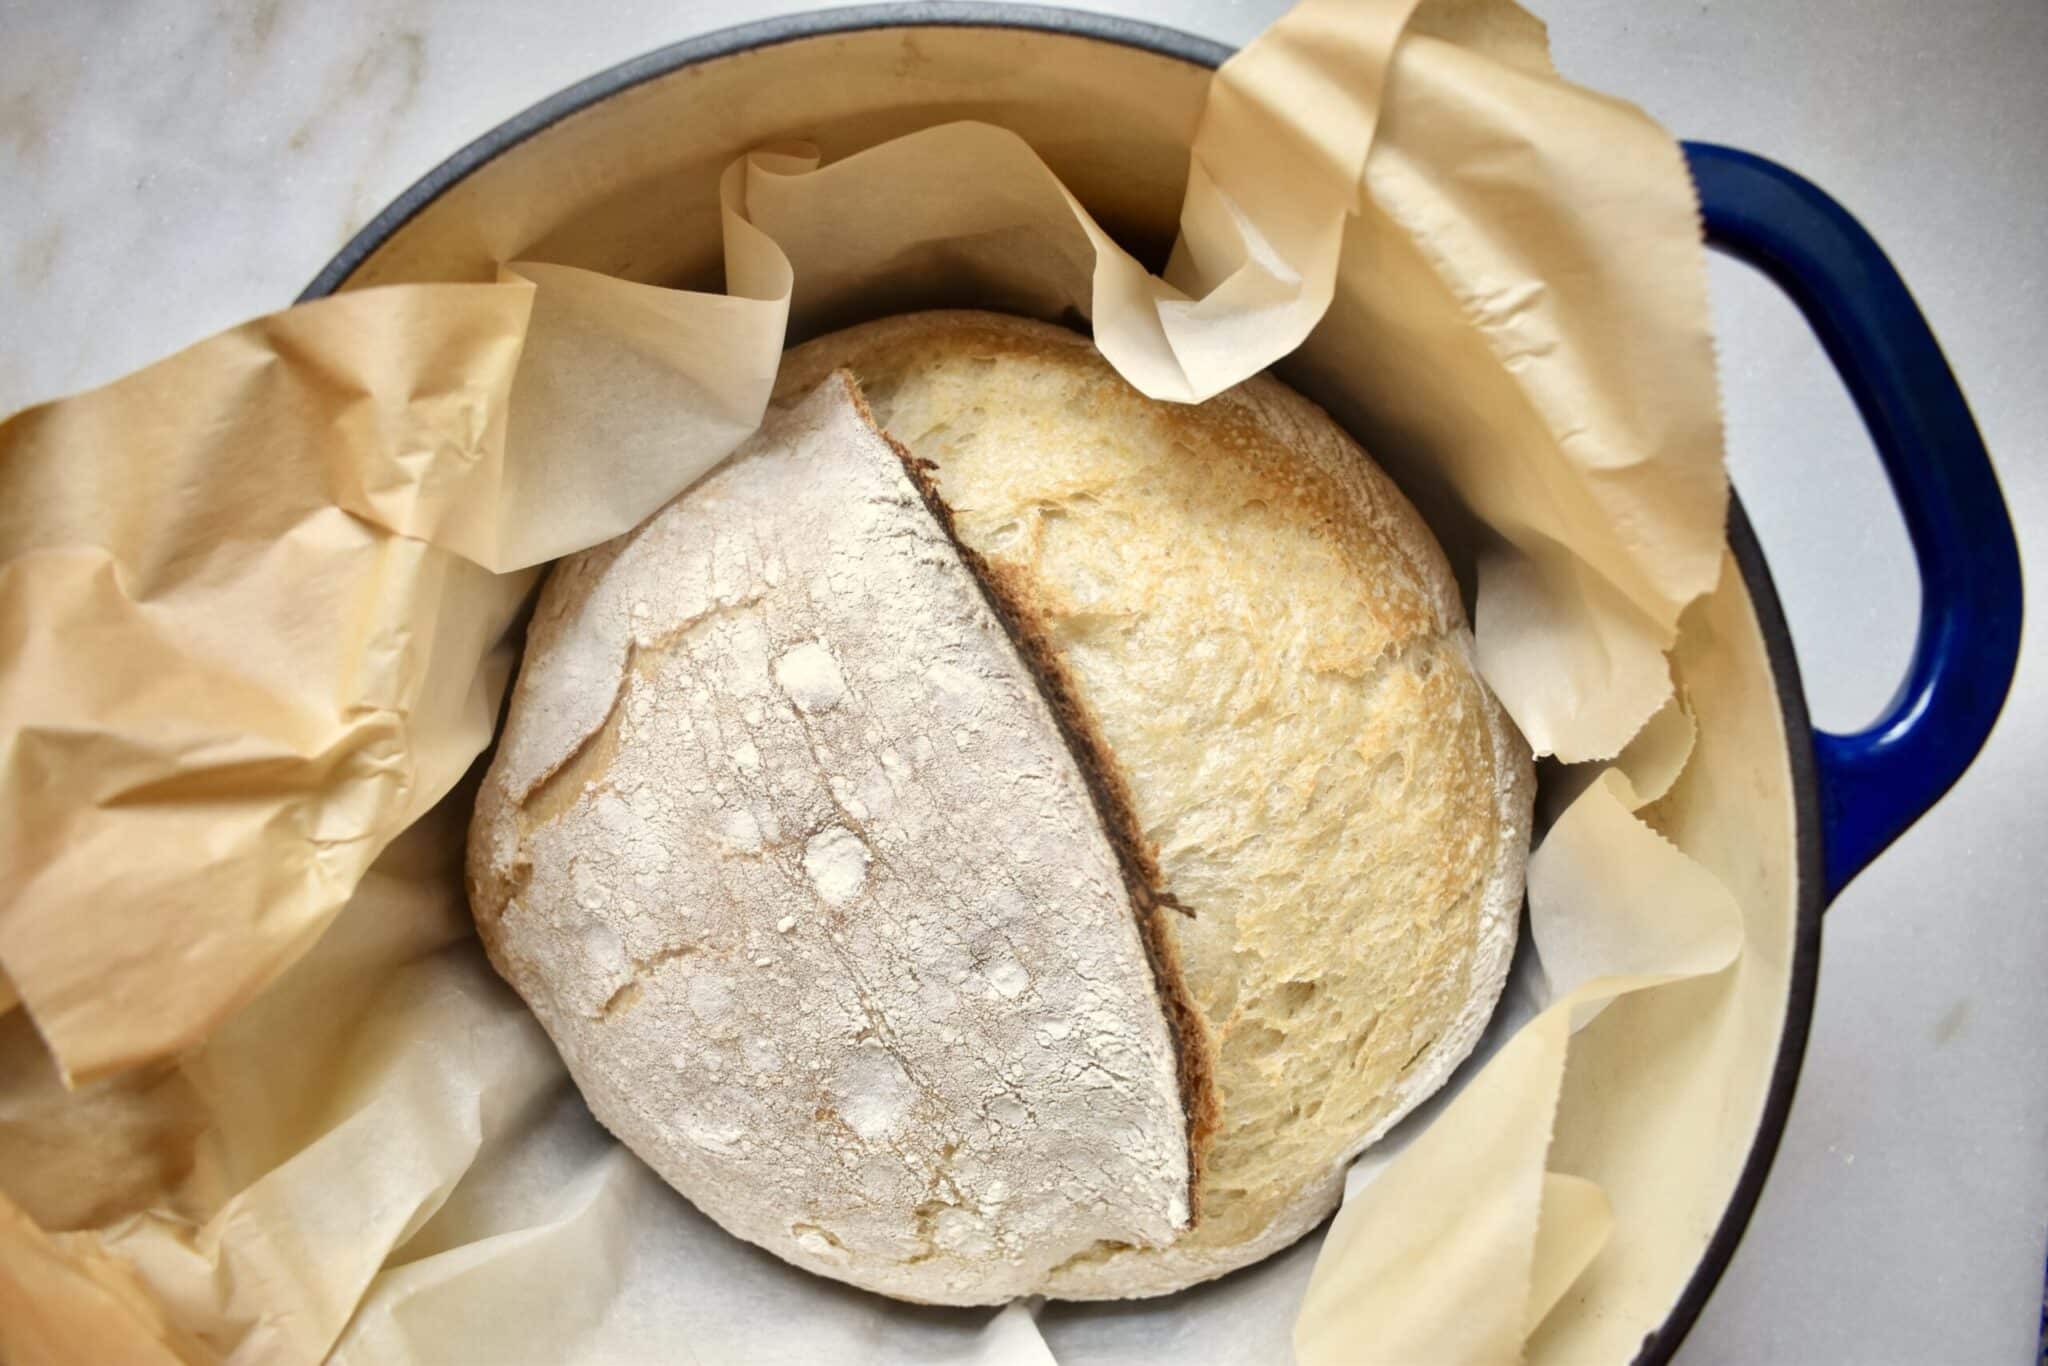
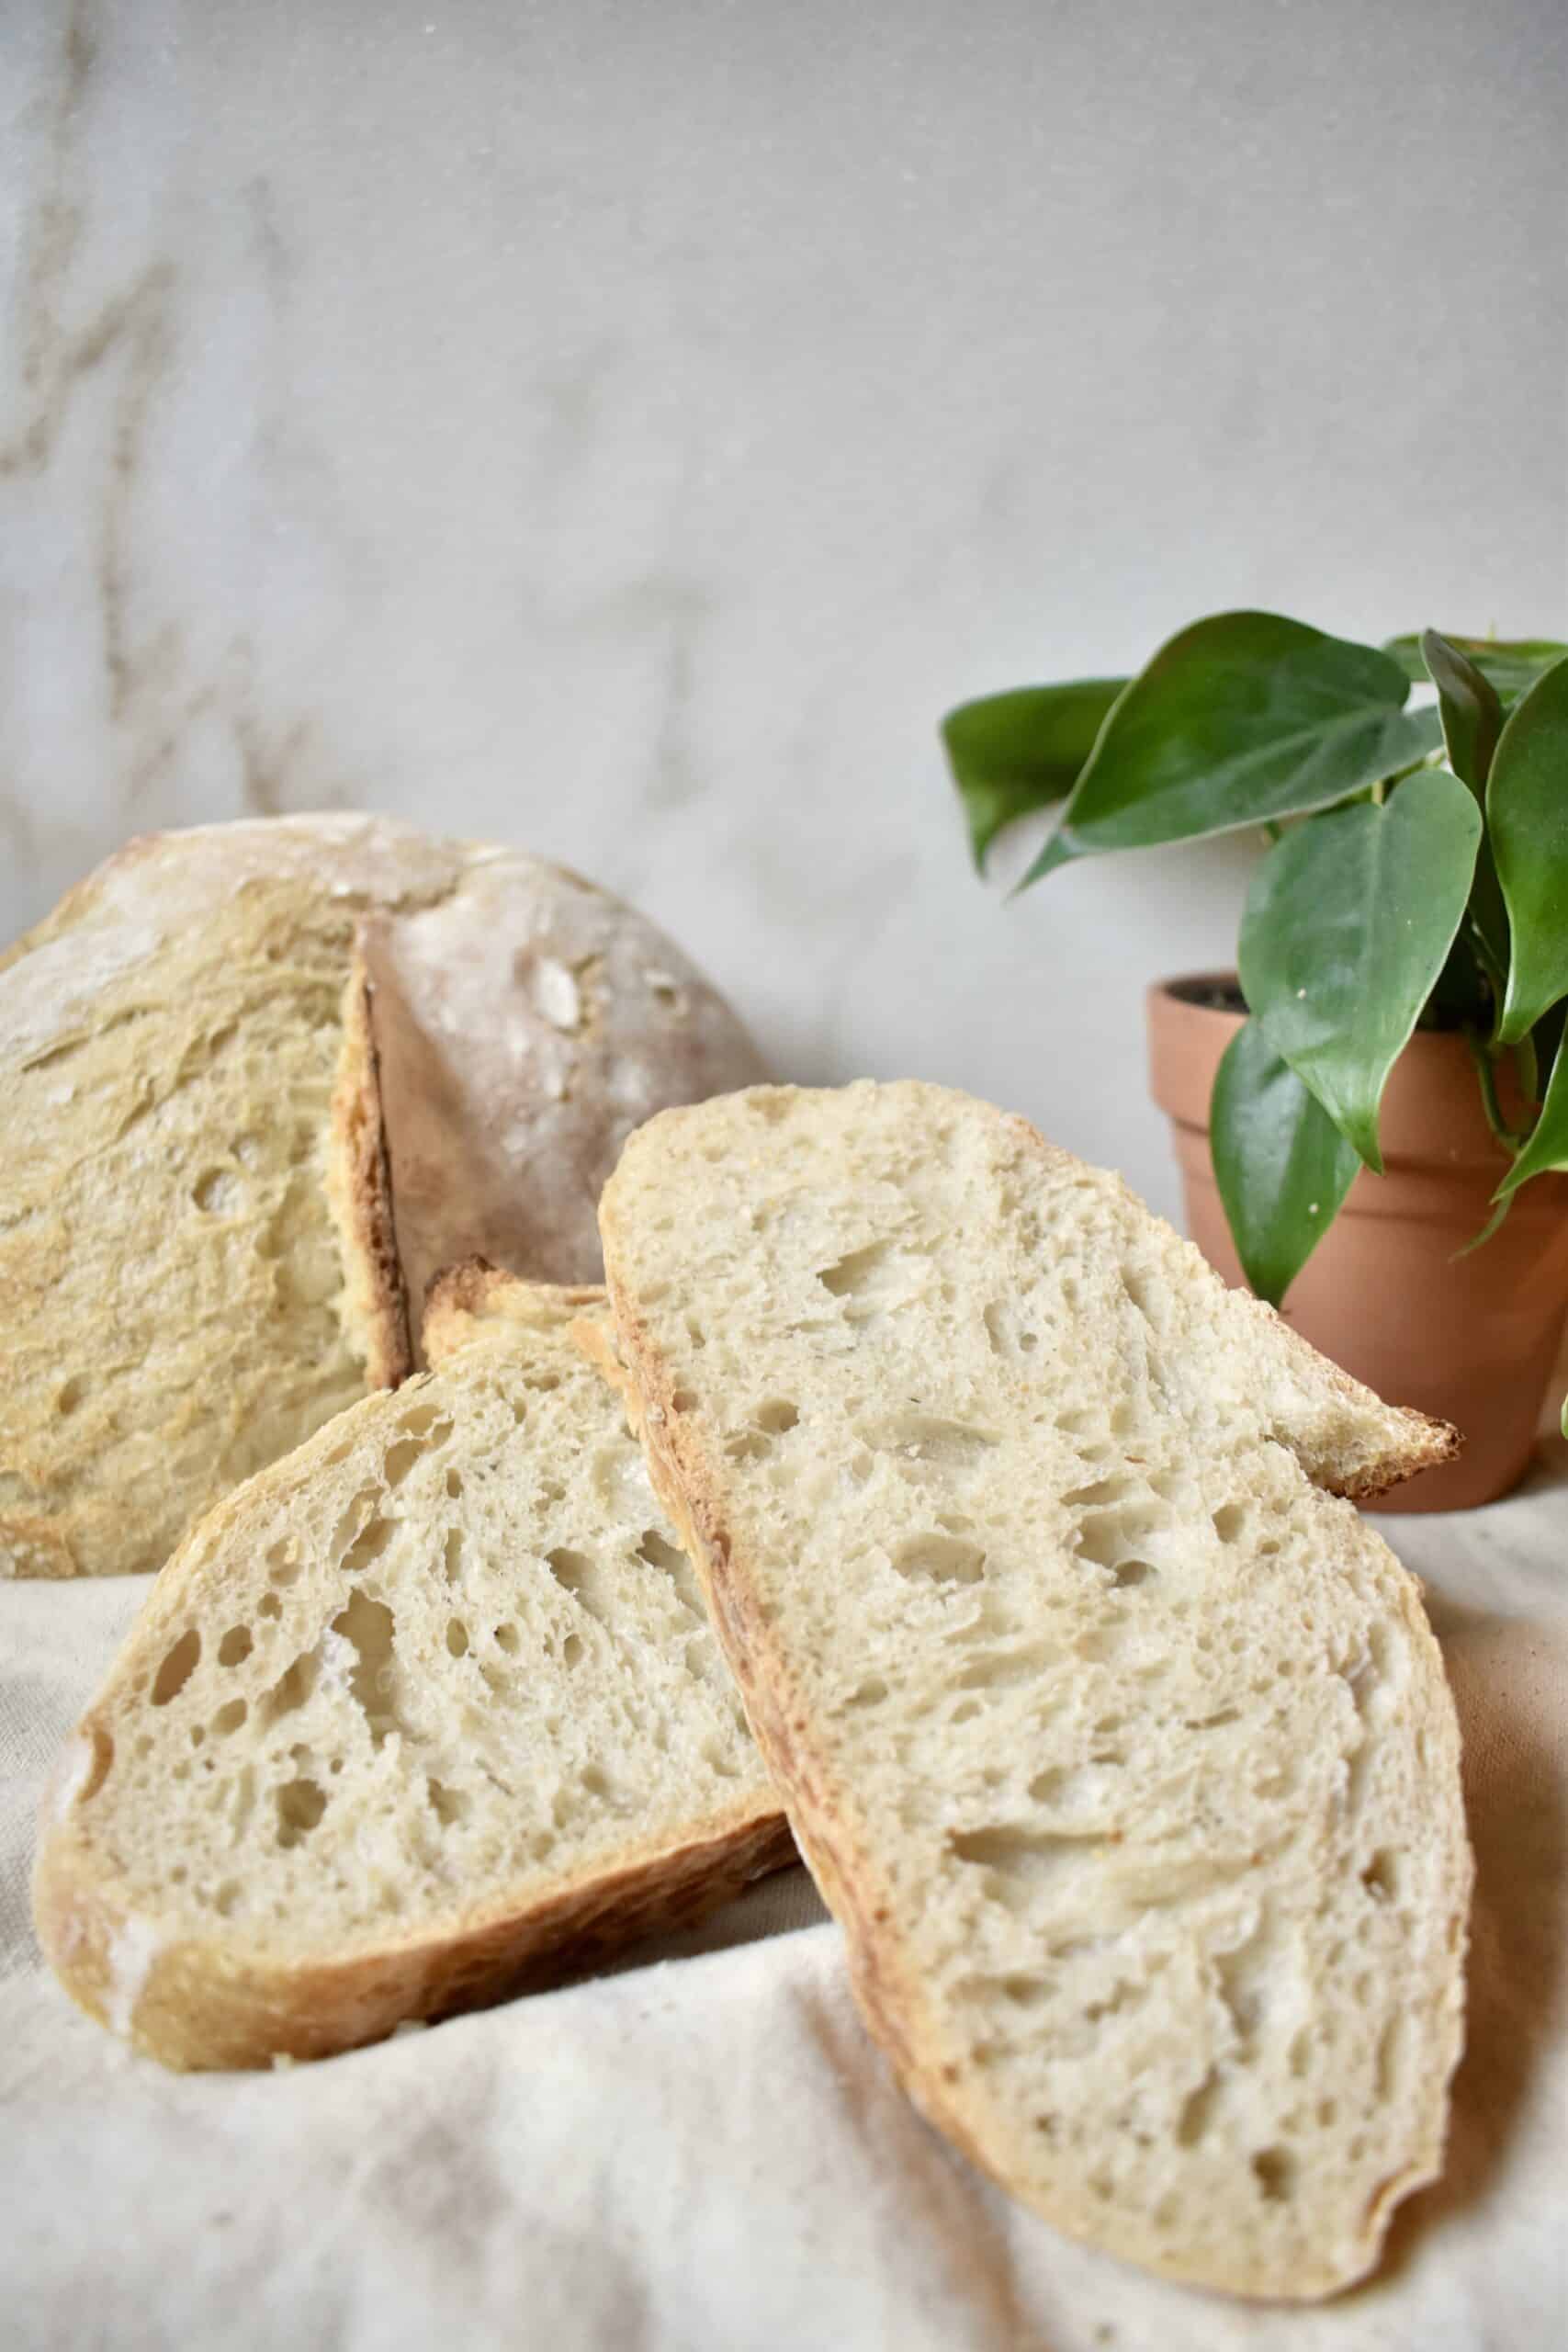
You did it! Wow! What a process. But look at that loaf you just made; it’s beautiful! And just wait until you try it. We love to eat our bread plain or spread with butter. For breakfast, try it with honey or homemade jelly. Mmm. Pair it with your favorite dinners. Make a hearty sandwich. I definitely recommend having it with soup for the coziest meal. There are so many options!
There are lots of tips and tricks and ways to adjust your sourdough loaf out there. This is the process I have learned and had success with, and I hope it will be a help to you! I shared a lot of information with you, and it may feel overwhelming. It was to me at first. But, I promise that once you give it a try, it won’t feel quite so demanding. I have found that baking day is not at all a hard and laborious process; I simply have to be around to work on the dough for a few moments at at time as needed. It is so worth the effort for the delicious results!
I hope you enjoy!
Anna
Homemade Sourdough

A classic sourdough loaf that you are sure to fall in love with!
Source: Anna Reid
Course: Breads
Serves:
Ingredients
- 100 g active sourdough starter
- 375 g filtered water lukewarm
- 500 g unbleached all purpose flour
- 10 g sea salt
Directions
- Preparation
- Before baking, feed and refresh your starter. Feed a portion of your starter as you normally do for the amount of starter that you like to maintain. Then, for this recipe, mix together 25 grams of starter with 50 grams of unbleached flour (I use 25g dark rye flour and 25g all purpose flour to feed my starter) and 50 grams of lukewarm filtered water. Stir the ingredients together until there are no lumps and pour into a glass jar. Place a loose fitting lid on top of the jar. It is helpful to place a rubber band around the jar at the current height of the starter so that you can see when it is active. Once the starter is active, it will be bubbly throughout and about doubled in size with a dome shape on top. This will take several hours.
- Autolyse
- In a large bowl, add 100g of active starter and 350g of lukewarm water and whisk the two together. Add in 500g of unbleached all purpose flour and stir together. The dough will be quite shaggy right now. Cover the bowl with plastic wrap or a damp dish towel and let it rest for 30 minutes.
- After the rest, add in 10g of salt and 25g of lukewarm water. Using your hands, pinch the salt and water into the dough. Then, for about two minutes, continue working the dough by folding it in on itself and then lifting the dough from the bottom of the bowl and slapping it against the side of the bowl. Repeat this process for the full two minutes. This will help create elasticity in the dough and you will notice it change from a shaggy mixture to a more cohesive dough. After the two minutes, cover the bowl again and let it rest for 30 minutes.
- Bulk Fermentation
- After the rest, uncover the bowl. Get your hands wet so that the dough does not stick to you. To make one full fold, we will fold each of the 4 sides of the dough over onto itself. With a damp hand, slide your hand under the top edge of the dough, lift, and fold the dough down onto itself. On the left side, slide your hand under the edge of the dough, lift, and fold the dough over onto itself. Repeat this on the bottom side and on the right side. This is one complete fold. Cover the bowl and let the dough rest for 30 minutes. Repeat this process until you have done 4 complete folds with 30 minute rests in between. After the final fold, cover the dough and let it rest for a full 2 hours. For all of bulk fermentation you will follow this schedule: 30 min rest + fold + 30 min rest + fold + 30 min rest + fold + 30 min rest + fold + 2 hour rest
- Shaping
- After the two hour rest, uncover the dough, wet your hands, and gently turn the dough out onto a lightly floured counter. Wetting your hands beforehand will help keep the dough from sticking to you while gently scooping the dough out of the bowl. Similar to the folds we did during bulk fermentation, gently lift each corner of the dough and fold into the center. Now, using either your hands or a bench scraper, gently flip the dough over so that the folds are now on the bottom. Gently and slowly pull the dough towards you across the counter. Push the dough back up and away from you and while rotating in a circular motion, tuck under the edges, and pull it back towards you. You are essentially sliding the dough back and forth across the counter while rotating it in a circle. Repeat this a few times. The aim here is to create tension on the top of the dough as you shape it into a circle. Cover loosely and let rest for 30 minutes.
- While the dough rests, prepare the banneton by lining it with parchment paper. Be sure to leave enough extra parchment hanging over the sides so that you can use it as a sort of handle to lift and transfer the dough in and out of the hot dutch oven later.
- After the rest, sprinkle the top of the dough with flour and then gently flip the dough over using your hands or a bench scraper. Once the floured side of the dough is on the counter, gently fold the corners into the center of the dough one last time. Carefully flip the dough back over and then repeat the circular sliding motion across the counter to shape the dough once more. Lift the dough and place into the prepared banneton. Loosely cover the dough. Plastic grocery sacks are handy for this because they hold their shape above the dough and don’t stick.
- Final Rise
- For the final rise, there are two options. If you would like to bake your bread immediately, simply leave the dough on the counter to rise for about 1.5 – 2 hours and then bake. Alternatively, you can let the dough do its final rise in the refrigerator for about 10-12 hours and then bake. This can be handy if you want to have fresh bread in the morning or if you need to space out your baking. If needed, you can leave the dough for up to 24 hours in the fridge before baking.
- Baking
- With about 45 minutes left in your rise time, place the dutch oven in the oven and preheat it to 500 degrees. We want both the pan and the oven to be very hot to help the sourdough develop a nice crust, so be sure to preheat for at least 45 minutes.
- After the final rise, dust the top of the dough with flour and gently spread it around to make it even. You could use a pastry brush or your fingers. Using a bread lame or razor, score the dough to allow steam to escape and the bread to expand while baking. To do this, make a clean cut about 1/4 inch deep along one side of the dough.
- Once the oven is preheated, very carefully remove the dutch oven from the oven. It will be HOT! Lower the temperature of the oven to 450 degrees. Using the parchment as a handle, lift the dough out of the banneton and place it into the dutch oven. Place the lid on top and bake for 20 minutes. After the 20 minutes, remove the lid from the dutch oven and continue to bake for 15-20 minutes or until golden. Carefully lift the loaf out of the dutch oven using the parchment. Place on a wire rack to cool for about 20 minutes before slicing.
- You did it! Enjoy!
Powered by
![]()